Synology DS416 4-bay NAS Review
Bohs Hansen / 8 years ago
A closer look
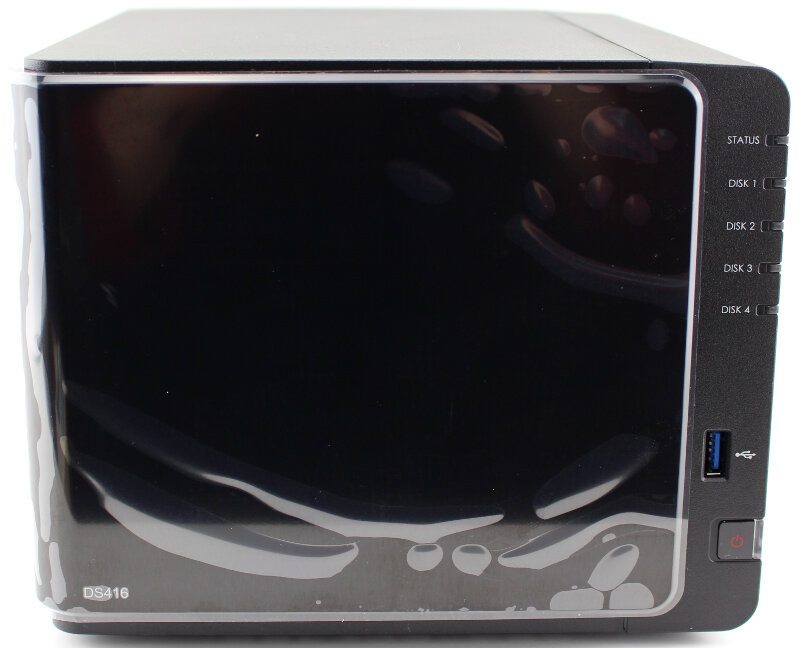
It is time to take a closer look at this beautiful 4-bay DS416 NAS. Synology wrapped the glossy front plate with a protective film to make double sure that it arrives at your home looking the way it should. A minor thing, but one that can make a difference.
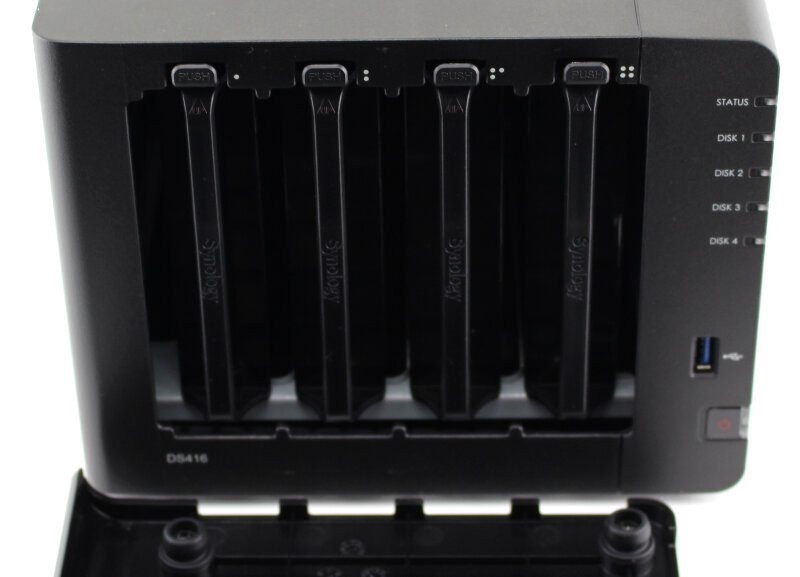
Removing the front panel and we see the four push buttons at the top that when pressed will allow you to pull the drive trays out.
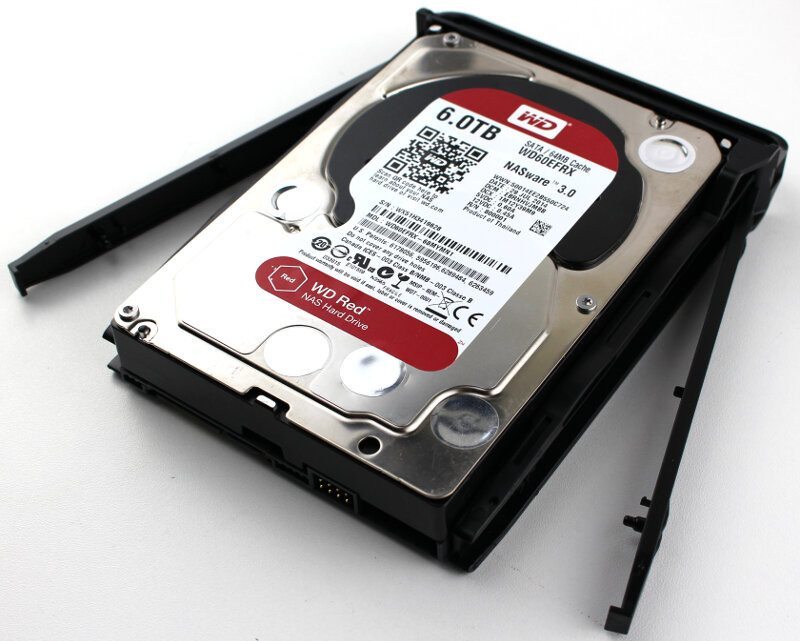
The drive trays feature an easy-to-install method that doesn’t require any tools at all. Just place the hard disk drive inside the drive tray and push the sides back on. Done, now you can insert the drives into the NAS.
The Synology DS416 was one of the most difficult NAS I have had when it comes to taking it apart. It was clearly not designed for that and there is no real reason why you’ll ever need to open it up. The only reason could be to replace a failed fan down the line. But I got it open and we can have a closer look at the hardware inside.
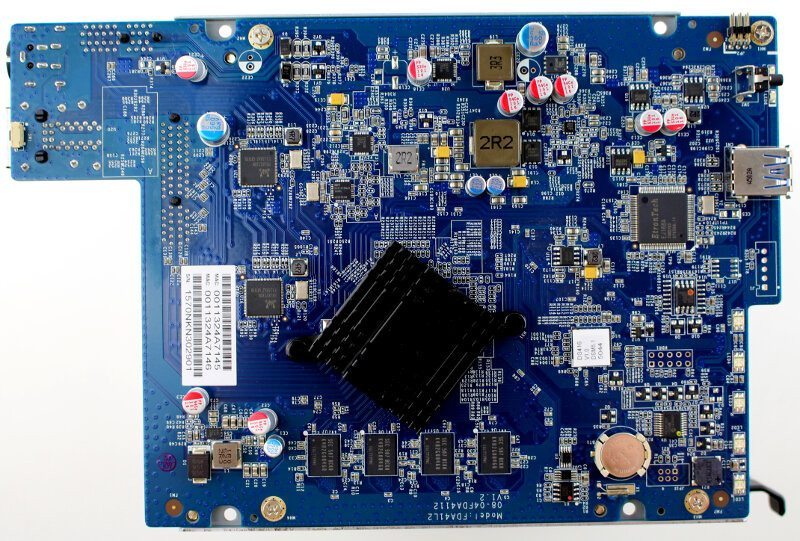
The motherboard is very simple with a passive cooled CPU in the middle and everything else spread out over it.
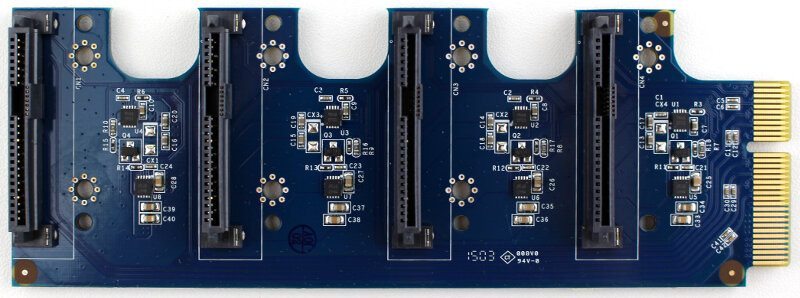
The motherboard features two daughter boards where the first is the PCIe to SATA bridge where you’ll connect your drives. The bridge card is unspectacular in itself as it doesn’t feature much besides the connectors.
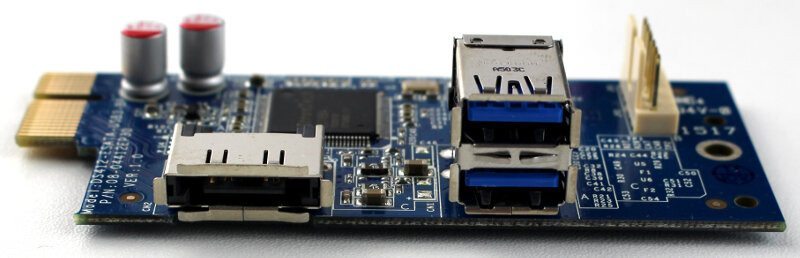
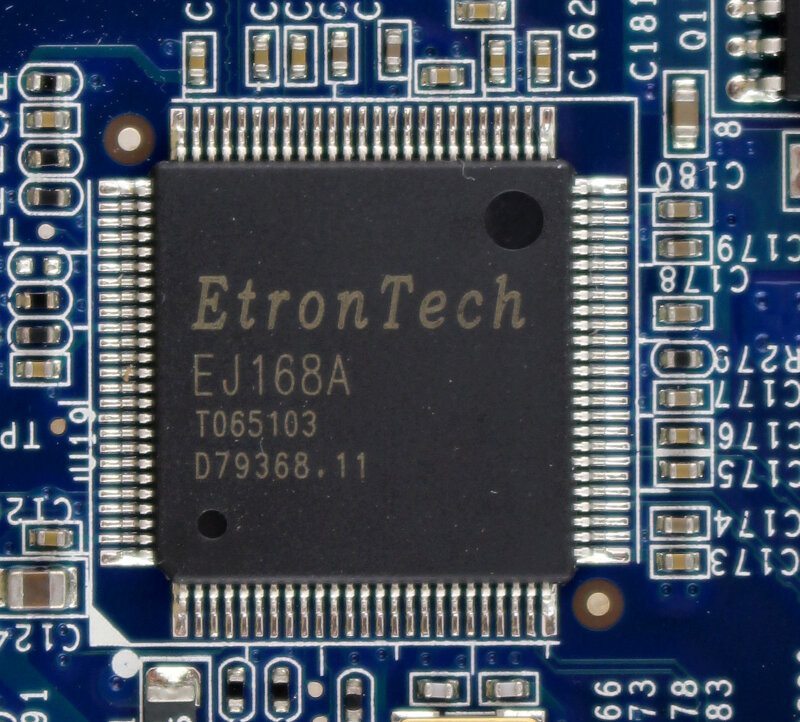
The second daughterboard is for the rear two USB 3.0 ports. The front port is directly attached to the motherboard. This daughterboard also has the two 3-pin fan connectors as it is conveniently placed just below the fans. In the middle of the board is an EtronTech EJ168 USB 3.0 host controller that controls the two ports on the same board.

There is also a hidden eSATA port on this daughterboard, but it there’s no case cut-out for it so you can’t access it. Whether this is because the CPU’s onboard SATA controller doesn’t support more, I don’t know. I wasn’t able to dig up the CPU specifications anywhere, but it will be my best guess.
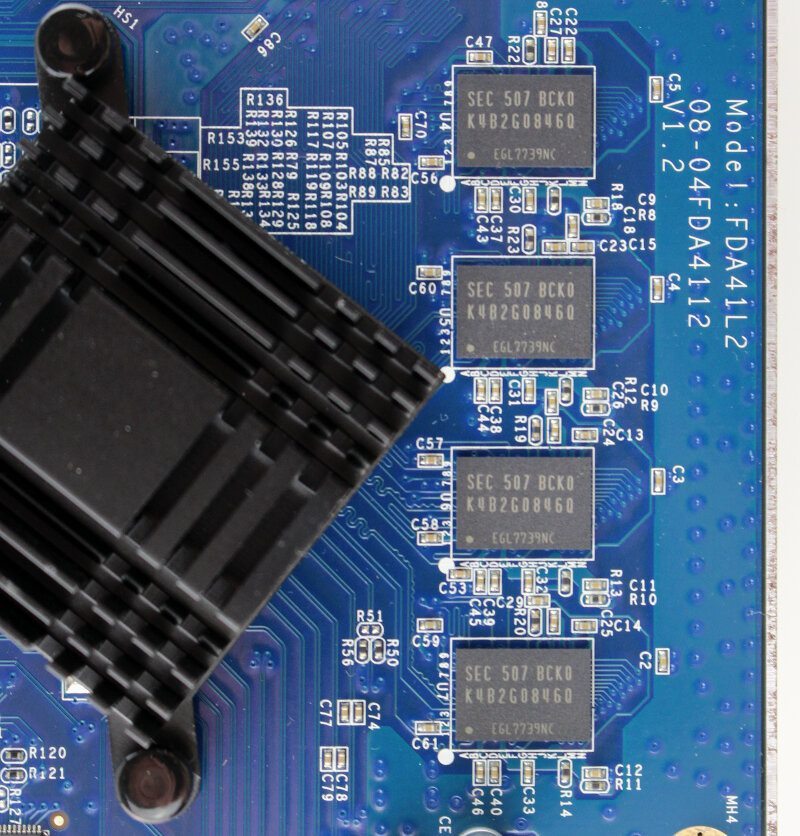
Having a closer look at the motherboard, we see four RAM modules next to the CPU, each 256GB DDR3 memory.
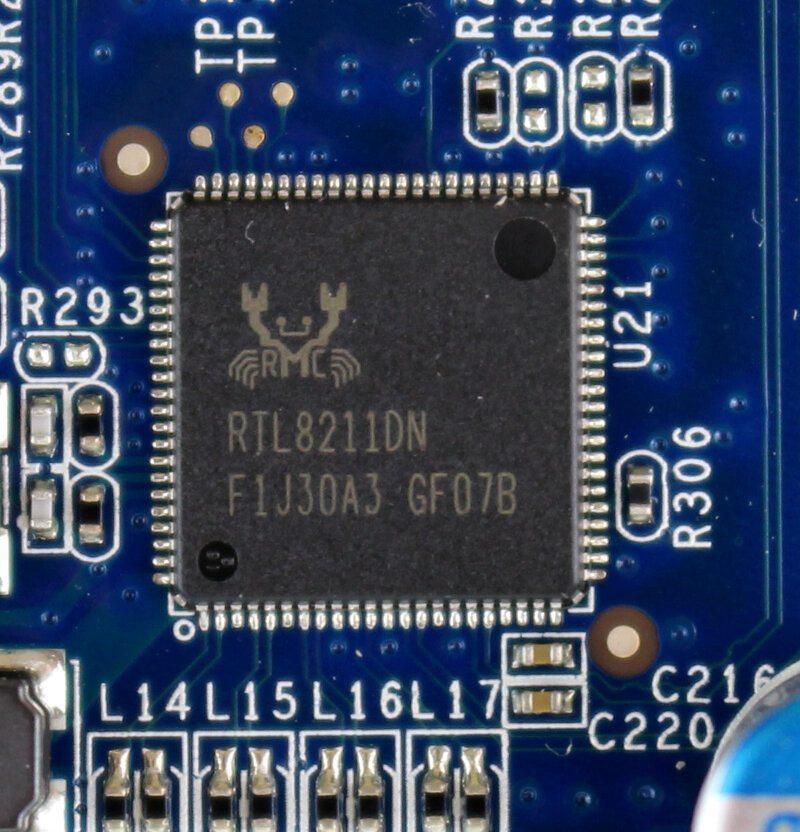
There are two Realtek RTL8211DN chips for each of the network connections that are compliant with up to 10Baste-T IEEE 802.3 and supports all the features you’ll want.
There is another EtronTech EJ168A USB 3.0 host controller on the motherboard, same as the one we saw on the daughterboard, and this one controls the front faced USB 3.0 port.
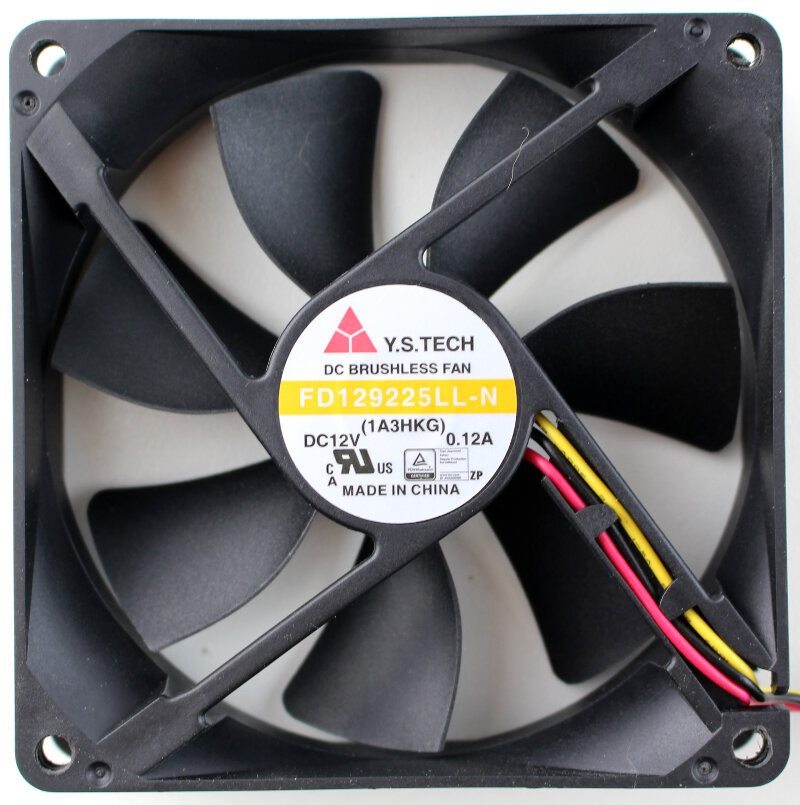
And these are the fans built into the Synology DS416.