TerraMaster F5-422 5-Bay 10Gbit NAS Review
Bohs Hansen / 4 years ago
Locate and Install your New NAS
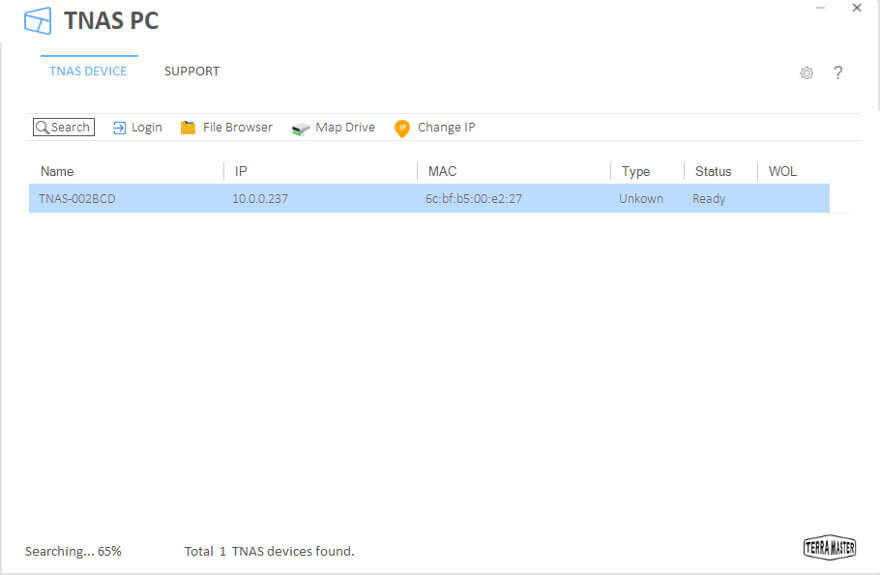
There are several ways to get started with your new TerraMaster NAS, but the easiest is by far with the TNAS companion application. It will quickly find all TerraMaster NAS on your network and allow you to connect and set them up. If your NAS shouldn’t be found, try and move the network cable to one of the Gigabit ports.
At the time this review is published and you’re reading it, a small issue might be fixed and no issue any more. But at this time, the NAS requires an update for the 10GbE port to work. But to apply this update, you’ll need to set it up first. Hence, the need to start out with one of the Gigabit ports. Then once you’re done with the configuration and have updated the OS, you can simply move the cable to the 10GbE port and that’s it.
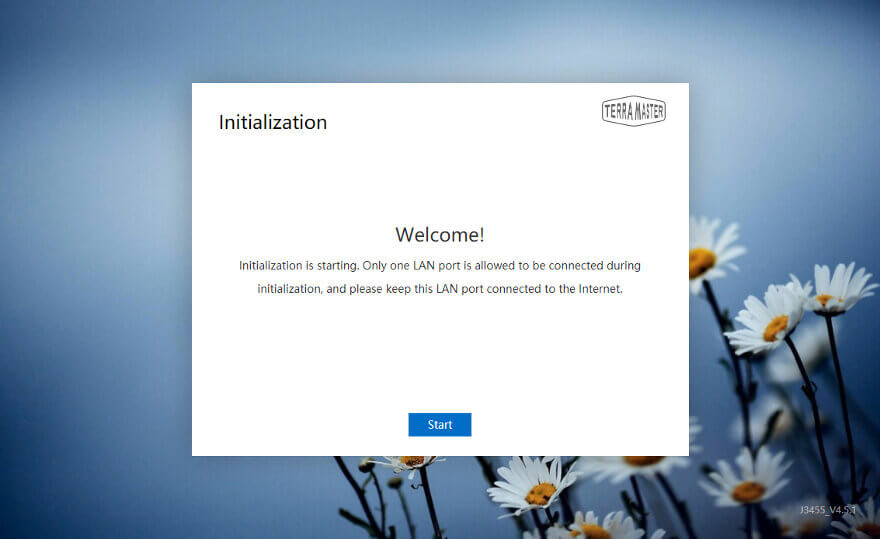
Initialization of the F5-422
The setup and initialization of your new NAS is both quick and easy. It doesn’t require many steps and you’ll soon be able to enjoy all its benefits.
After a short welcome message, you’ll get to chose which of the installed drives you’ll want to use. Naturally, this can be changed later should you change your mind.

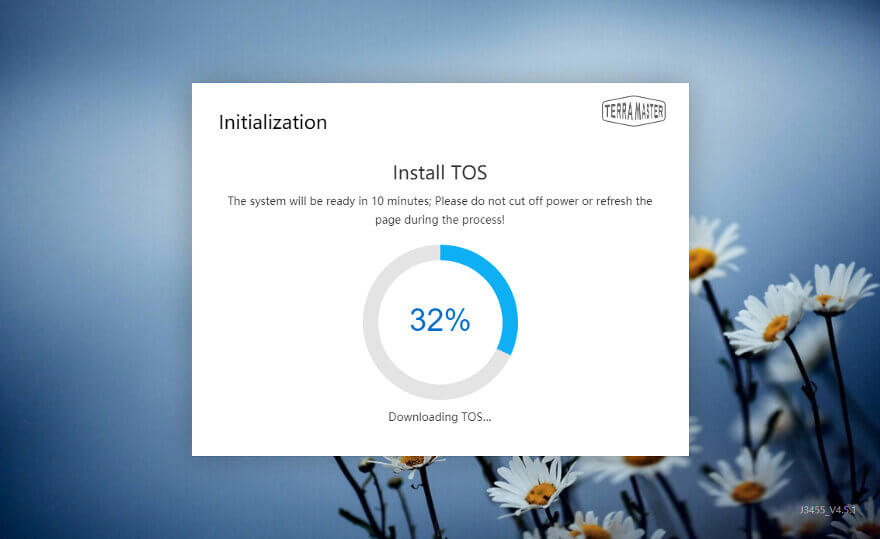
After the drive check, the NAS will need to install the OS. You can either have it download it from the internet or supply the file manually.

After the selection, the OS will be installed. And that’s already almost the end of the initialisation.
There’s only one thing more to do and that is to set the administrator password and a security email address.
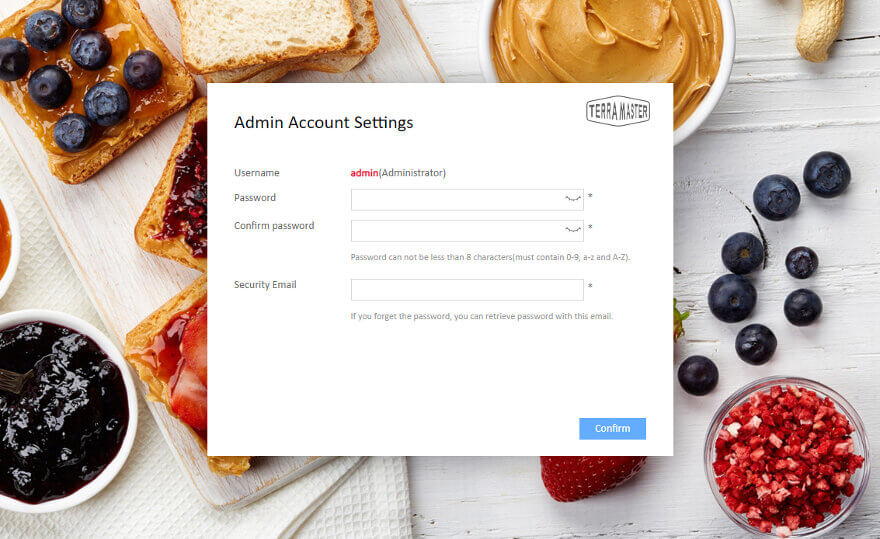
And that’s it. Now that wasn’t hard, was it?
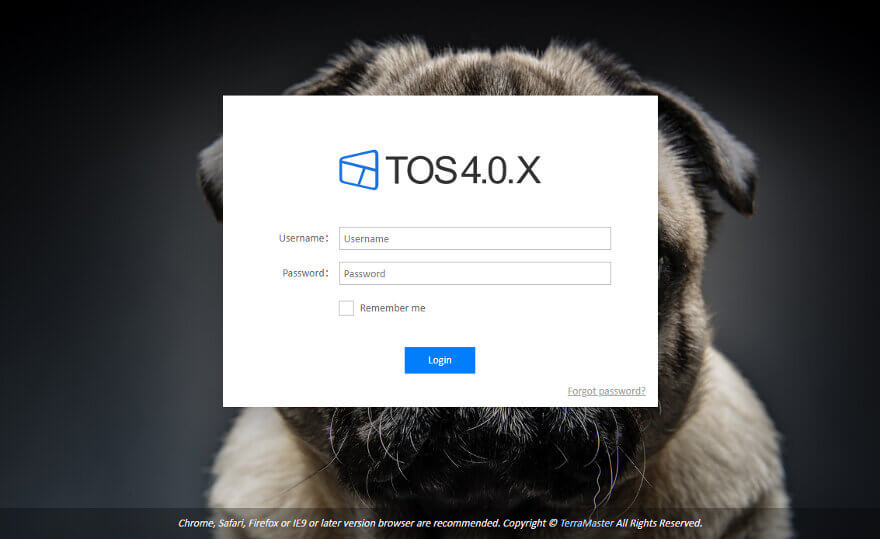
Login and Welcome
With the basics configured and ready, the OS will take us to the login screen. You can now log in with the admin account you just created.
And this is how it will look when you enter the user interface for the first time. Besides the normal view, you’re greeted by a small help guide which can help with how to get started or with information about TOS in general. TOS stands for TerraMaster Operating System, just in case you wonder.
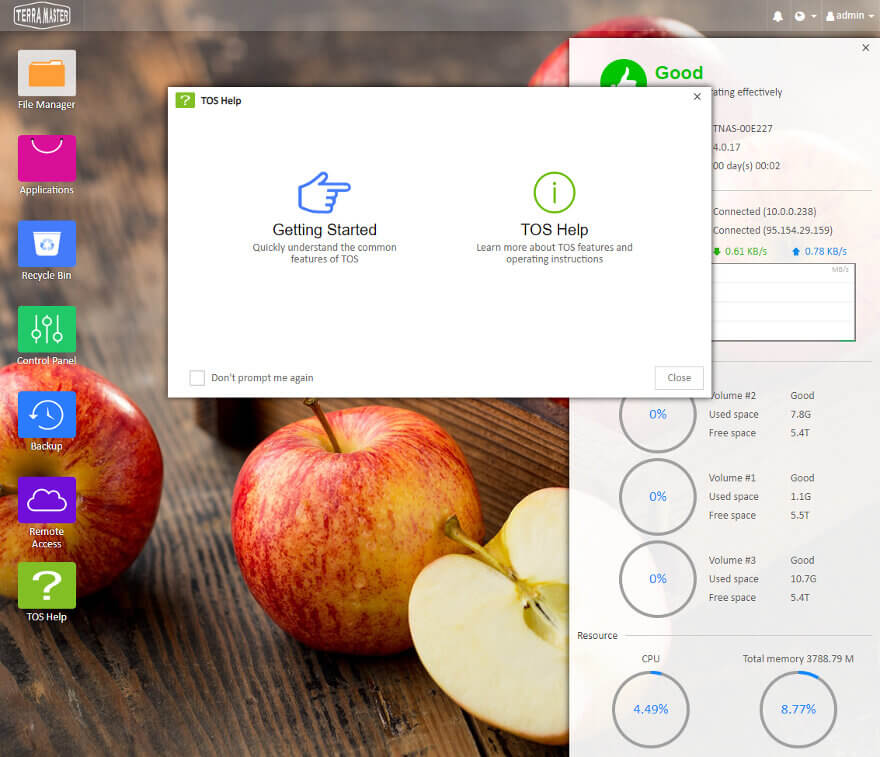
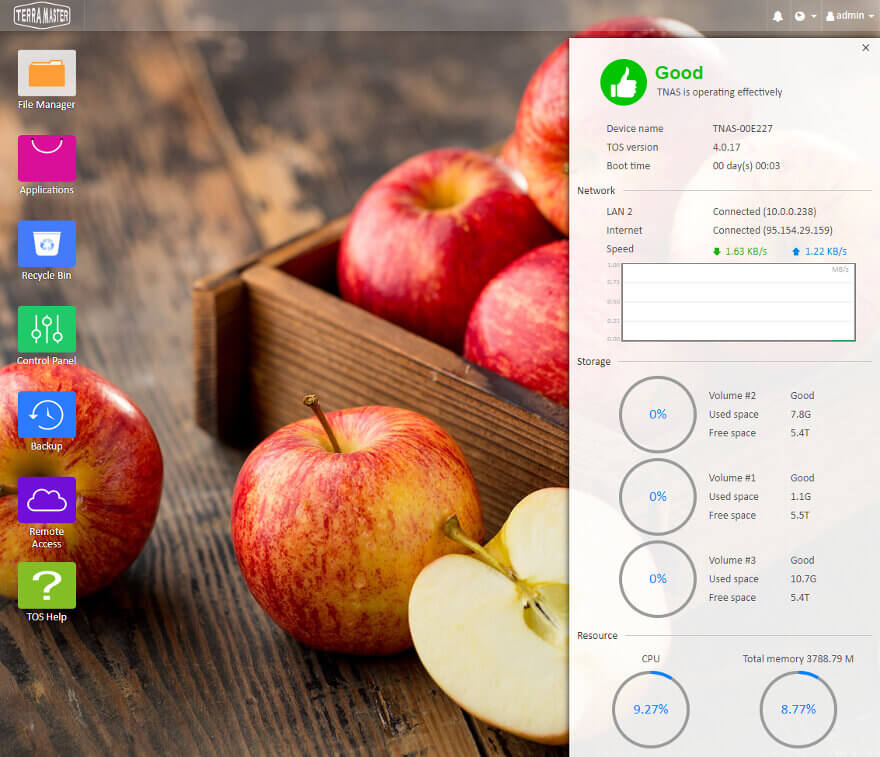
Desktop
With the help guide closed, we get a better look at the OS. The bar to the right is a floating information bar which can be closed and opened as needed. It is the quickest way to get a complete view of your NAS without going through all the settings and apps.
At the top, you have the taskbar where all the open apps will be listed. The desktop works more like you’re used to from such systems now as the apps will open with a single click in this the newest version. Notifications and user features are found at the far right side of the taskbar.