The eTeknix Guide To Building Your Own NAS
Ryan Martin / 10 years ago
Installing The Operating System
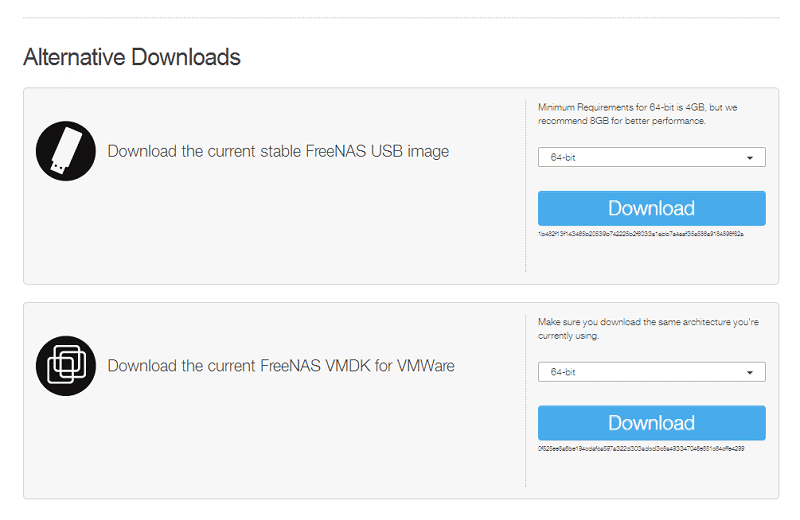
We are choosing to use FreeNAS in our DIY NAS and the reasons for this are multiple. Firstly and most importantly FreeNAS is free which helps keep costs down allowing you to acquire better hardware for the same budget, instead of spending lots of money on an OS like Windows Server. Secondly, FreeNAS is incredibly compatible with a wide range of consumer hardware so is ideal for a DIY build where there are literally millions of possible hardware permutations you can choose from. Finally, FreeNAS is a well rounded NAS operating system with a complex and sophisticated range of features as well as great developer support and a huge community. To get started with FreeNAS you need to grab the latest USB image file from the downloads page here. I opted for the 64 bit FreeNAS USB image as the minimum requirement is 4GB of RAM which this system meets. Most users are also likely to upgrade from 4GB to 8GB or more RAM in the future so I definitely think 64 bit is the way to go in this instance.
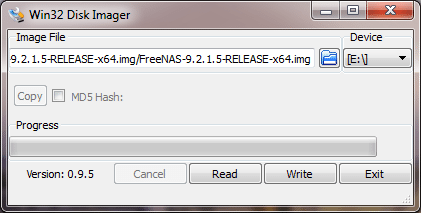
The next thing you’ll want to do is grab a copy of Win32 Disk Imager from here and use it to write the USB image you downloaded from the step above. Ensure you extract the image file from its archive with something like WinRAR before you try and write the image file to your USB. Allow the program to write the image file to a blank USB stick, the program will notify you once the write procedure has been successfully completed.
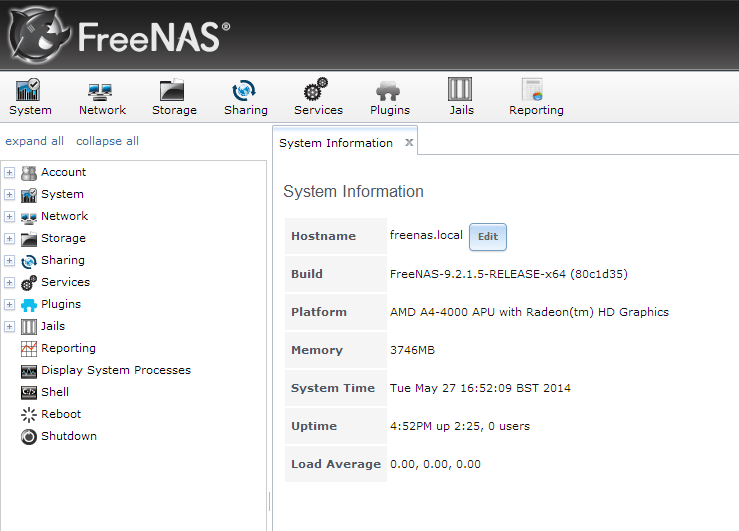
With your image file written to your USB drive all you need to do now is plug the USB flash drive into one of the rear USB 2.0 ports on your NAS motherboard and ensure the boot priority is correctly set. By correctly set I mean that the first device the system should try and boot from should be the USB drive and you should use a standard boot protocol (aka do not select UEFI boot mode). Once you’ve set the correct BIOS boot priority the operating system sets its self up on the server end (aka on the NAS), though you will have to wait about 3-5 minutes before the system gets running and online. On the first set-up you should ensure you have a mouse, keyboard, ethernet cable and display connected so can ensure the system sets up okay and check which IP address it has assigned the FreeNAS client to so you can access it via the Web GUI on another system (using a web browser and the IP address provided). Once your FreeNAS is online for the first time you will only have to take it offline to conduct hardware level maintenance so you’re unlikely to need the mouse, keyboard and display again. However, it is recommended that you wait until you have everything configured and set up how you want it before you stow away your file server in a cupboard or under a table because you may need the mouse, keyboard and display to troubleshoot or optimise certain things, such as power settings in the BIOS. Once you have chosen your default password on the initial FreeNAS setup you will greeted with a page that looks something like this.