Thermaltake Core X5 Chassis Review
Peter Donnell / 8 years ago
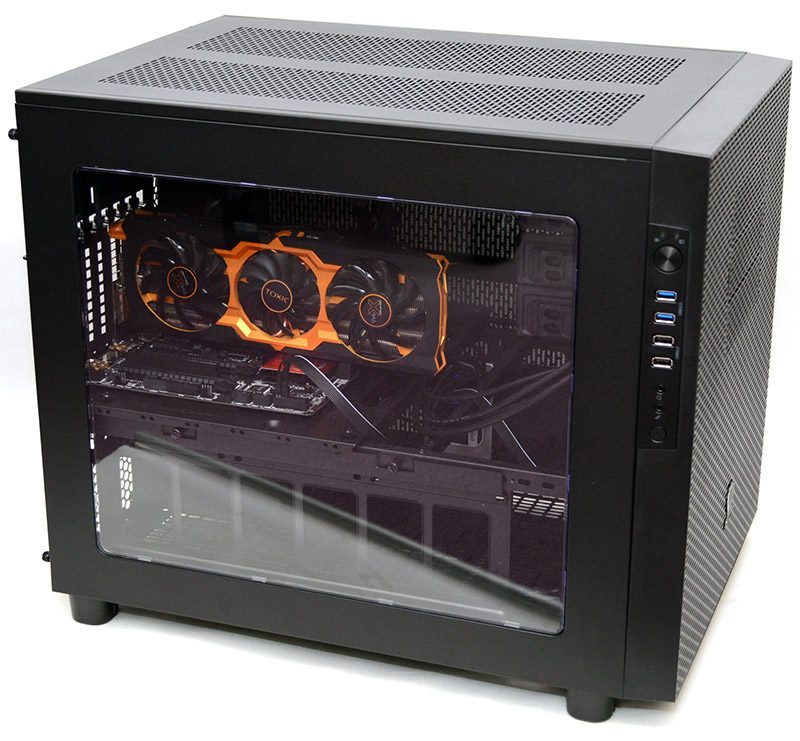
Complete System
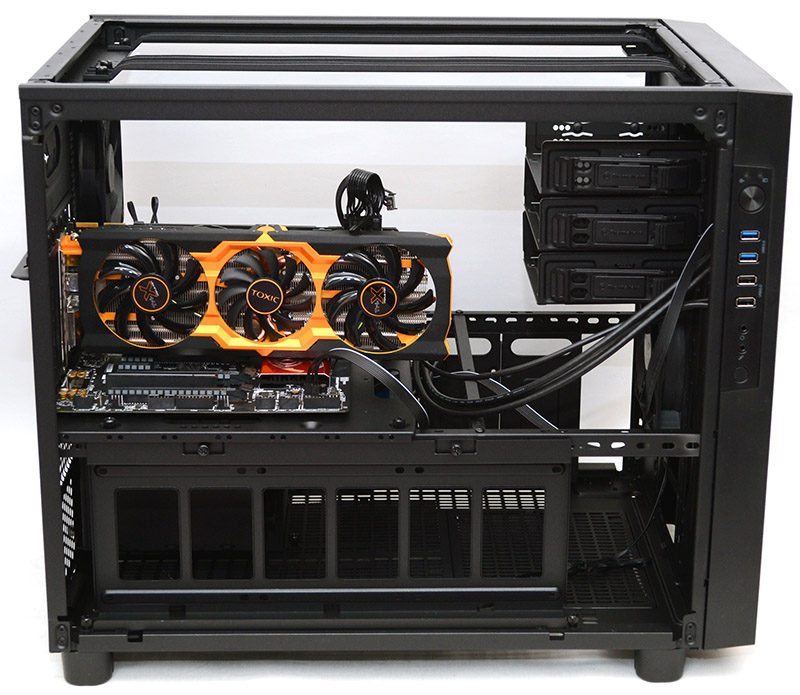
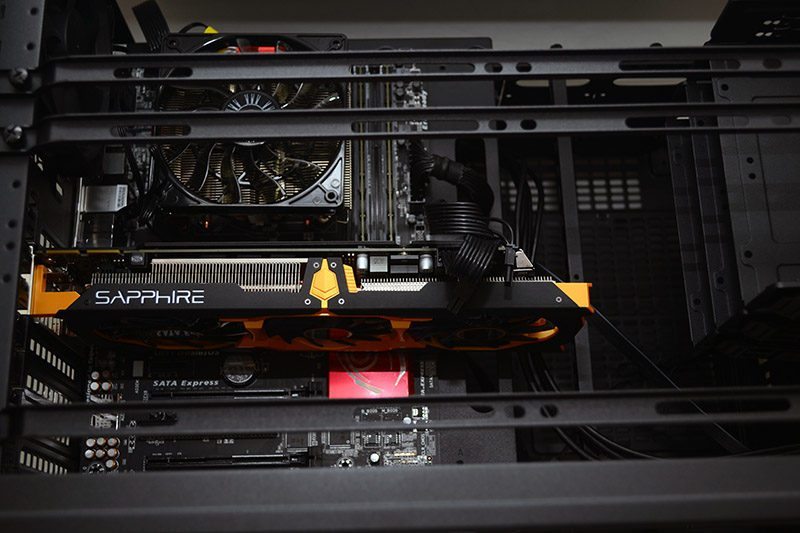
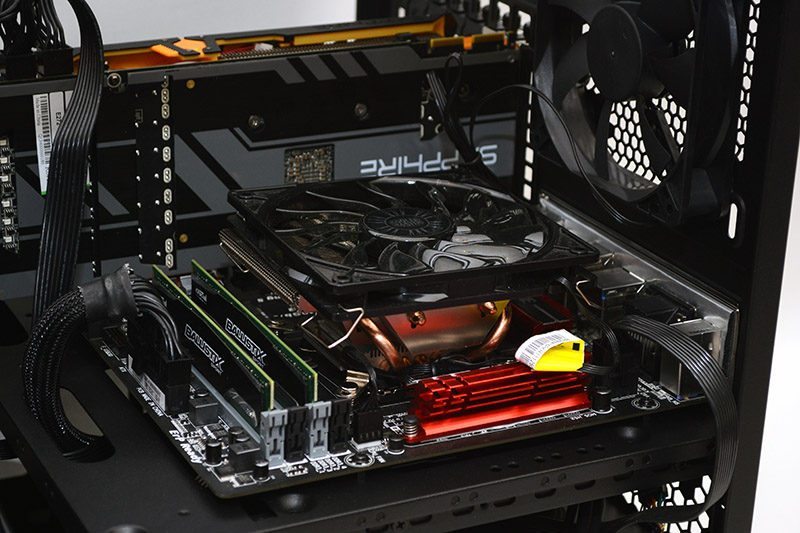
It’s almost laughable how small our build components look within the Core X5, and compatibility was clearly not an issue. In terms of available space, this may have been one of the easiest system builds we’ve done and with both side panels and the top panel removed, we weren’t short on space to work with.
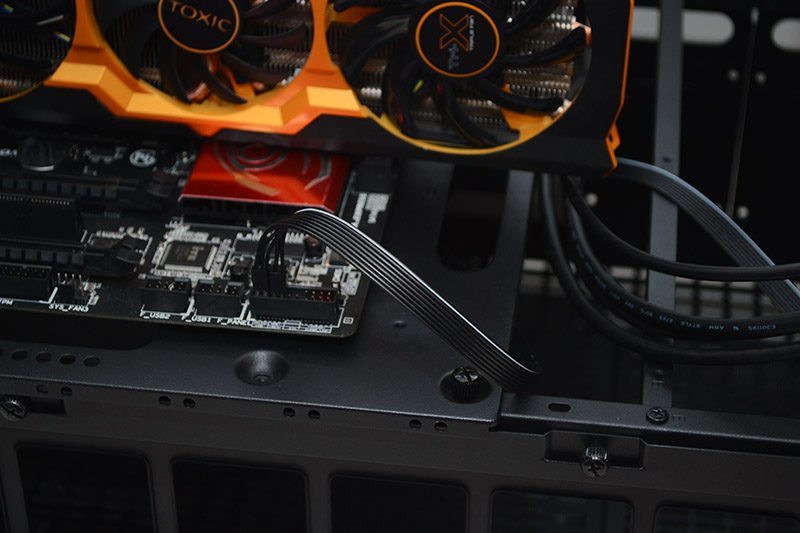
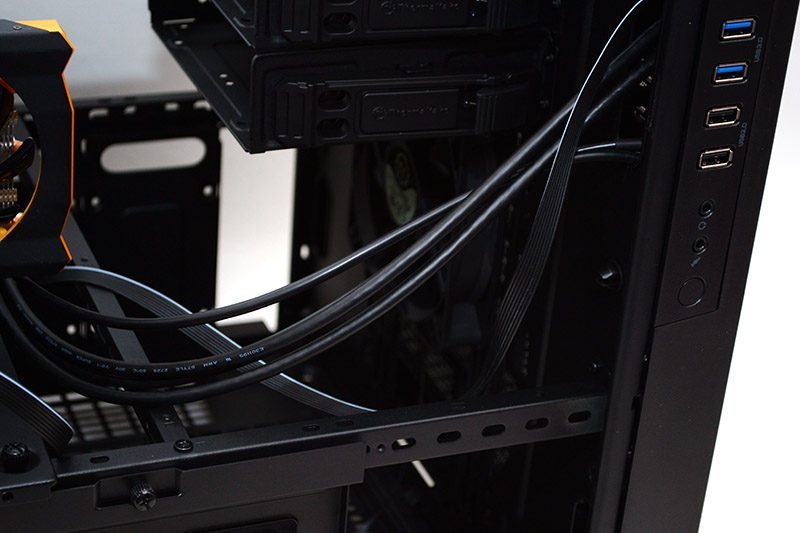
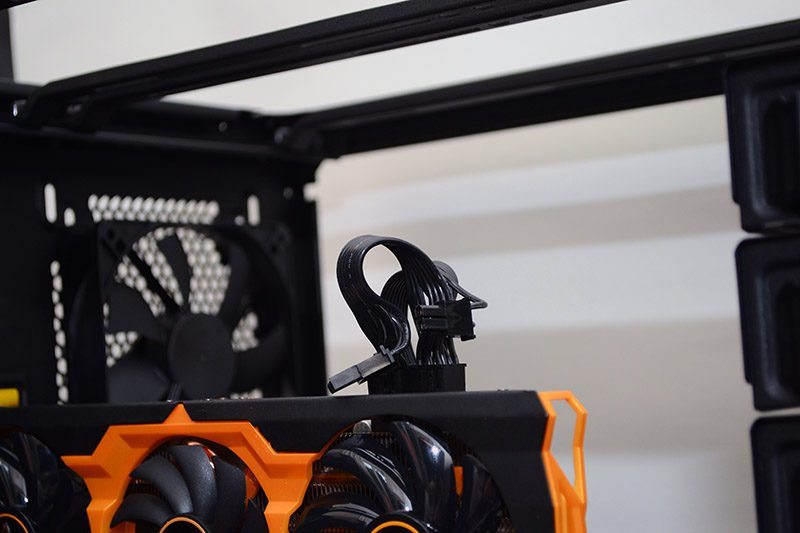
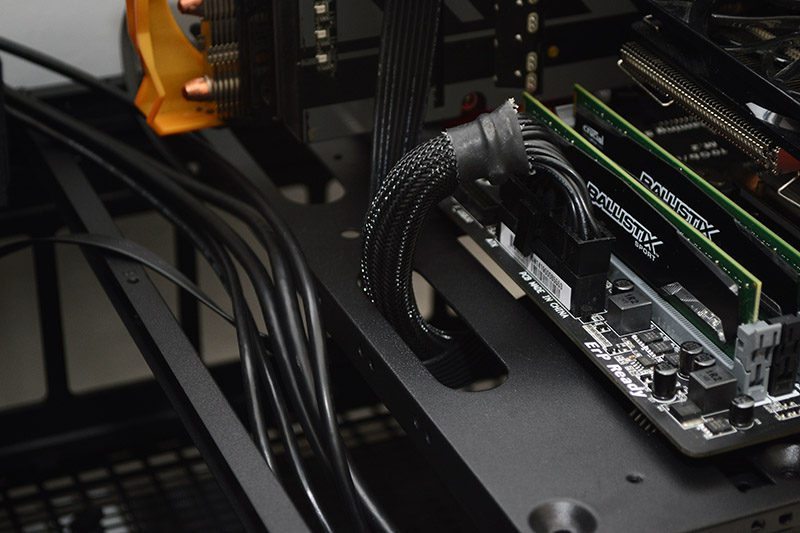
Cable routing isn’t the strong point for this chassis and while there is a lot of space, I do feel that with such a huge side panel window, you’re really going to benefit from using braided cables, cable combs, and a lot of cable ties to get a good-looking build, otherwise you’ll find trailing cables quickly pile up as you install more hardware, and even more so if you’re pushing the cooling capabilities of the chassis.
GPU clearance is excellent, so even the biggest cards currently on the market will fit with ease although having the cards in this orientation does make routing their cables a little tricky to get neat and tidy.
There’s a vast amount of space above the expansion cards too, so having thick radiators, as well as push/pull fans in the top of the chassis isn’t going to be an issue, and that’s a big win for those looking for an extreme performance build.
Even if you’re not going for water cooling, the huge range of fan mounts is going to be great for airflow, and there’s already going to be a good amount of passive airflow throughout the chassis too. CPU cooler clearance is as big as it gets also, and I can’t think of any air cooling tower that wouldn’t fit here.
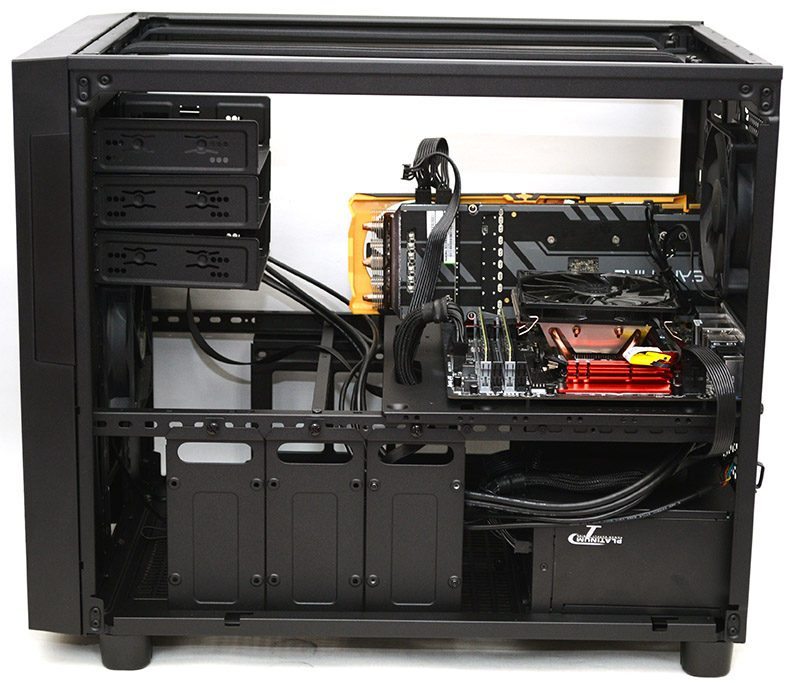
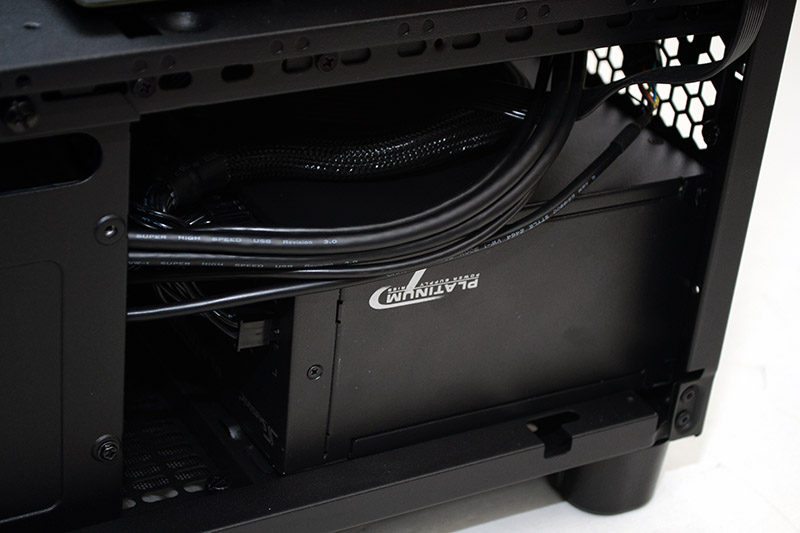
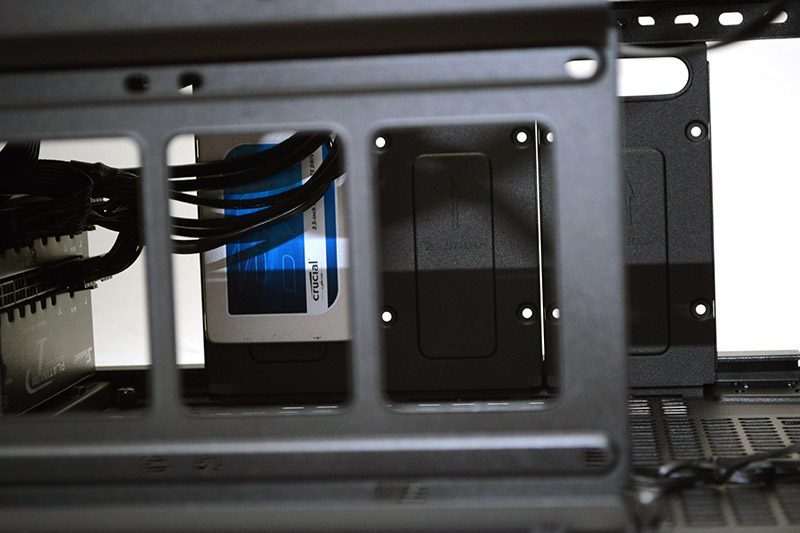
I removed the 3.5″ drive bays above the PSU, since we didn’t need them for storage and I find the space this provides is a big advantage for storing excess PSU cables.
If you like to tweak your motherboard and other components a lot, the amount of space here is a big advantage, allowing you to easy get into the chassis and tinker with your setup. Again, cable routing could look better, but a neat looking build can be achieved if you take your time.
Even with all our components fitted, there’s still another massive installation space below the motherboard. Here you can see our 2.5″ drive installed, but if you’re looking for places to fit radiators, pumps and more, you’ll find plenty here.
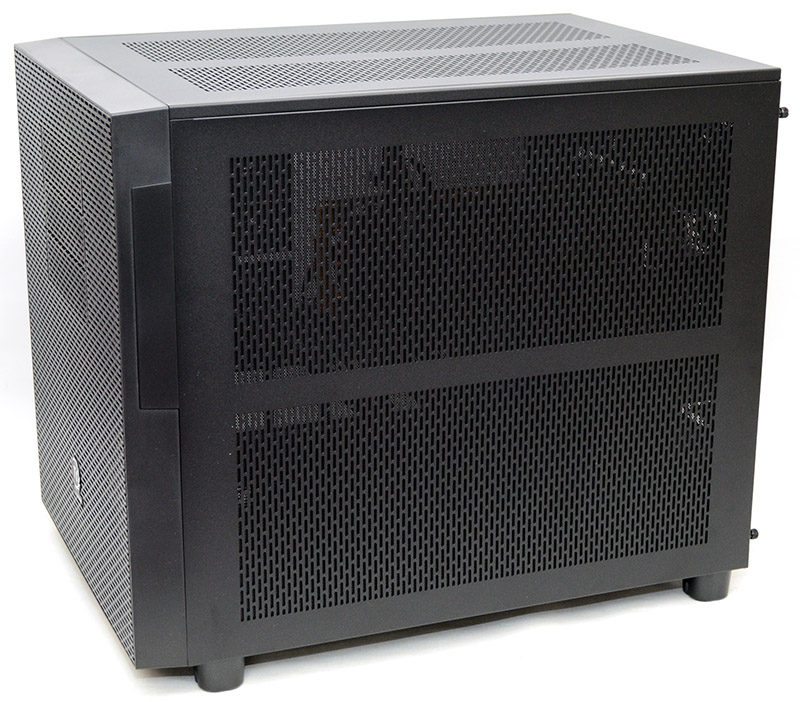
With all the panels back in place, you can still see quite a lot of the hardware within the chassis through the filtered air vents, although that will obviously diminish if you’re mounting fans/radiators on the panels.
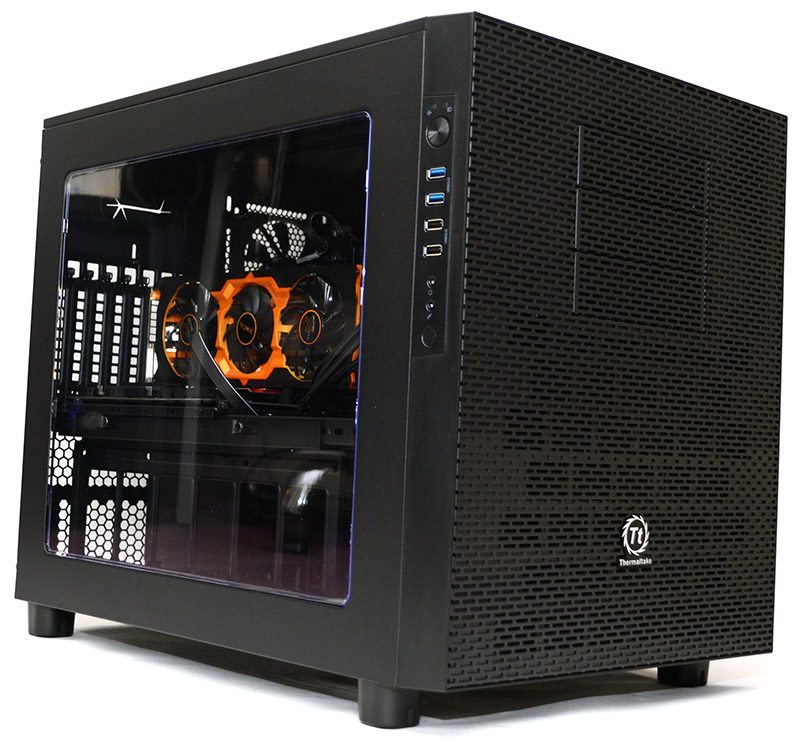
The real star of the show, however, is that massive side panel window. If you’re eager to show off your new graphics card and any cooling components, then this is the perfect way to do it. I would have liked more of a tint to the panel to help hide darker components and cable routing, but it’s still a great window panel.
It’s a little bit on the industrial side in terms of design and obviously not going to be everyone’s taste, but with such insane component capabilities, it’s going to make a fine choice for a high-end workstation, file server or extreme gaming PC.