In Win 904 Glass & Aluminium Chassis Review
Peter Donnell / 10 years ago
Exterior
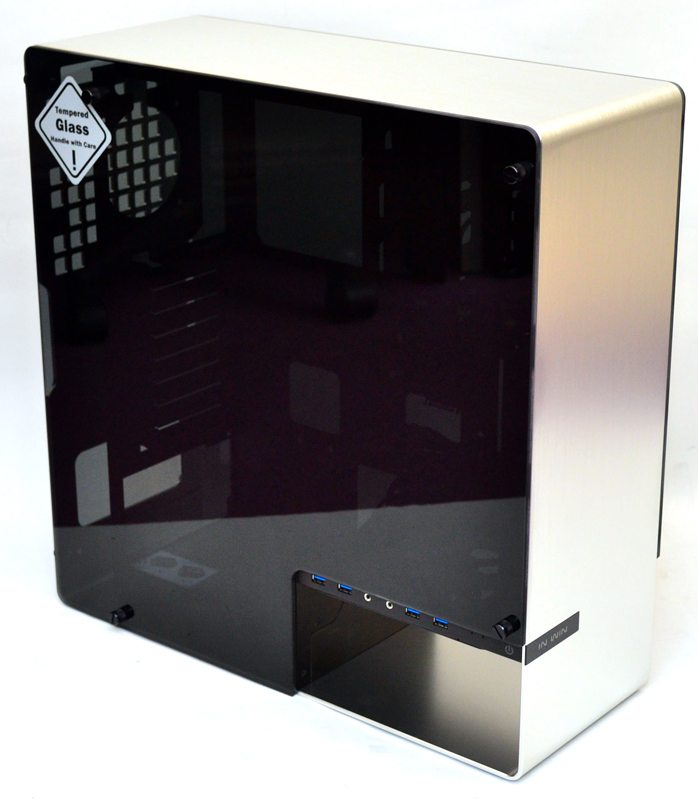
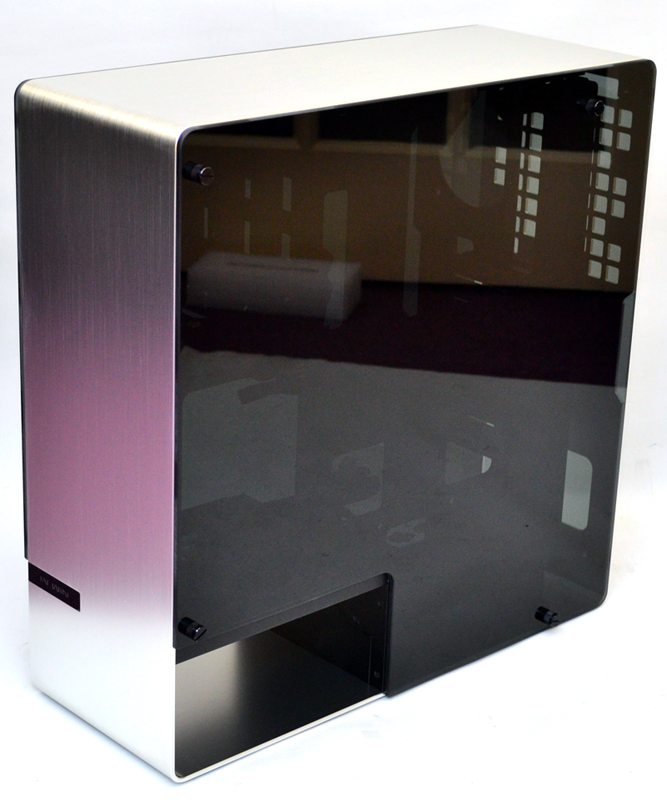
The first thing we notice about the 904 is that it features a huge tempered glass side pane with a dark tint that gives it a heavy reflection, but still transparent enough to give us a slight sneak peak of the chassis interior.
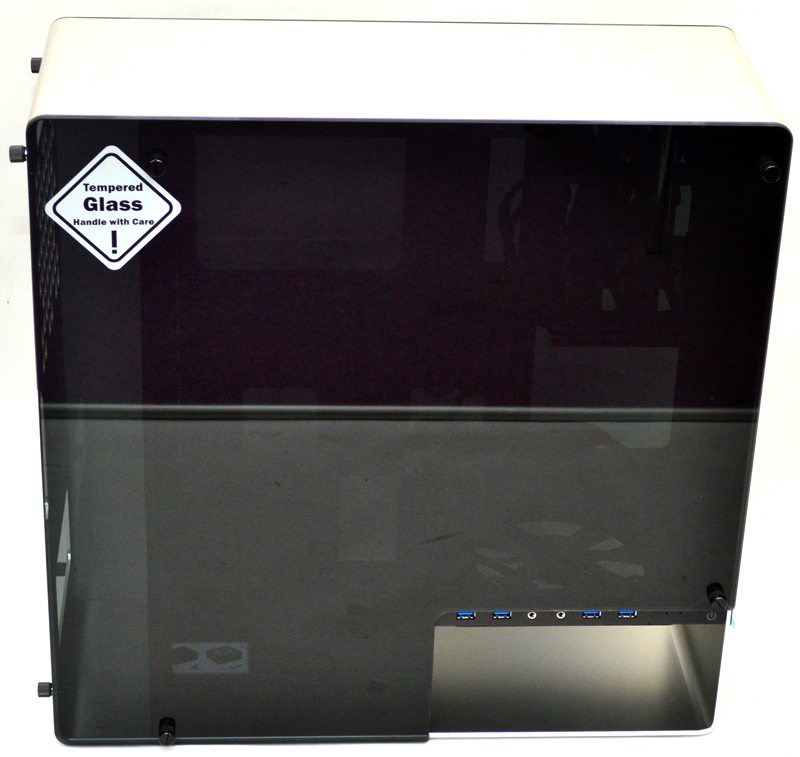
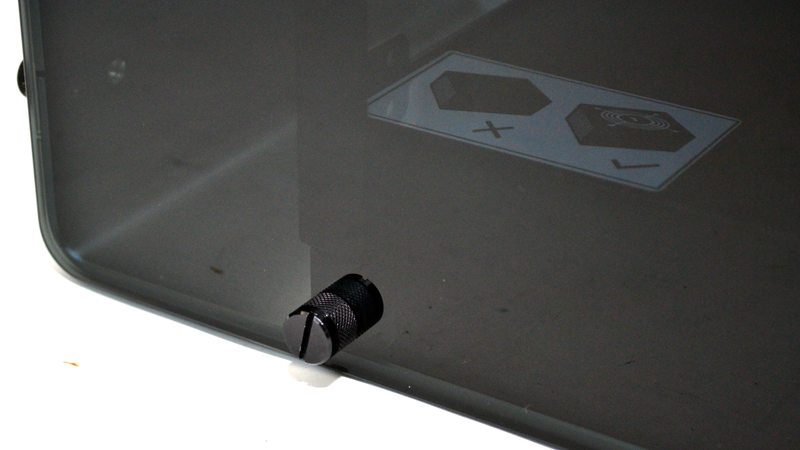
The glass is mounted on four metal pegs with rubber washers, then held in place with four black thumb screws.
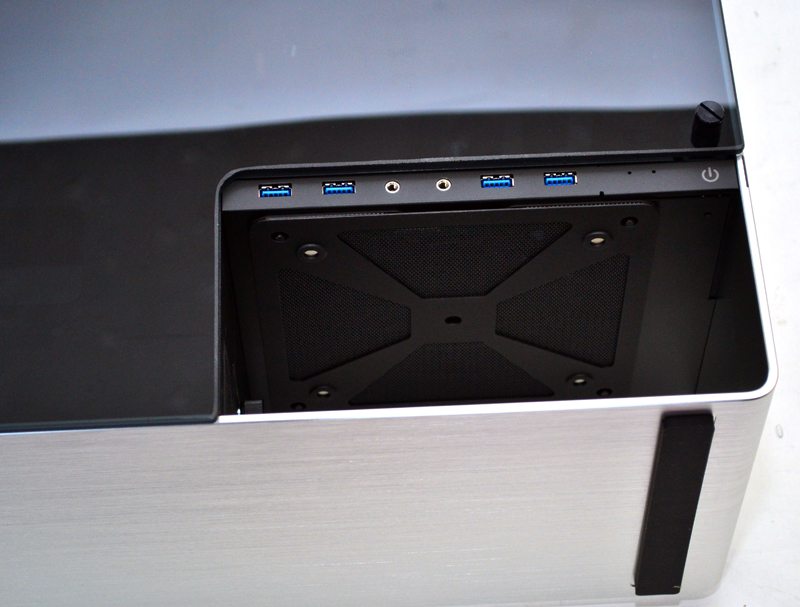
Breaking from convention, In Win have left a huge cut-away in the bottom-front corner of the chassis, Here you will find the main I/O panel that caters for HD audio, 4 x USB 3.0 and a touch sensitive power switch. In the gap below that you will find a thumb screw that holds a removable cover in place, this is actually the 5.25″ drive bay.
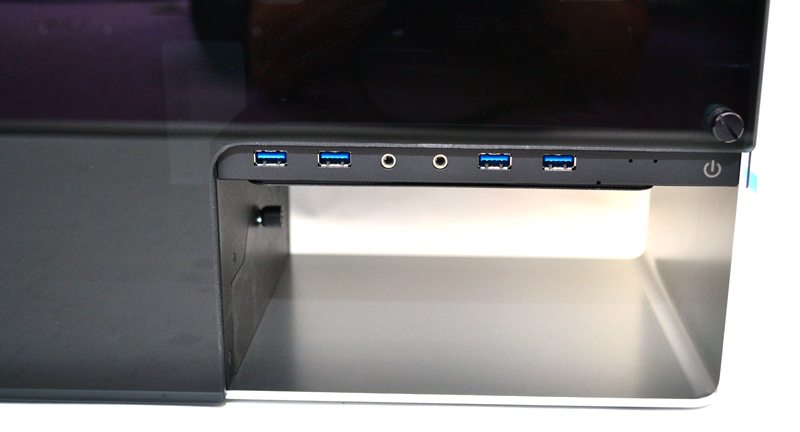 The top side of the bay is a removable air filter and fan mounting space for a 140mm fan (optional).
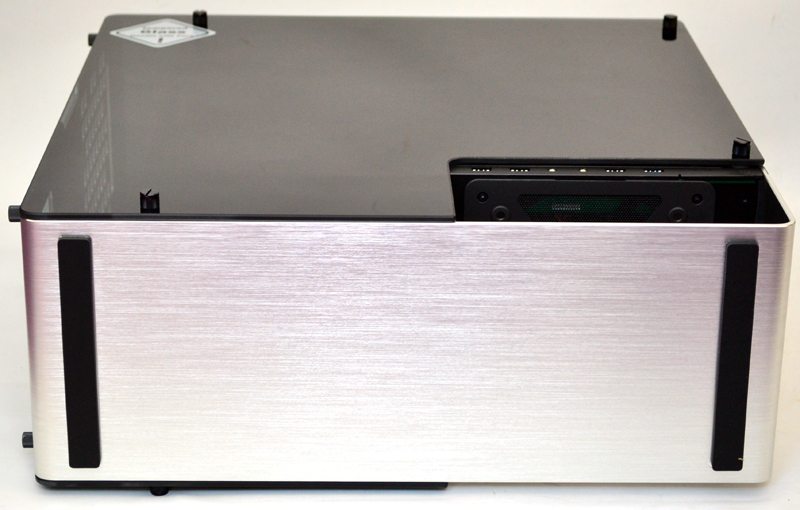
The aluminium finish is absolutely flawless all over the chassis, with a soft brushed texture and perfectly trimmed and smoothed edges and curves, although the same is true of the glass panels, everything is finished perfectly down to the smallest detail.
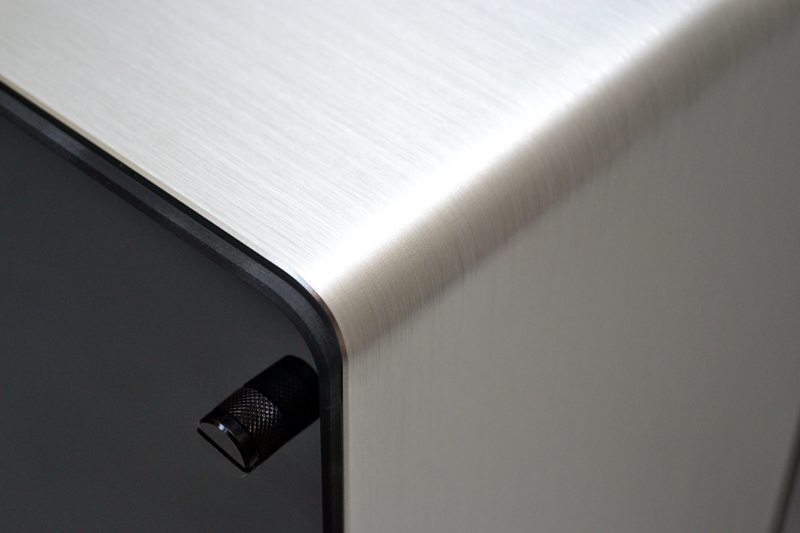
The aluminium panel has a single piece look to it, curving around the top, front, bottom and back of the chassis.
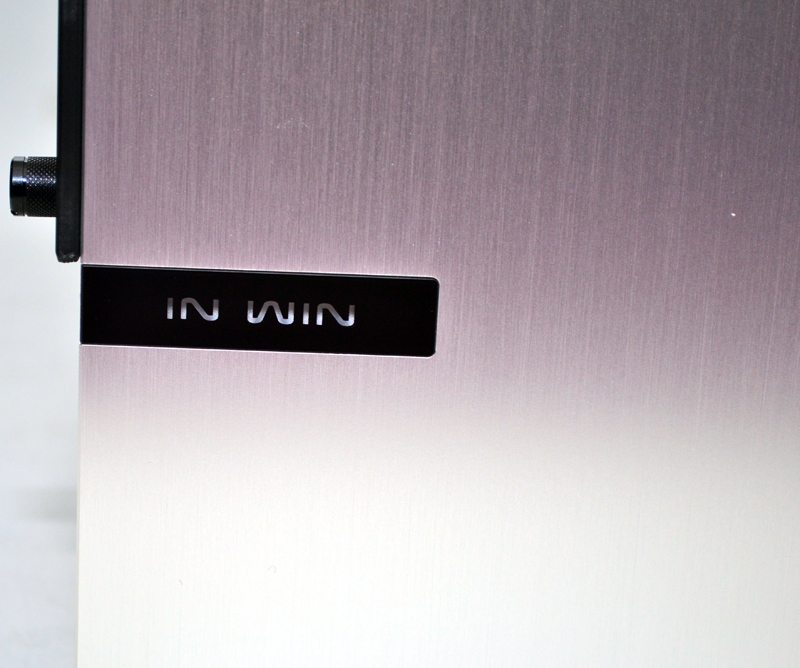
Having the 5.25″ bay and the air intake in the special cut out section, the front panel can be unspoilt and the soft texture look of the aluminium gives off some very subtle reflections, for example, the purple tone you can see is coming from my carpet.
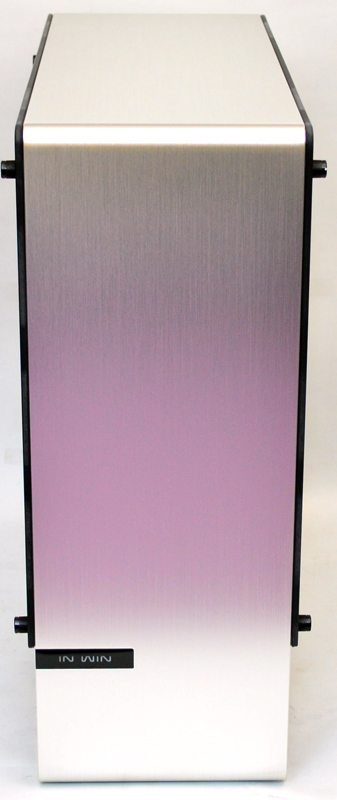
The In Win logo is nicely set into the metal work, with a gloss black background and transparent lettering that matches the overall design of the chassis.
The right side of the chassis is very similar to that of the left, another glass panel and four more metal thumb screws to hold it in place.
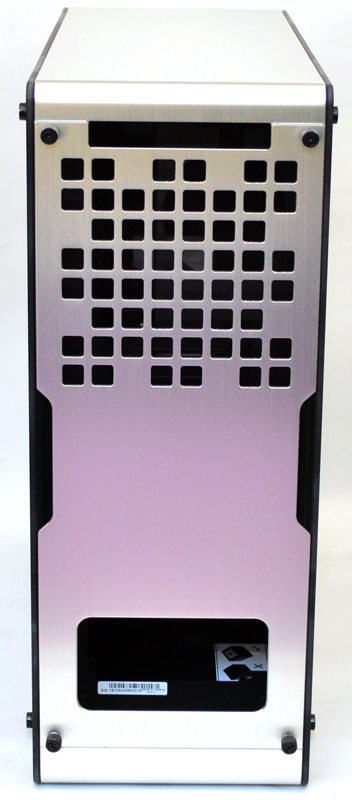
Around the back we see very little again, there are some holes cut in the top of the cover panel for ventilation and a large cut-out at the bottom to allow the PSU to exhaust. There are also four thumb screws for removing this panel, behind which you will find that standard mounting panel for your PSU and expansion cards, but we’ll look at that shortly.
The underside is simplistic too, again keeping with the flowing metal look and just two huge rubber strips to keep things nice and stable.