Aerocool Project 7 P7-C0 Pro Chassis Review
Peter Donnell / 7 years ago
A Closer Look – Interior
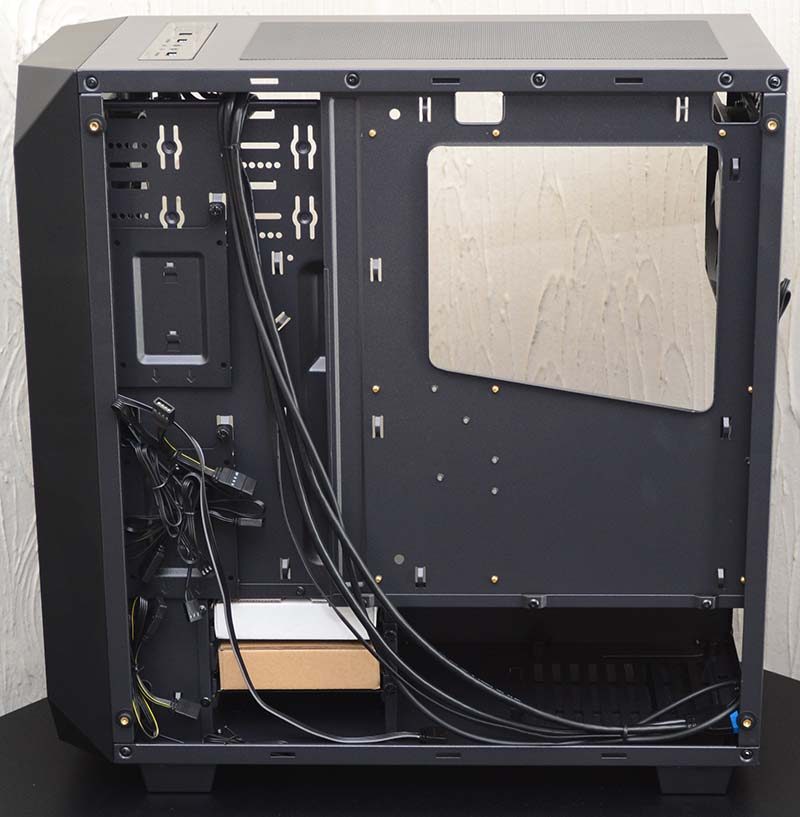
The glass side panels are fairly easy to remove, using just four thumb screws over the rubber coated pegs. On the interior, there looks to be plenty of space for hardware, which is good. However, there’s limited space in the top, as I’ve said before, so don’t expect a radiator to fit up there.
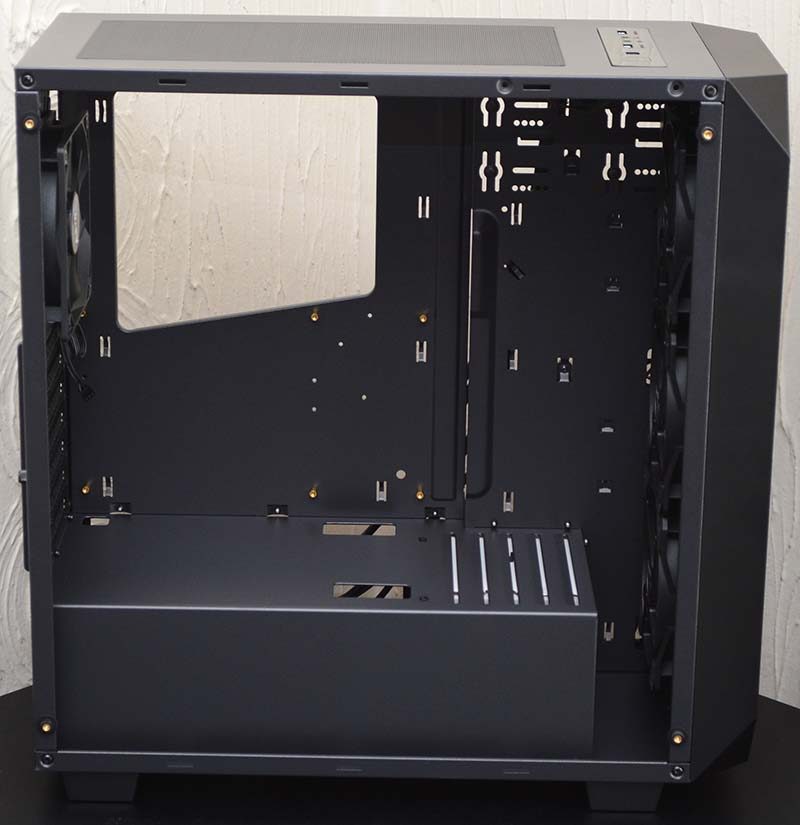
There’s extended space in the front, as the PSU shroud is cut short, but it’ll only make room for a slimmer radiator and single row of fans. There’s also some ventilation here, which will help ensure the HDD bays in the base get some good airflow. A few cable routing grommets are cut into the shroud too, allowing you to route GPU and motherboard cables more easily.

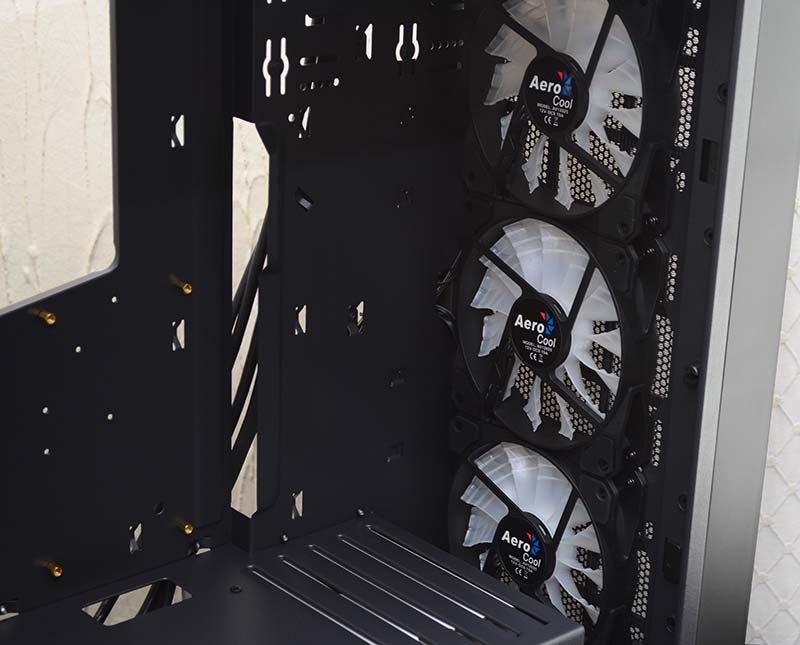
RGB Fans
The fans look very nice, even with their power off. They’re RGB, and use frosted white blades that illuminate from the center of the fan, rather than LEDs on the fan chassis.
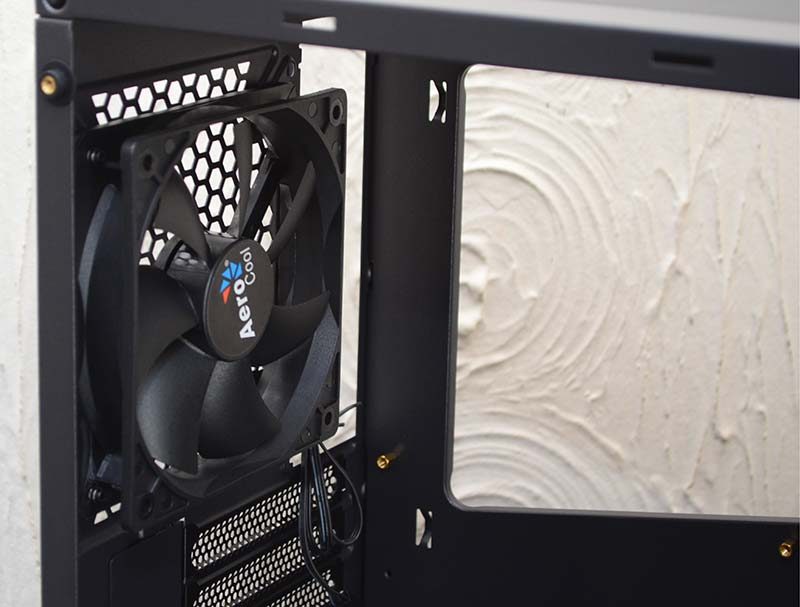
The stock rear fan, nothing too fancy, but it’ll get the job done and since it’s black it’ll be hard to see through those tinted windows.
Up in the top, you’ll find those fan mount. The front I/O PCB does stick out quite a bit, which could conflict with some AIO radiators if mounted in the front. If that is the case, you could use the lower fan mounts rather than the top two.
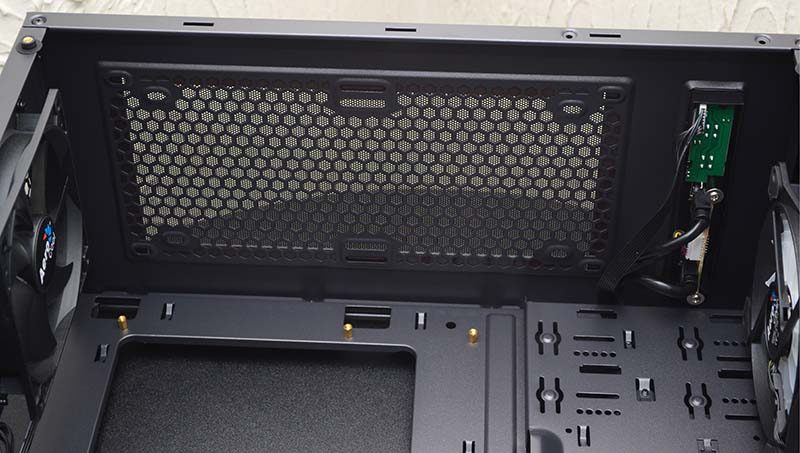
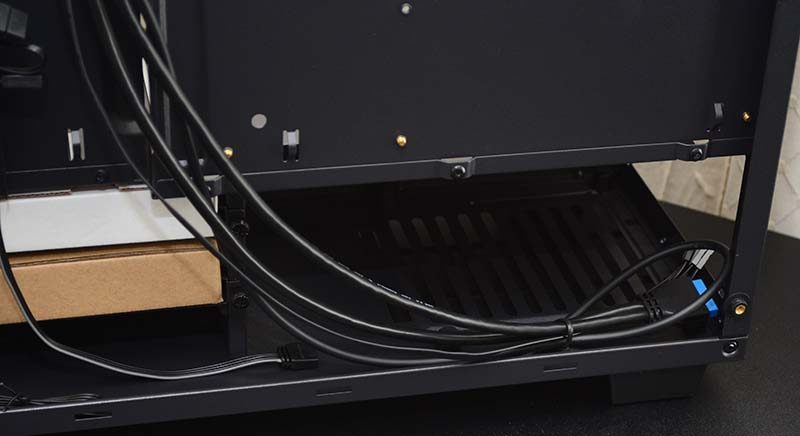
With the rear window removed, we can see a few more tricks of the Project 7 chassis. There are a few cable routing holes, and cable tie loops. Space does look a bit limited though, so you’ll want to make use of the PSU shroud for hiding cables. However, that’s not huge either, this isn’t a big chassis, so shorter PSU designs would be preferred.
Dedicated SSD Mounts
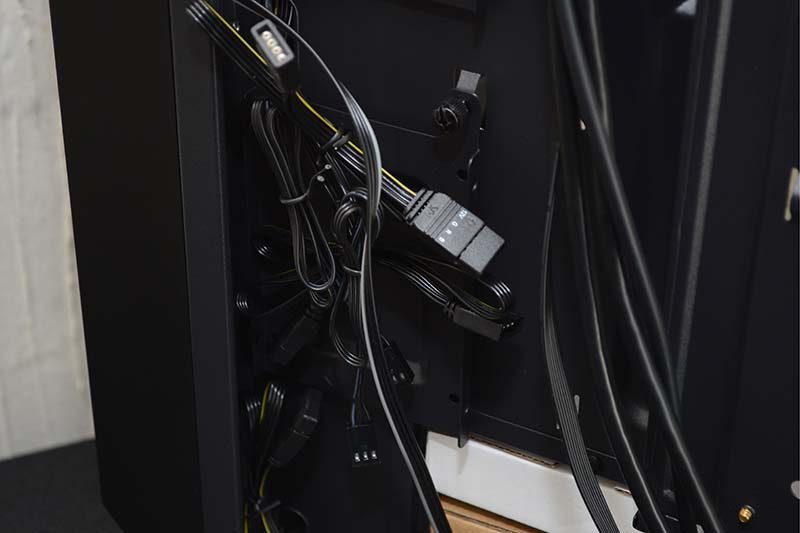
There are two dedicated 2.5″ drive mounts back here too, one near the top here.

The other lower down here. This does eat up more precious cable routing space though. There’s a hub for all those cables to plug into, but again, that’s going to take up more space too. Of course, a little care will get the job done, but I suspect it’s going to be fiddly.
Tucked in the base, two 3.5″ HDD bays. There are two boxes, one with the RGB fan hub, the other with general things like screws and cable ties.
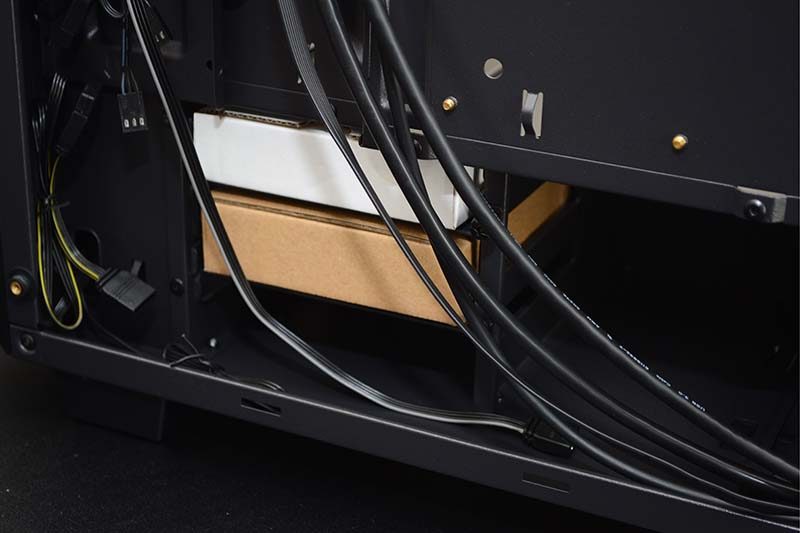
The PSU mounting area, pretty straight forward stuff. Now, let’s get the hardware installed and see what it looks like!