Akasa Pi-4 Pro Raspberry Pi 4 Case Review
Peter Donnell / 3 years ago
A Closer Look
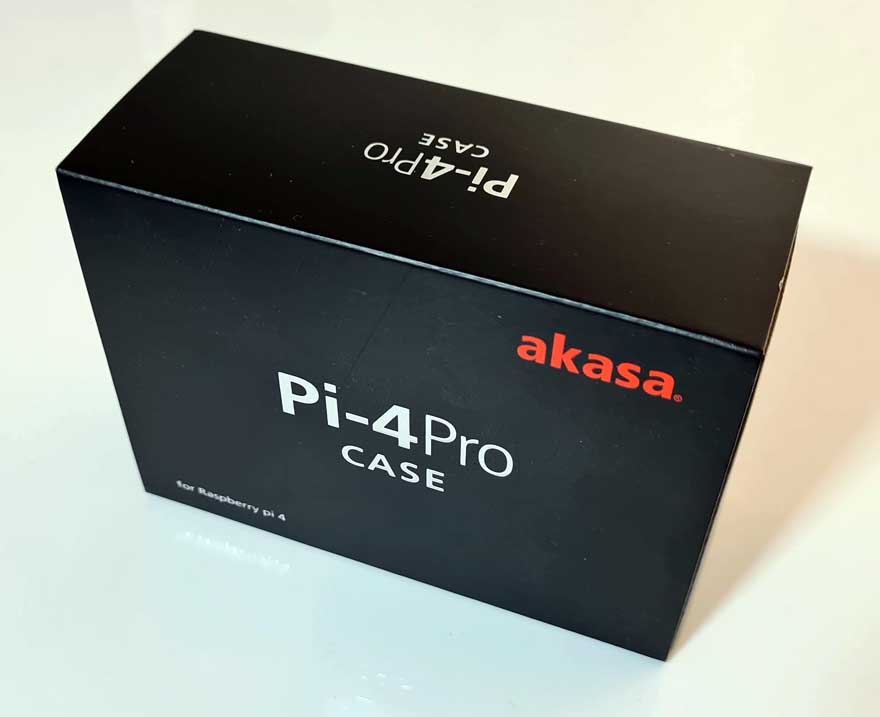
The box for the Akasa Pi-4 Pro comes in a compact and durable black box, not much bigger than the case its self. It’s a fairly simple product really, so the likelihood of it taking damage is minimal. The box is pretty light too, but given the case is aluminium, that’s no big surprise either.

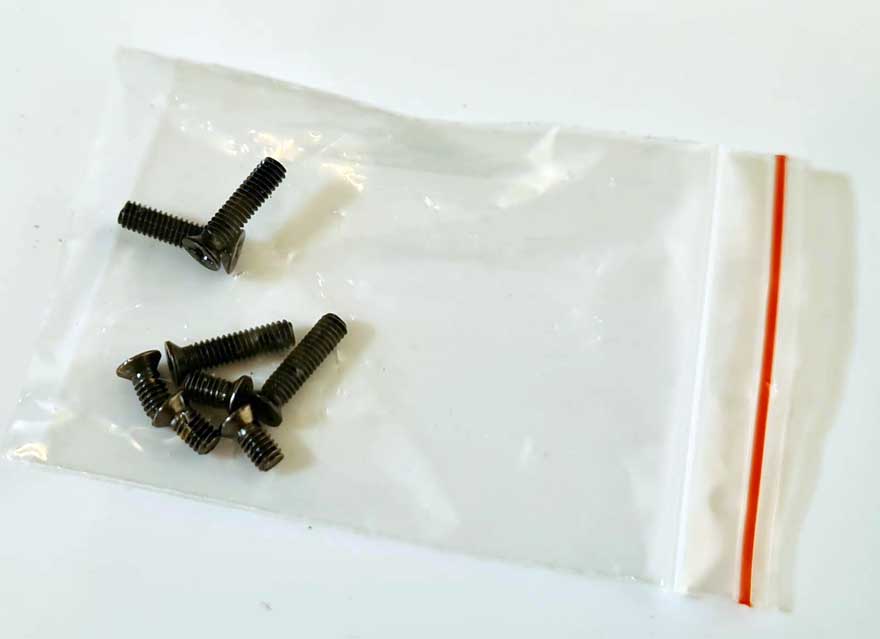
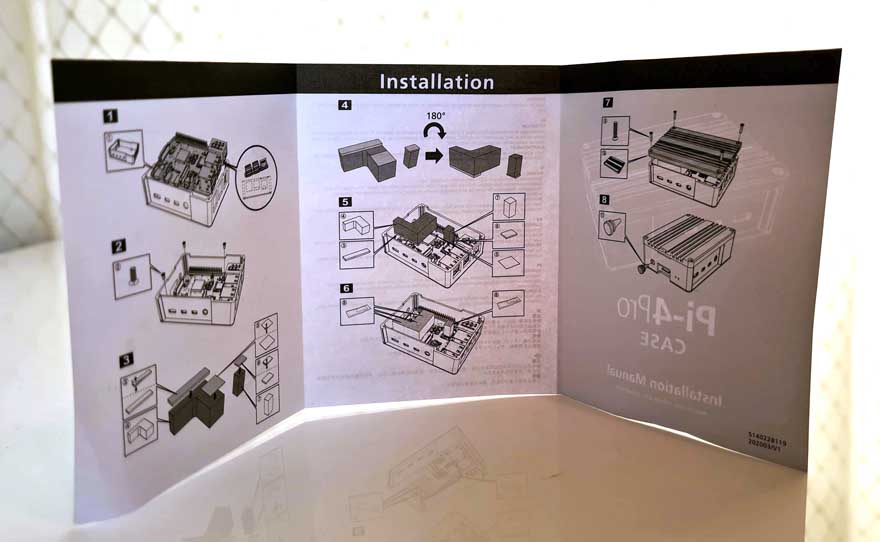
Open up the box, and you’ll find the main case, obviously, as well as the usual documentation. However, there are also three small bags of components. One simply has the required screws in it.
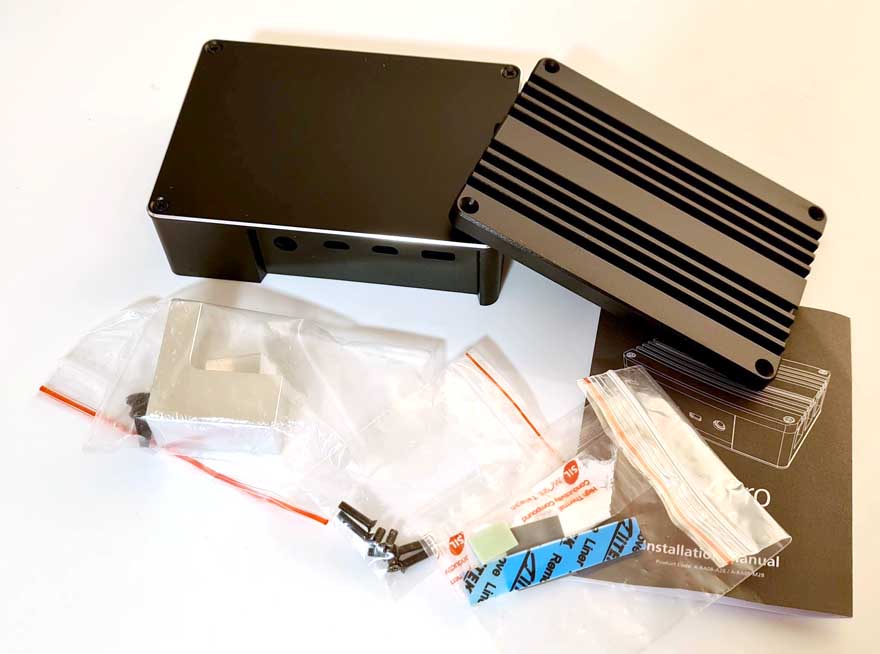
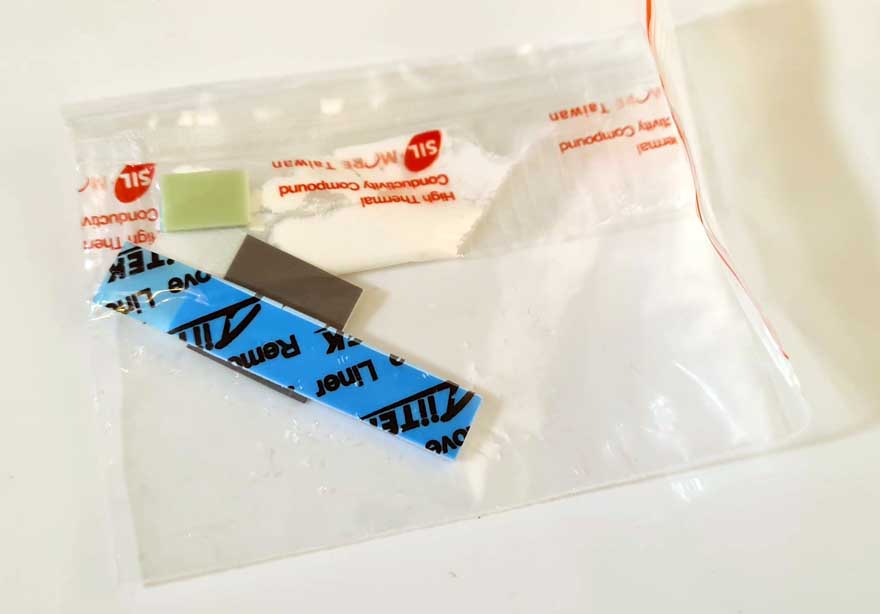
There’s one more with some thermal pads and some thermal paste, ensuring the PCB of your Pi-4B makes good contact with the heatsink elements of the case.
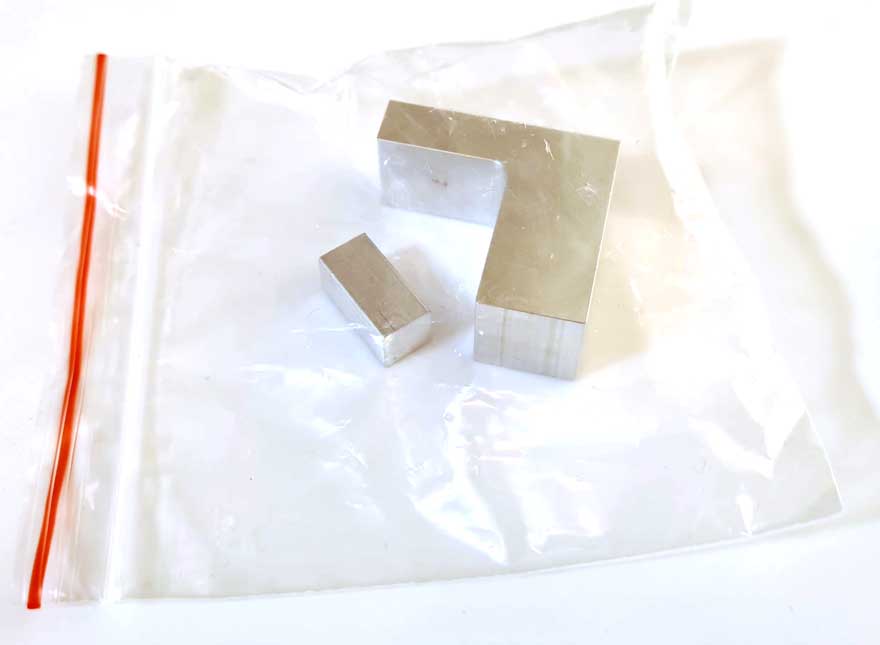
The final bag has two large chunks of aluminium, which are basically the heatpipes that you’ll place between the chipsets of the Pi-4B and the outer shell of the case.
Overall, it’s a lot less complicated than it looks. There are instructions that show you exactly where everything goes, but overall, anyone who’s built a few computers in their time will figure it out straight away… Those new to building anything will need about 5 minutes more.
The case its self comes in two main parts. The main part is milled from a single aluminium piece, so it’s both incredibly light and strong. It’s also been finished in this gorgeous black, which has a fine texture to it.
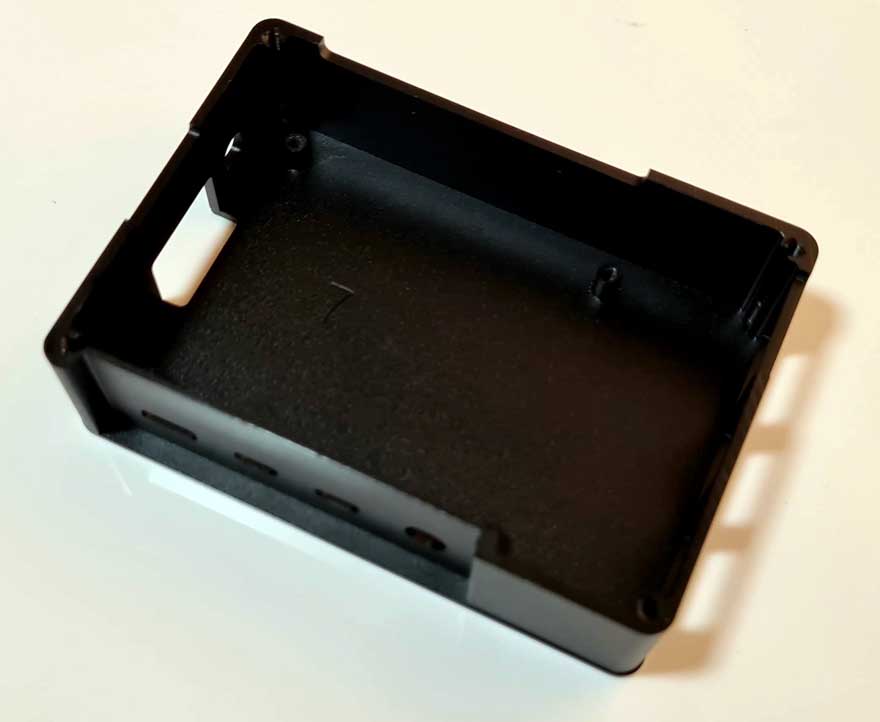
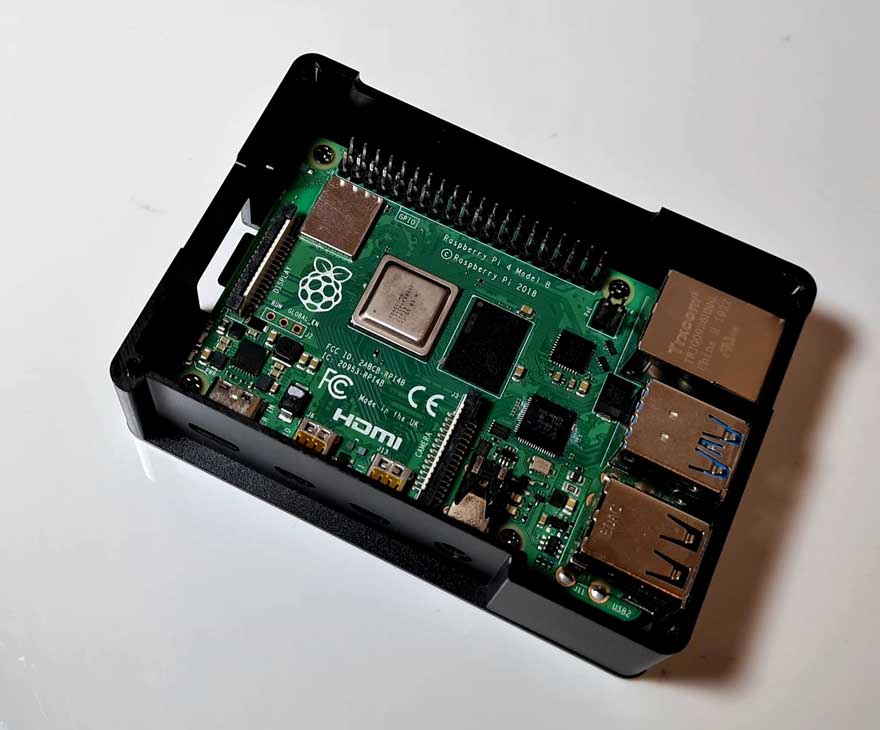
There are four screw holes in the bottom, where you’ll affix the Pi-4B PCB.
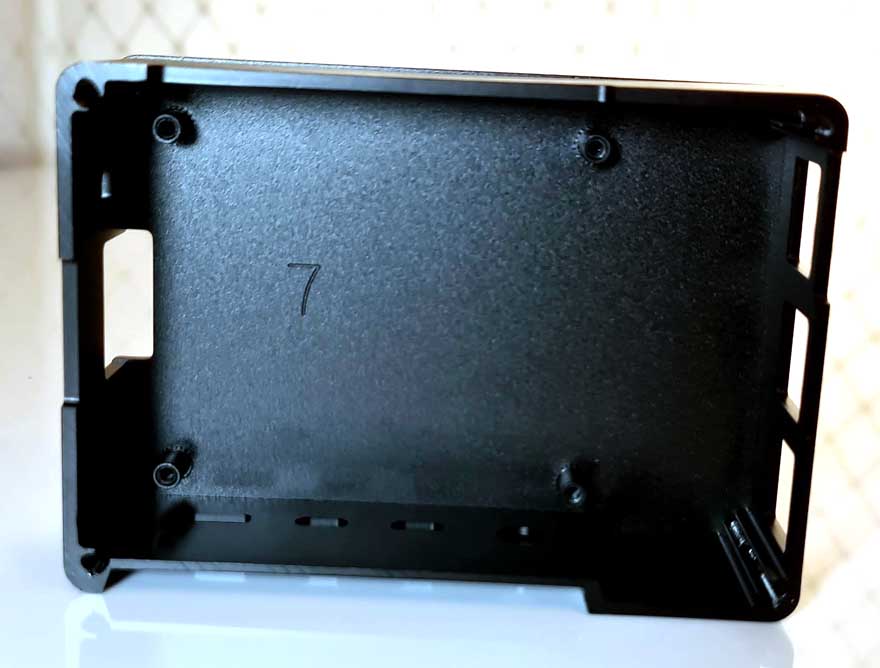
There are four more screw holes on the outer corners, so you can join the base plate

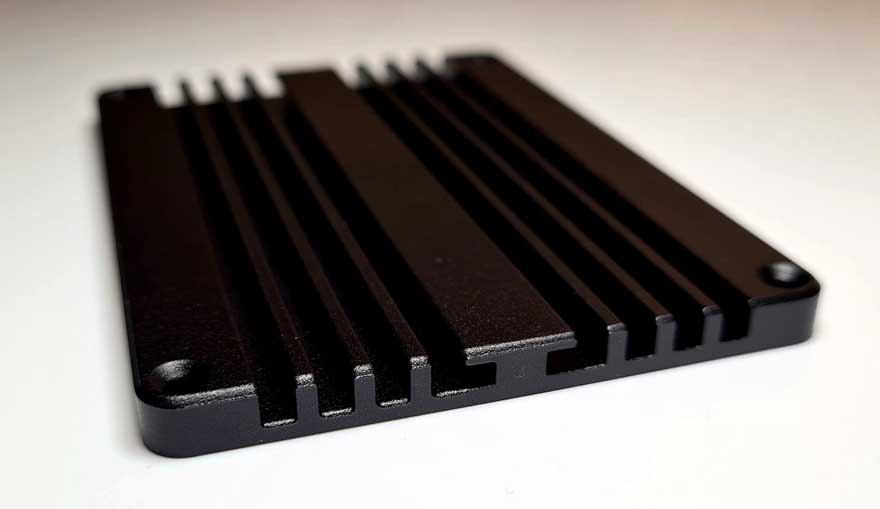
The other side has some deep grooves cut into it, which increases the surface area and will improve the overall cooling potential of the case.
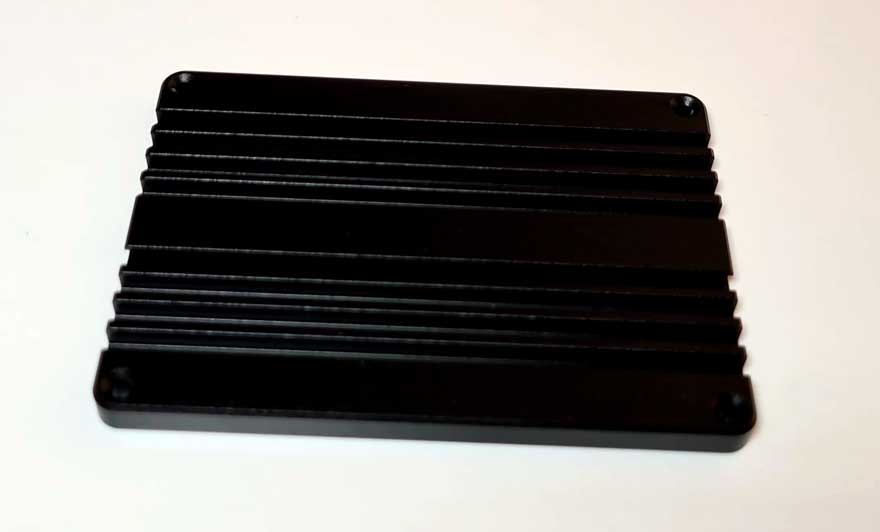
What’s interesting is the middle bit is actually a slide rail, allowing you to fit it to a wall mount or VESA bracket, but the little conversion kit is sold separately, as it’s unlikely many will actually need it. Or you can do what I do. I use a bit of double-sided Gorilla tape and then I can put it on the back of any monitor.
So, now it’s time to put this thing together. Drop in the PCB and tighten the screws.
Apply the thermal pads and paste.
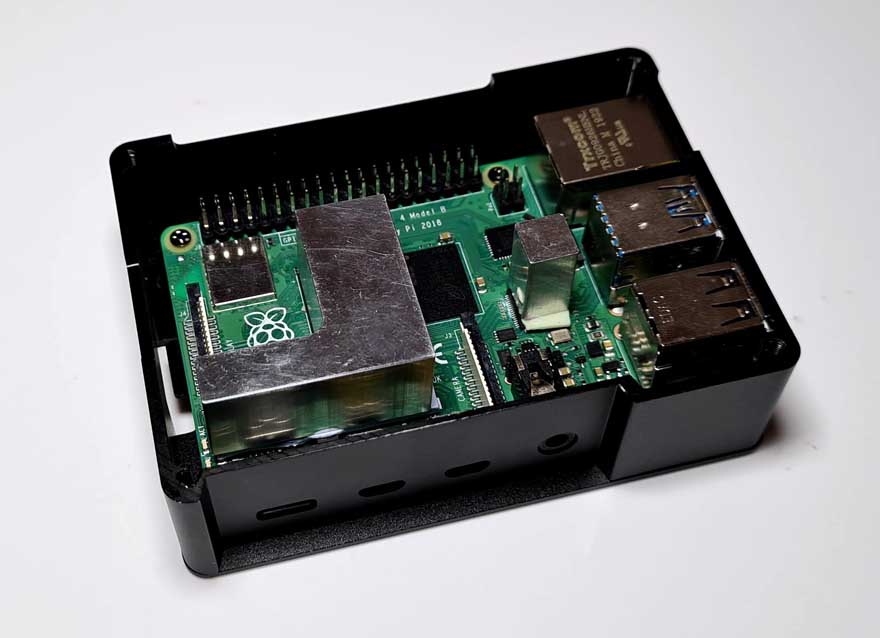
A bit messy, but it’ll be fine once the lid is on and is spreads out.

Then put the lid on.


