Anidees A17 ATX Mid-Tower Dual-Chamber Chassis Review
Peter Donnell / 8 years ago
Interior
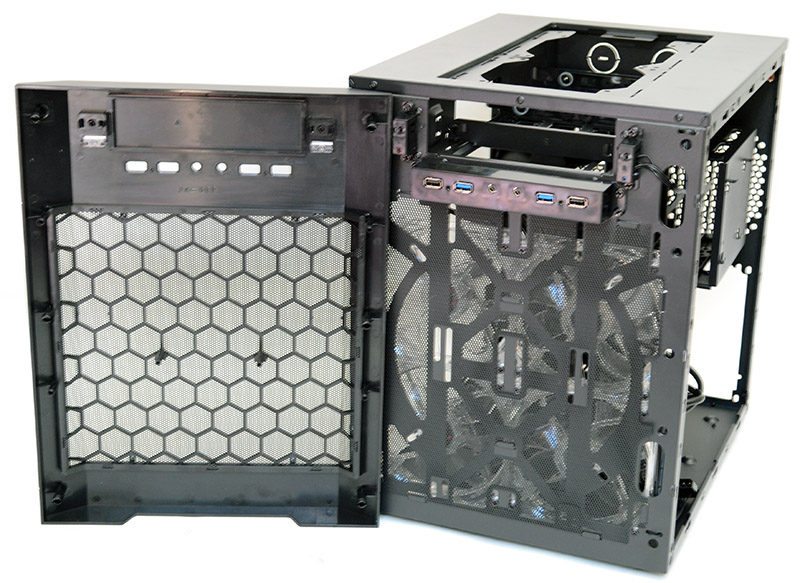
With the side panel removed, we can see that the powder black paint job continues throughout the chassis, giving it a nice and uniform appearance. There’s a good amount of room in here, with almost the full height being taken up for the ATX motherboard installation, but a good size CPU cooler mounting cut-out will help with the install, as well the pre-installed stand-offs and the large cable routing grommets.
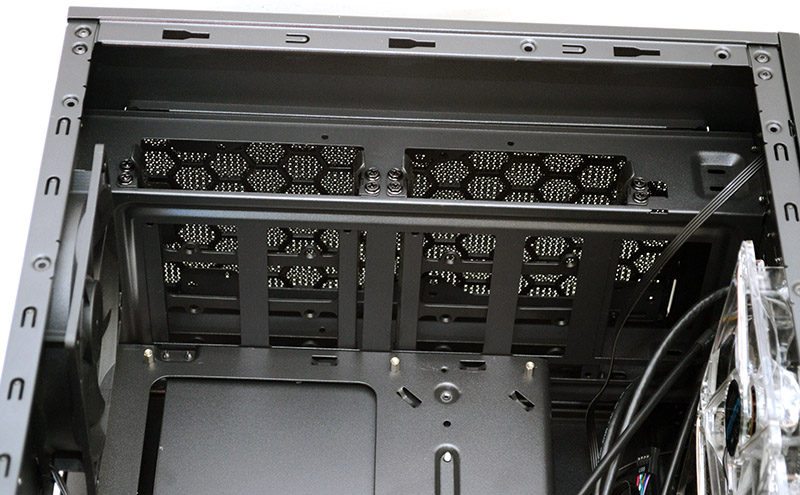
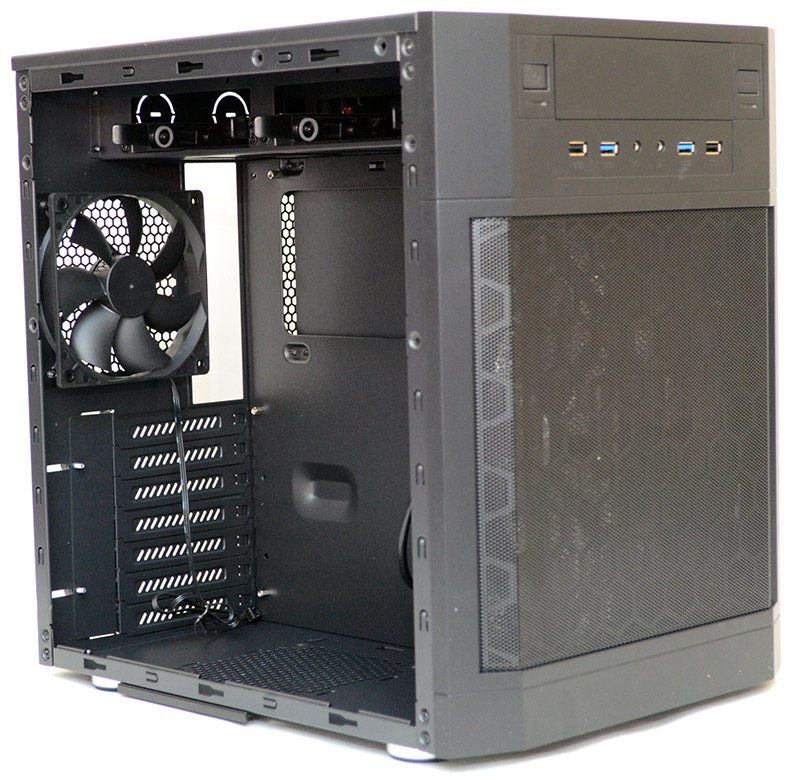
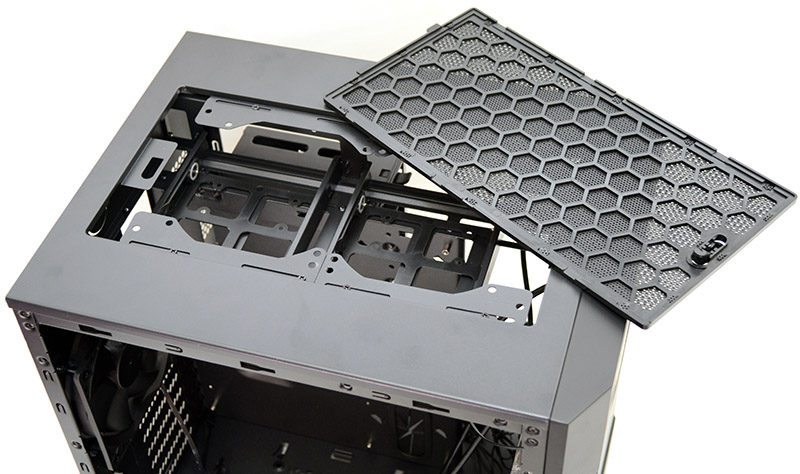
In the top, you’ll find two easily accessible 3.5″ hard drive trays, but interestingly you can remove these if they’re not needed, freeing up space for more fans and/or radiators in the top section of the chassis.
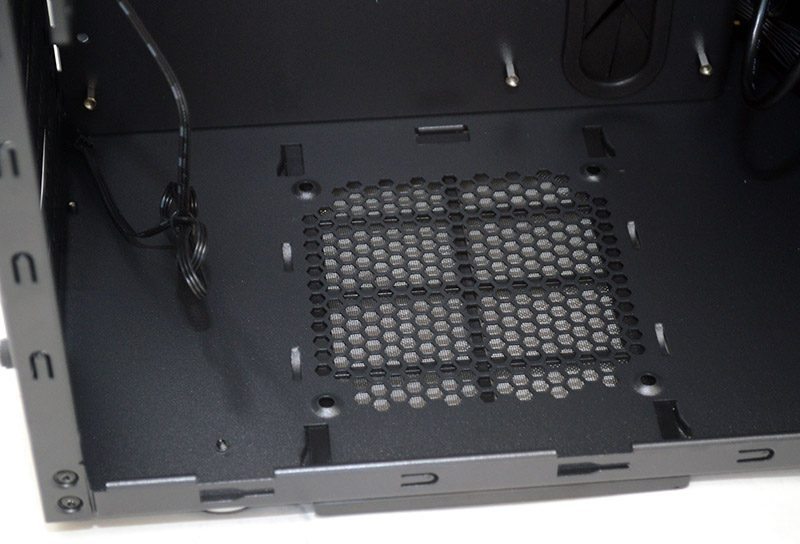
The base fan mount, handy for extra cooling but keep in mind that using it could limit your use of an expansion card in the lower slots on your ATX motherboard.
In the front, we have what looks like a budget friendly wind tunnel setup, with four good quality 120mm fans that are going to give you exceptional airflow throughout the chassis!
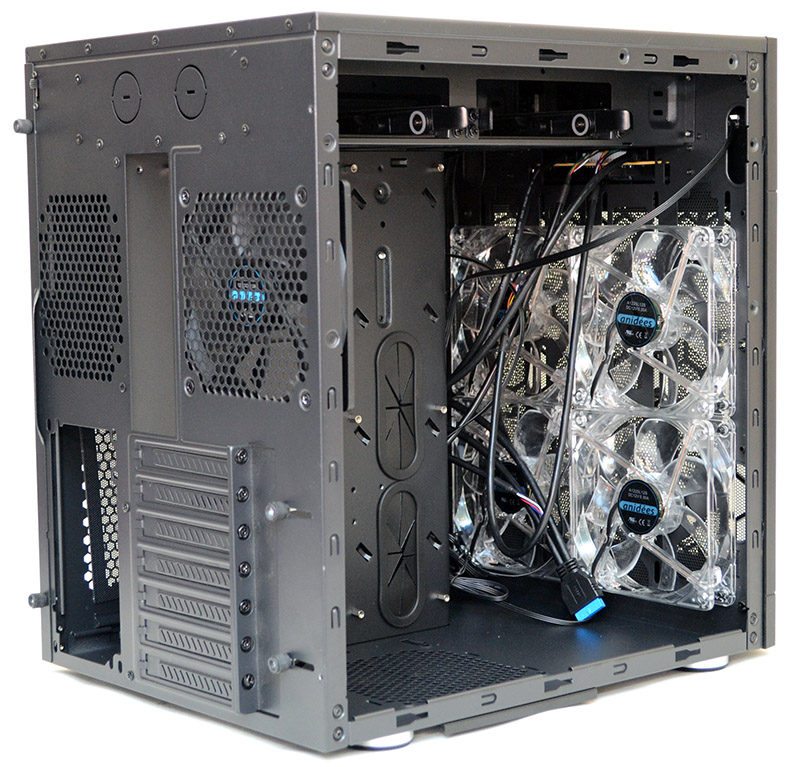
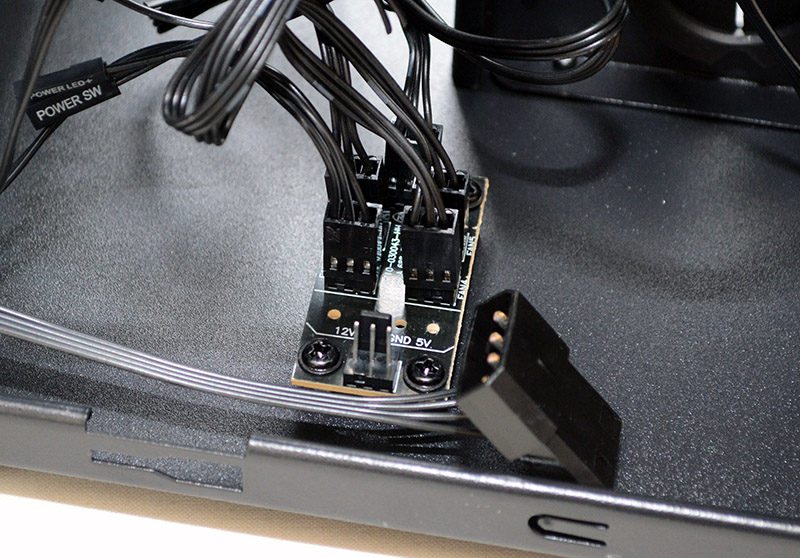
As well as a fifth fan in the rear, we’re going to see a lot of air flow here and with the inclusion of a fan speed controller and hub, hooking them up and getting the best cooling or silent performance isn’t going to be a problem.
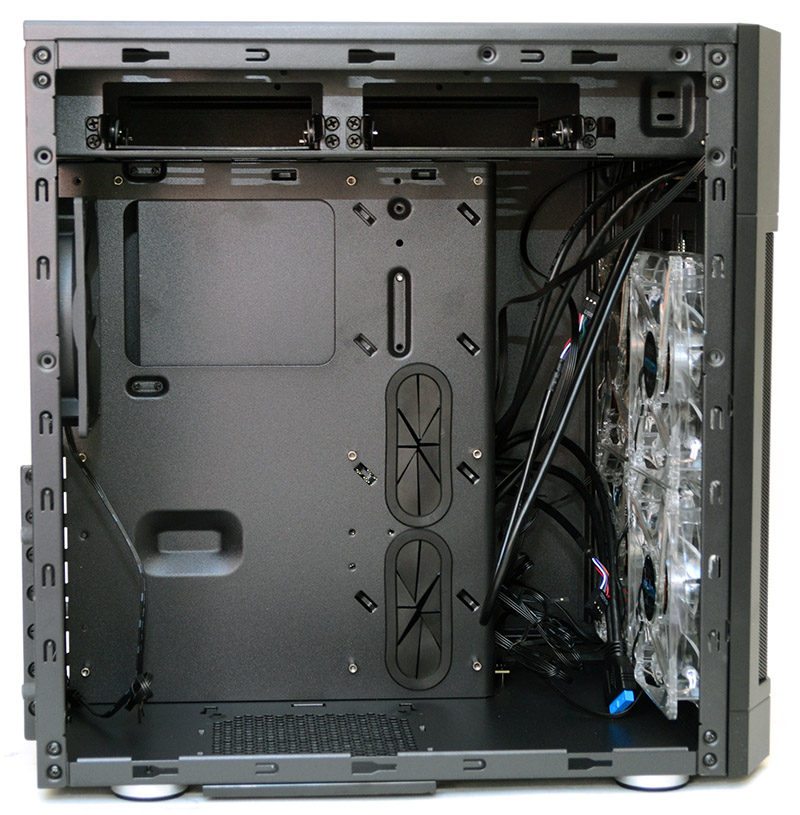
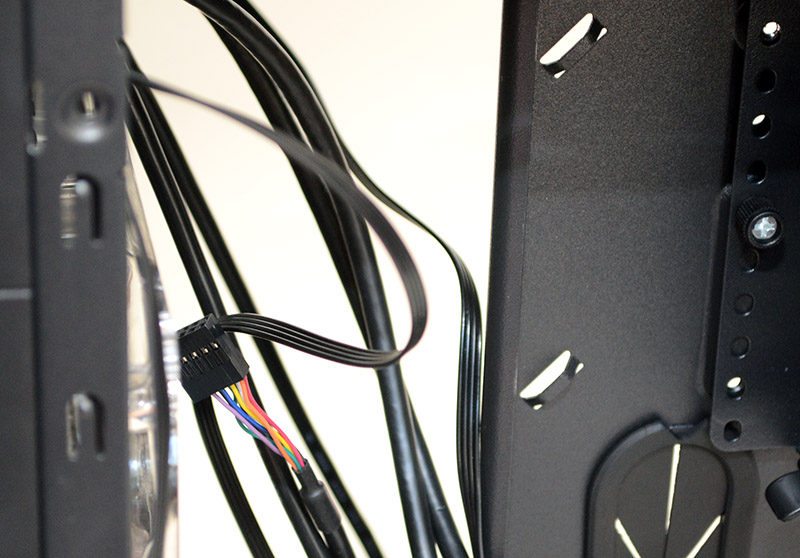
Around the back, you’ll find a mess of cables, which deals with all the front panel I/O as well as everything need to hook up those fans, fortunately, this is a dual chamber design, so tucking the bulk of any cables out of sight shouldn’t be too difficult.
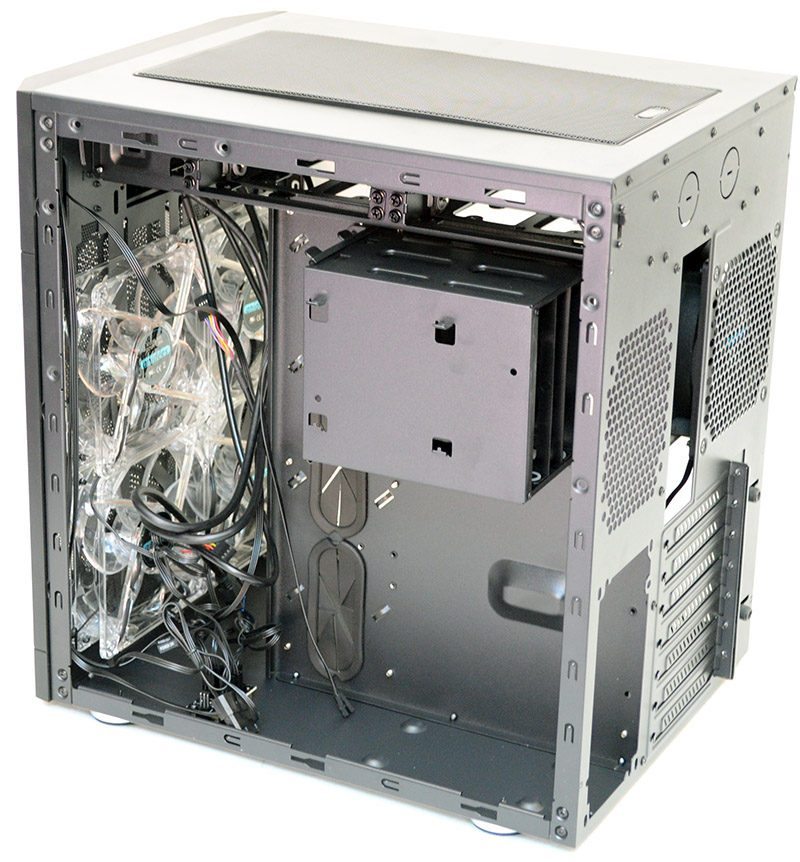
There’s a removable drive caddy here, which can support 2 x 2.5/3.5″ drives in the trays, as well as an additional 2.5″ drive on the side.

The fan hub is nice and simple, with a good range of connectors and all of the pre-installed fans hooked up for you. The whole thing is powered by a single Molex, and that means you don’t need to run fan cables to your motherboard, which can help keep your cable routing looking neat and tidy.
To help control excess cables, you’ll find a good amount of cable tie loops behind the motherboard too, as well as a bunch of cable ties in the box to help you get this done nice and quickly.
With the top panel removed, you can easily see the top drive trays and the fan mounts. As I said before, you can remove those drive bays and that’ll free up a lot of room for thicker radiator setups, giving you great flexibility over the kind of build you want to achieve.
Finally, the front panel simply pulls off, and you’ll find a clip-in mesh filter, it’s not the best kind of filter, but it’ll get the job done, and this kind of solution helps keep the cost of the chassis nice and low.