ASUS ROG MAXIMUS XIII HERO Motherboard Review
Ben Enos / 3 years ago
A Closer Look
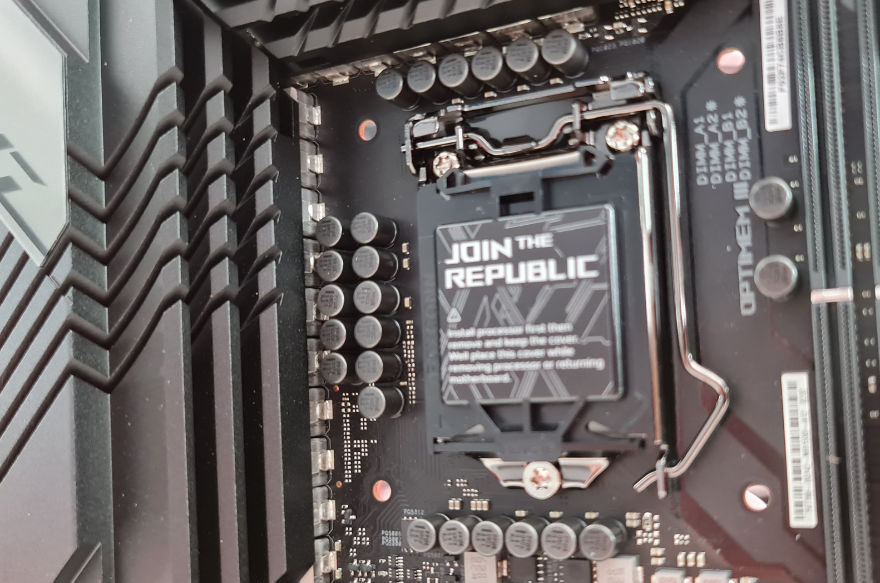
First look at this motherboard and it definitely a beast. The all-black design with some mirror-like covers works really well, ASUS definitely know what they are doing with these ROG MAXIMUS boards. Taking a quick look around the board and we can see there are all kinds of features to help us get the most out of our new 11th gen Intel CPUs. The power phases heatsinks look like they have a sort of tri-level thing going on to them that is then tied in with the rest of the board.

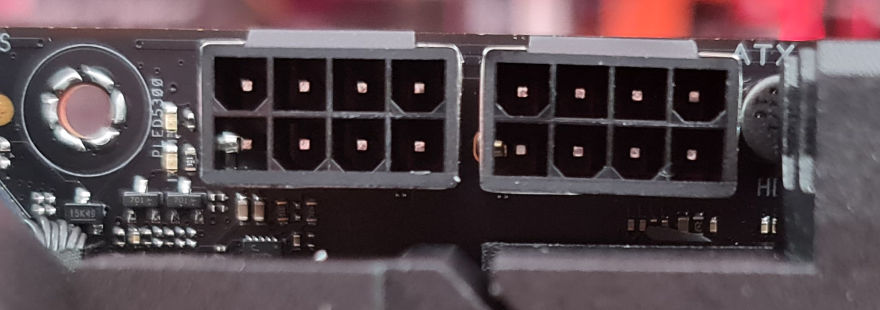
Those looking to push their CPU to the limits will be happy to see a pair of 8-pin EPS power connectors. These bad boys are going to help and deliver a more stable power solution across the board and allow for maximum overclocks on the CPU. While some may say overclocking is dying, which is thanks to those crazy boost speeds CPUs have these days, it’s still nice to know the power is there if you want to have a bit of a play and see exactly what your CPU is capable of.
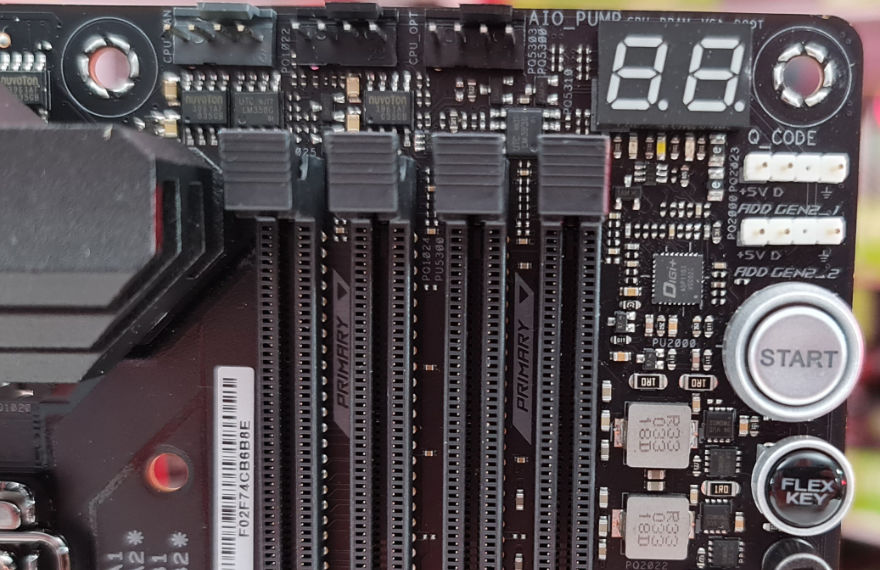
The MAXIMUS XIII has plenty of fan connectors, on the top right we have a CPU fan, CPU OPT and AIO Pump connector. We can also see our DeBug LED readout, a pair of 5V ARGB headers, our start/power button and the Flex Key button. The Flex Key, by default, is a reset button. However, it can be controlled in BIOS to offer a few different options! It can do things like controlling the AURA lighting or even boot straight to BIOS.
The MAXIMUS HERO XIII comes with 14+2 90 AMP power Phases. Pair these with those dual 8-pin EPS connectors and we have some amazing power delivery options. Great power delivery and stability was obviously a big concern when ASUS were designing this motherboard.
The 24-pin power connector is in what I would call its standard location. on most ATX boards, you will find this just to the right of the RAM DIMM slots. Speaking of RAM, the MAXIMUS XIII is designed to take up to 128GB of RAM at speeds of up to 5,333MHz when overclocked!
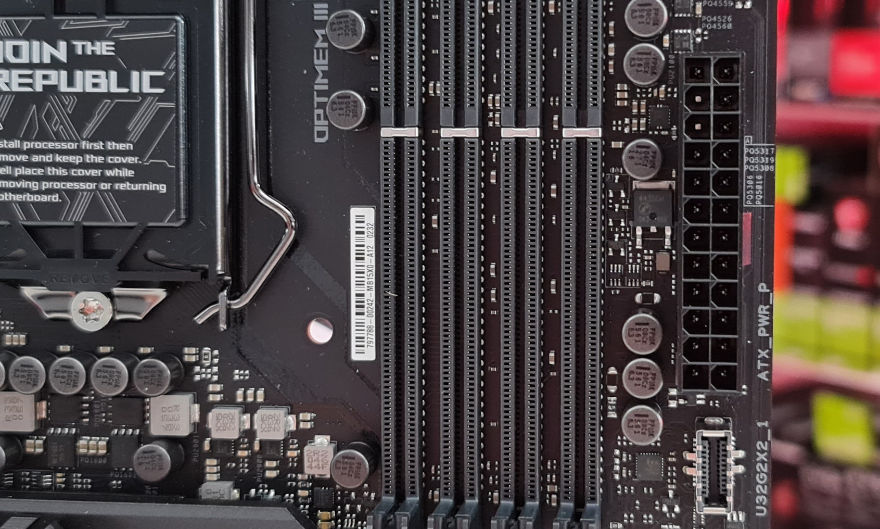
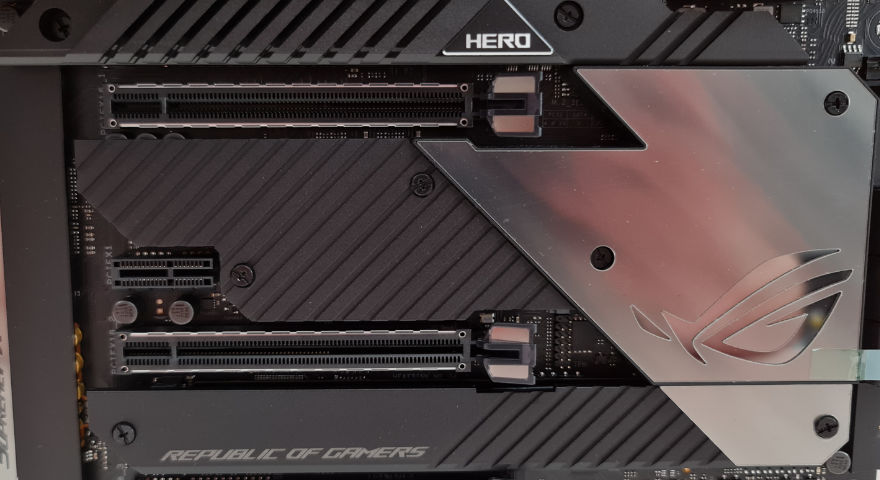
On to the bottom half of the motherboard and the fun continues. We have 2 x PCIe 4.0/3.0 x16 (x16, x8/x8, x8/x4) and 1 x PCIe 3.0 x16 (max. x4) that is on the bottom of the board. Remember, to make use of the PCIe 4.0 speeds you will need to use an 11th gen CPU, otherwise, the 10th gen CPUs only offer the PCIe 3.0 speeds. There is also a single PCIe 3.0 x1 slots.
Underneath the armour is the M.2 slots. There are a total of four M.2 slots on the MAXIMUS XIII. The top one is PCIe 4.0 and will only work with 11th gen CPUs. The next one down will work with 11th or 110h gen CPUs at 4.0 or 3.0 speeds, respectively. The 3rd one is a PCIe 3.0 slot and the bottom one is PCIe 3.0 or SATA capable. Be careful though as when using the bottom slot you will lose some of your SATA ports, not a big deal as there are plenty of both, just something to take now of.
Underneath the SupremeFX Armour, we have the SupremeFX Shielding Technology which is keeping the ESS® SABRE9018Q2C DAC/AMP safe. We also have Premium Japanese audio capacitors and gold-plated audio jacks on the rear IO.

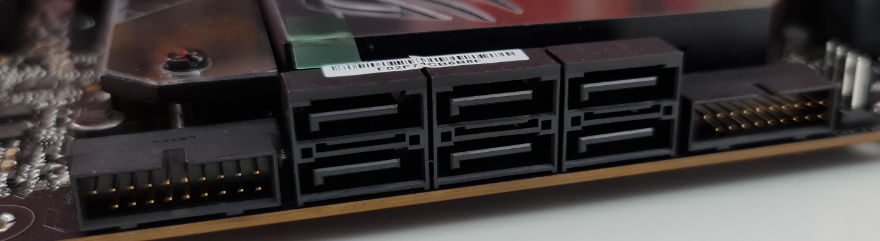
To the side of the PCIe slots, we have 6 x SATA 6Gb/s ports and 2 x USB 3.2 Gen 1 header(s) support(s) additional 4 USB 3.2 Gen 1 ports, Each of the USB 3.2 Gen 1 headers can offer two USB ports for a total of four extra USB ports.
Across the bottom of the board, we have our front panel audio connectors, RGB connectors, USB headers, CMOS batter a fan connector and our front panel power connectors.

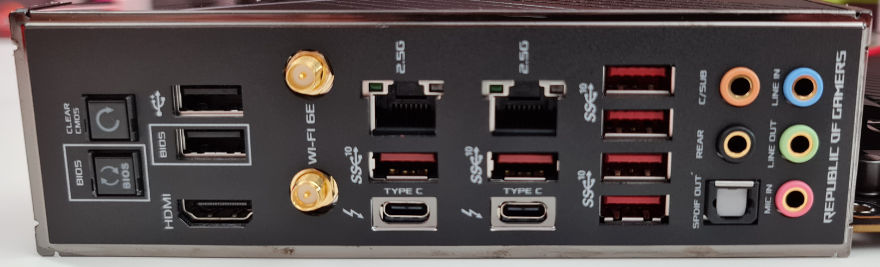
For the rear IO, we have quite a bit going on. Here, we will be able to find the following:
- 2 x Thunderbolt™ 4 USB Type-C® port(s)
- 6 x USB 3.2 Gen 2 port(s) (6 x Type-A)
- 2 x USB 2.0 port(s) (2 x Type-A)
- 1 x HDMI™ port
- 1 x ASUS Wi-Fi Module
- 2 x Intel® I225-V 2.5Gb Ethernet
- 5 x Gold-plated audio jacks
- 1 x Optical S/PDIF out port
- 1 x BIOS FlashBack™ button 1 x Clear CMOS button
The USB C/Thunderbolt 4 ports are a great addition to the MAXIMUS XIII. We can also see that the WiFi antennas will plug into a WiFi 6e module which is currently the best WiFi connection we can get from a motherboard. Another pair of important features is the clear CMOS and BIOS flashback buttons. The Clear CMOS button will allow us to reset the BIOS back to default so if for some reason something wasn’t right, we could start over again! The BIOS flashback button is going to let us flash our BIOS back to the previous version. This will be handy should our BIOS get corrupt for any reason, we can simply just revert to the previous version.
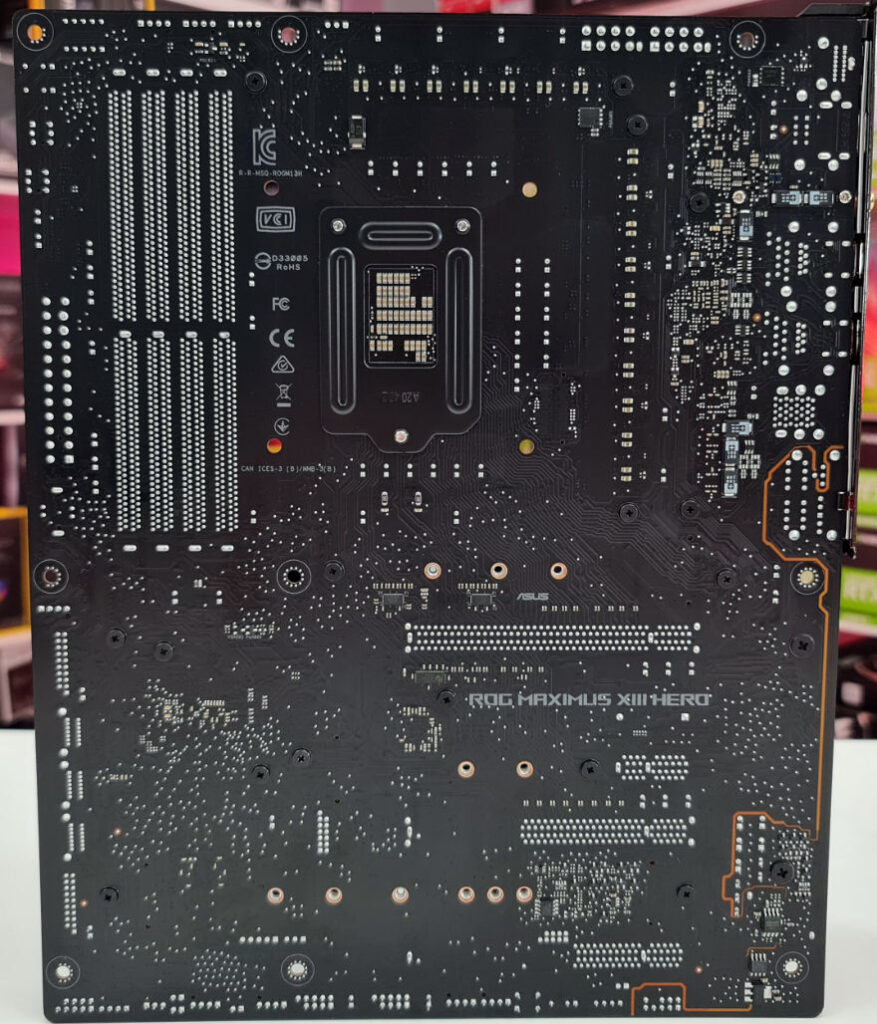
The back of the motherboard is looking rather plain, which is just fine. As this is a standard ATX board, we really don’t expect to see too much here.