Alpenföhn ATLAS Mini-ITX/Micro-ATX CPU Cooler Review


/ 8 years ago

« Previous Page

Next Page »

Installation


Installing the Atlas is a relatively simple process, which takes about ten minutes in total. Four long screws go through the appropriate holes in the backplate and are then held in place by four rubber caps.

DSC_4514

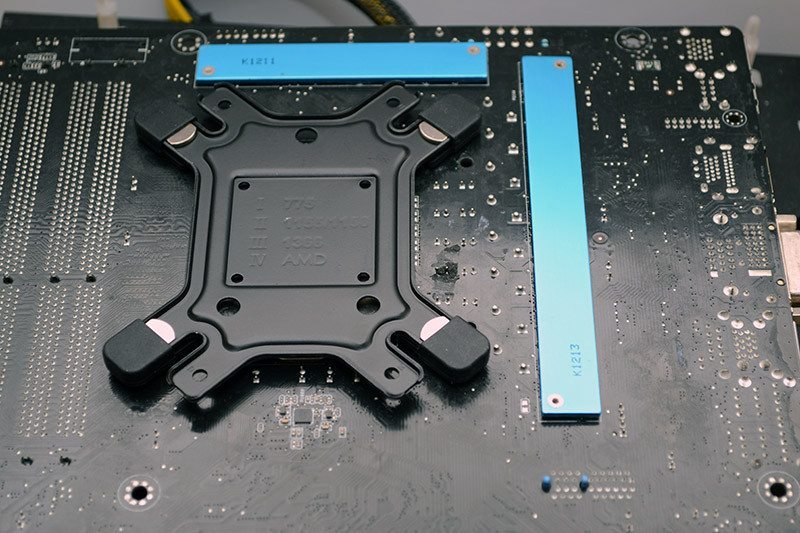
Once the backplate is in place, add the Intel or AMD retention brackets and secure them with the four thumb screws.

DSC_4516

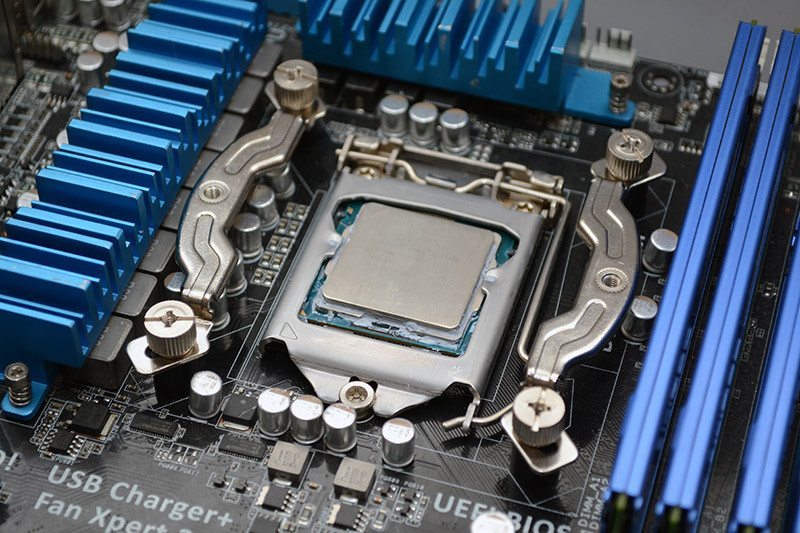
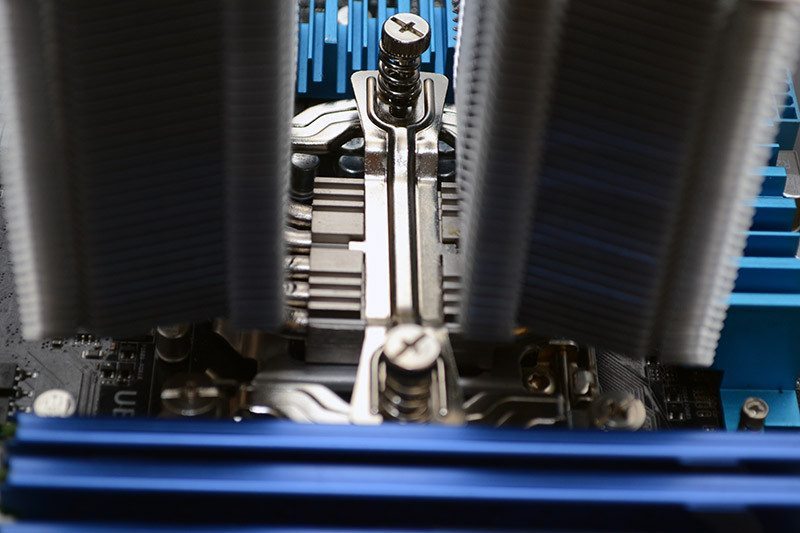
Apply your thermal paste, then use the retention bar to screw the cooler onto the already installed bracket.

DSC_4520

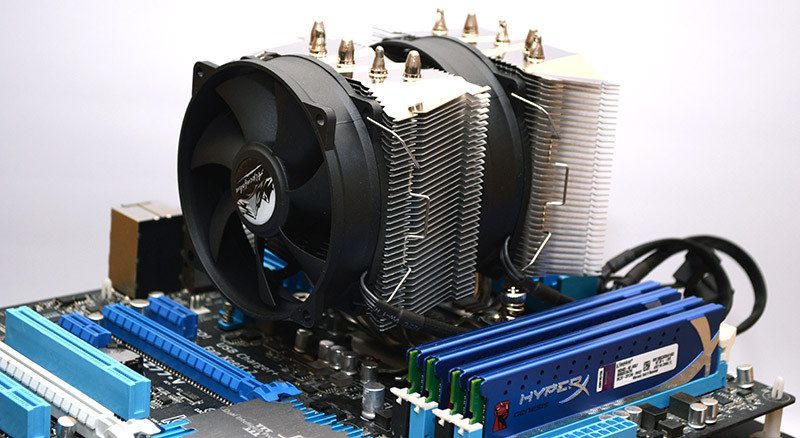
]The ergonomics of the cooler make it easy to orientate it any way you need the fans to be facing, although that’s not really an issue for us on an open test bench.

DSC_4518

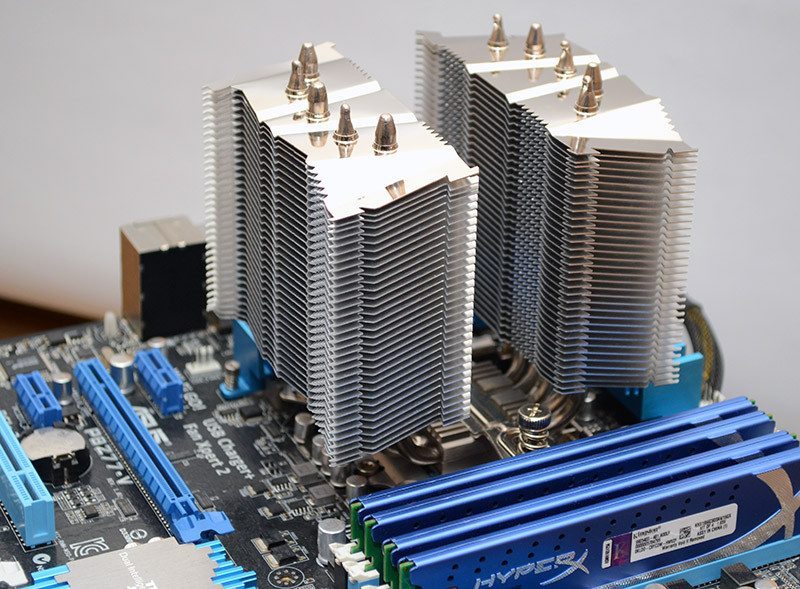
The fans mount using retention clips and overall, the whole thing was easy enough to install; it looks pretty great too.

DSC_4524

« Previous Page

Next Page »


Topics: , , , , , , , , , ,

Support eTeknix.com

By supporting eTeknix, you help us grow and continue to bring you the latest newsreviews, and competitions. Follow us on FacebookTwitter and Instagram to keep up with the latest technology news, reviews and more. Share your favourite articles, chat with the team and more. Also check out eTeknix YouTube, where you'll find our latest video reviews, event coverage and features in 4K!

Looking for more exciting features on the latest technology? Check out our What We Know So Far section or our Fun Reads for some interesting original features.

eTeknix Facebook eTeknix Twitter eTeknix Instagram eTeknix Instagram
  • Be Social With eTeknix

    Facebook Twitter YouTube Instagram Reddit RSS Discord Patreon TikTok Twitch
  • Features


Send this to a friend
})