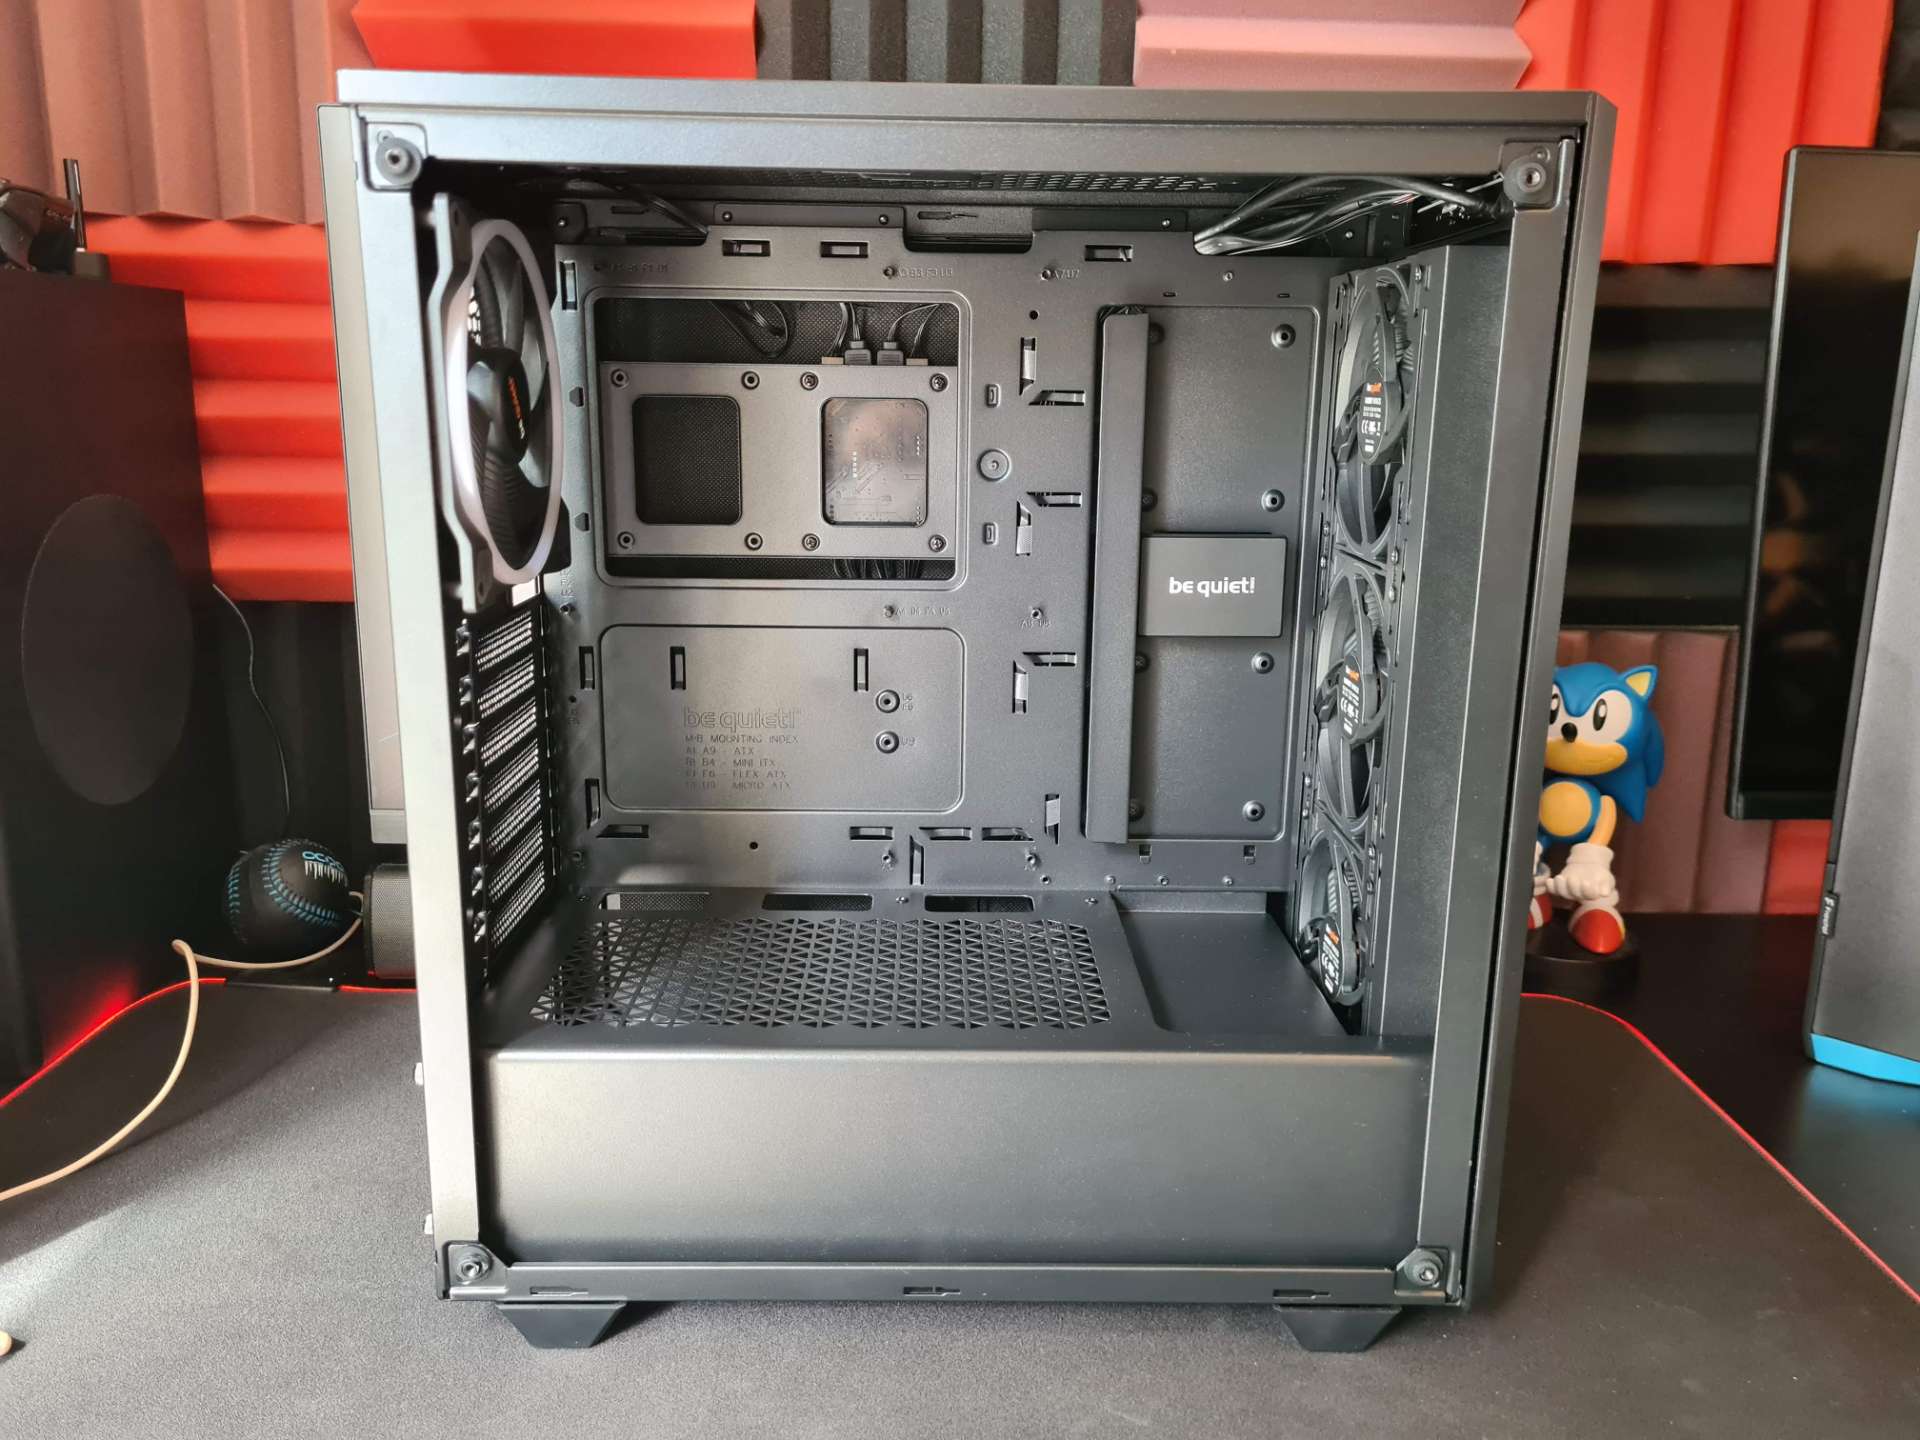
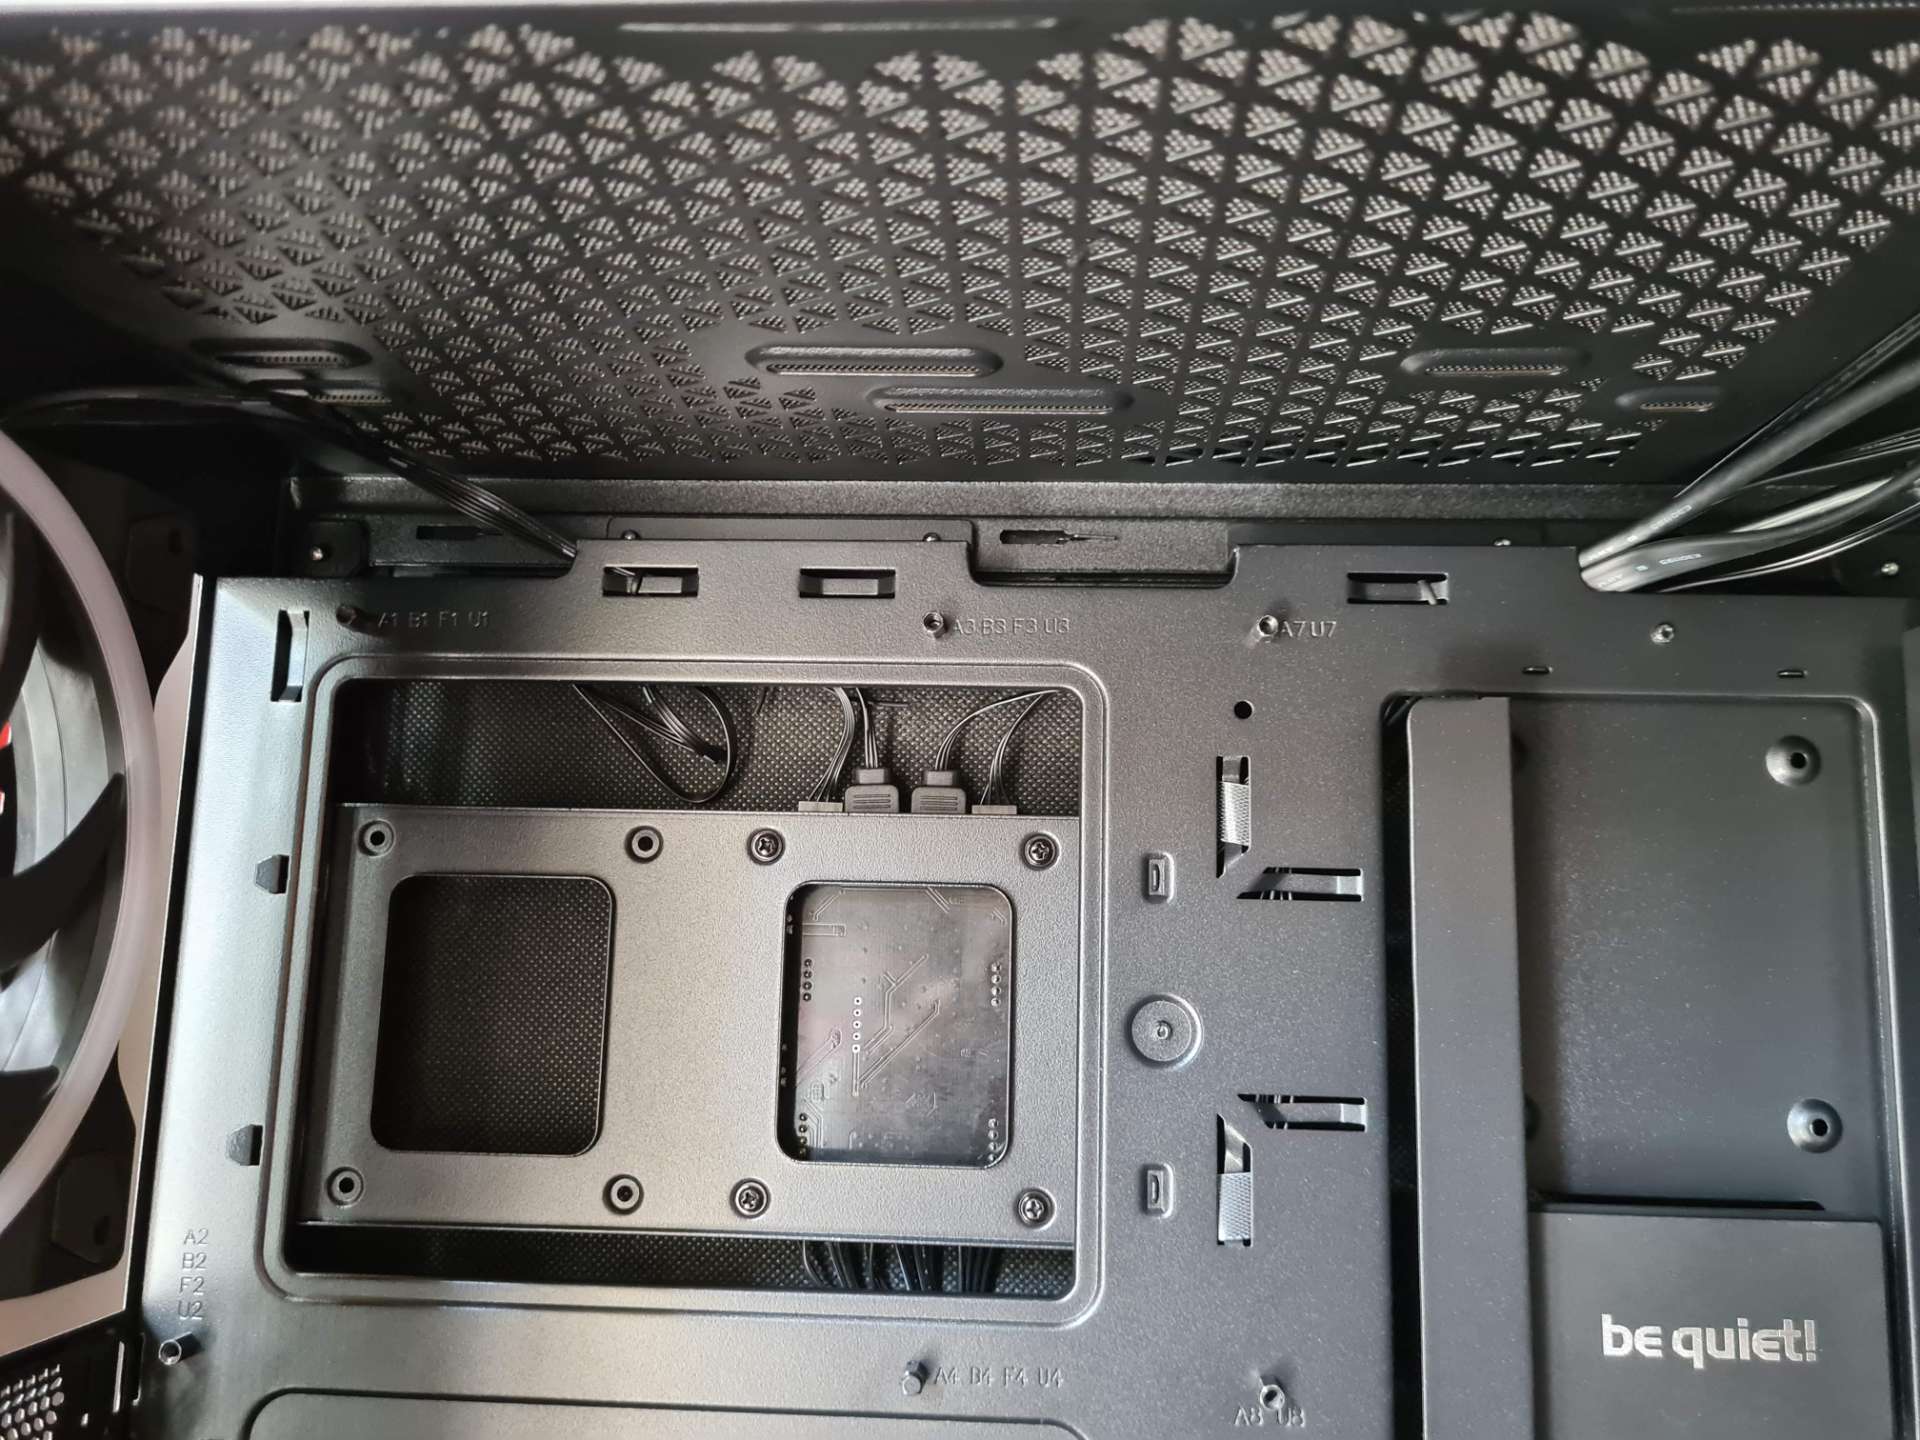
There’s no denying that be quiet! put some effort in here, with all the obvious fittings and fixtures well placed to ensure the front section is as clean and unobstructed as possible. There’s a large cut-out behind the motherboard, allowing for easier cooling mounting.
While there are no grommets, the cable routing holes are plentiful and designed with either a recessed lip like the three in the top here.
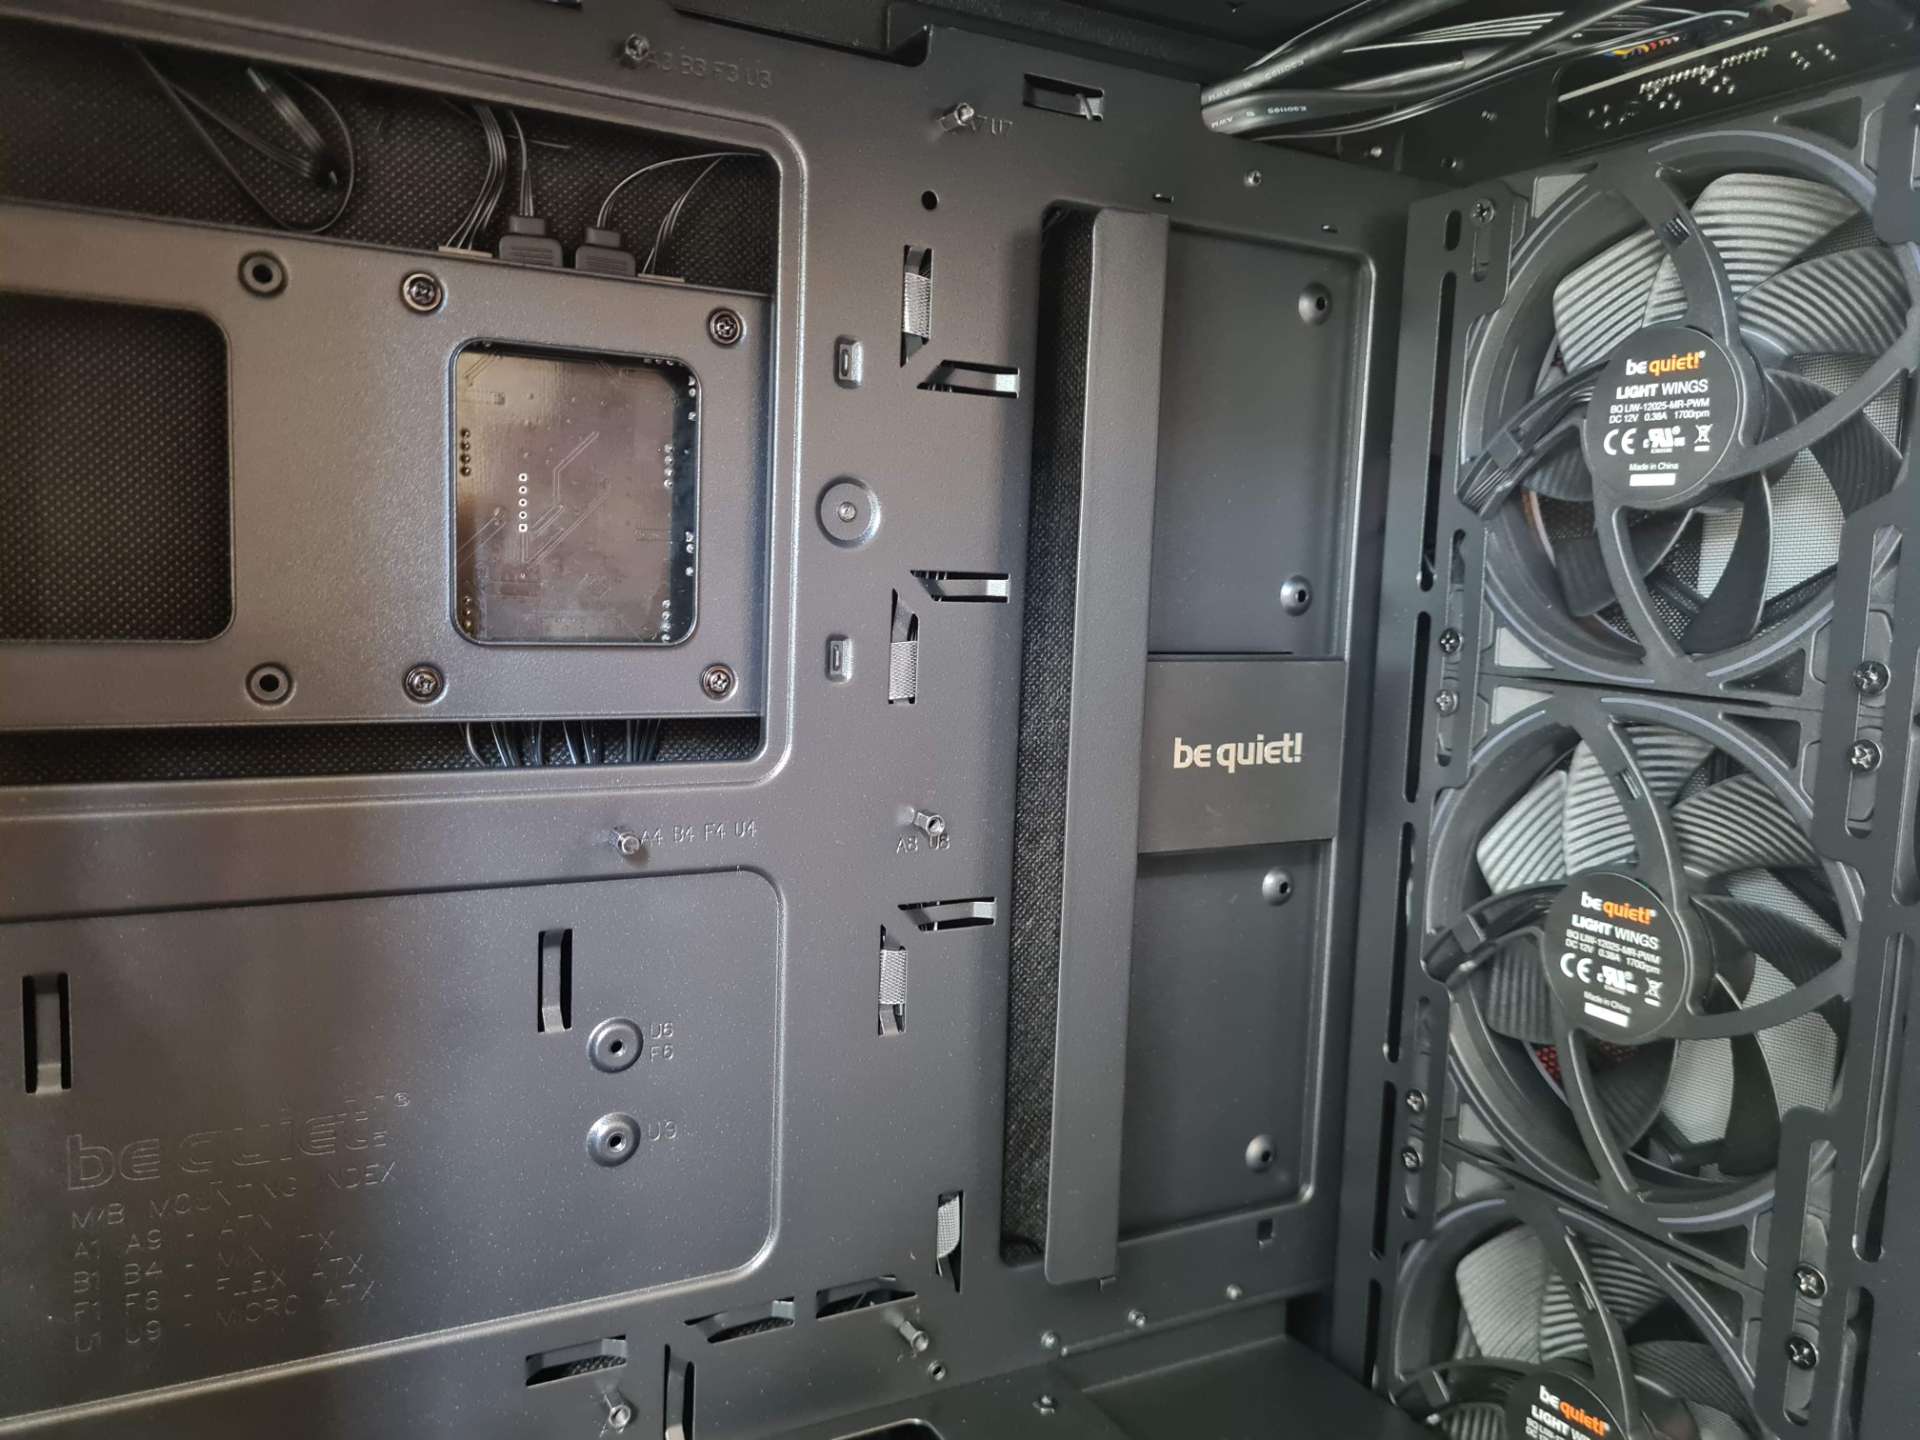
Or with an overhang like the larger vertical one here. This should make cables easier to route, and also do a fine job of obscuring them too, giving you a cleaner-looking build overall.
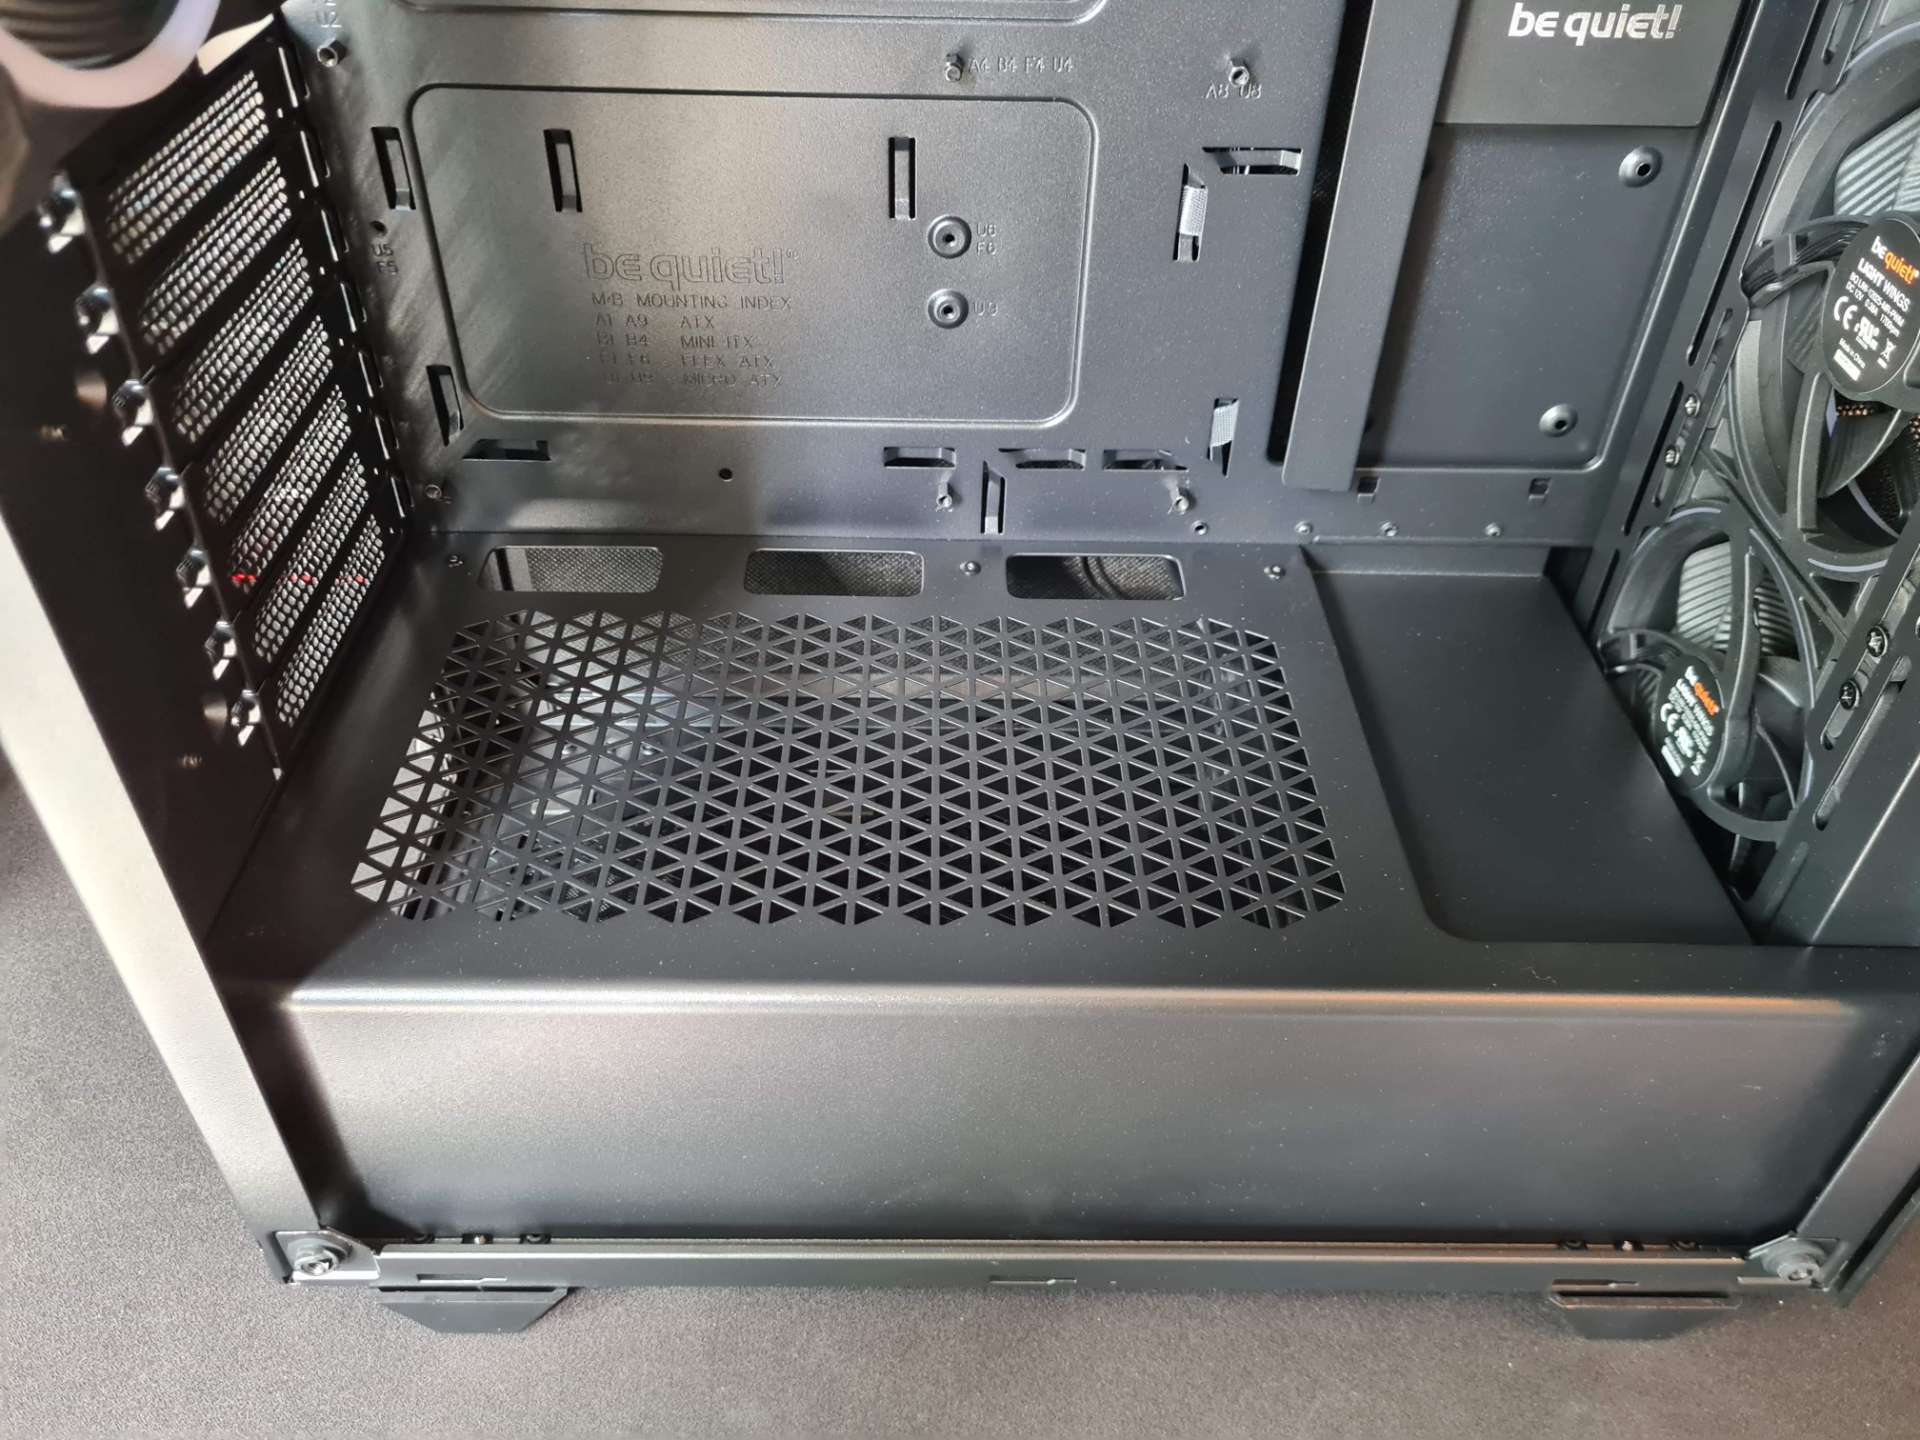
The PSU shroud is going to hide a lot of the boring stuff out of sight too, but it also features some cable routing holes of its own, as well as some ventilation, ensuring you don’t get any pockets of warm air trapped in the lower parts of the case.
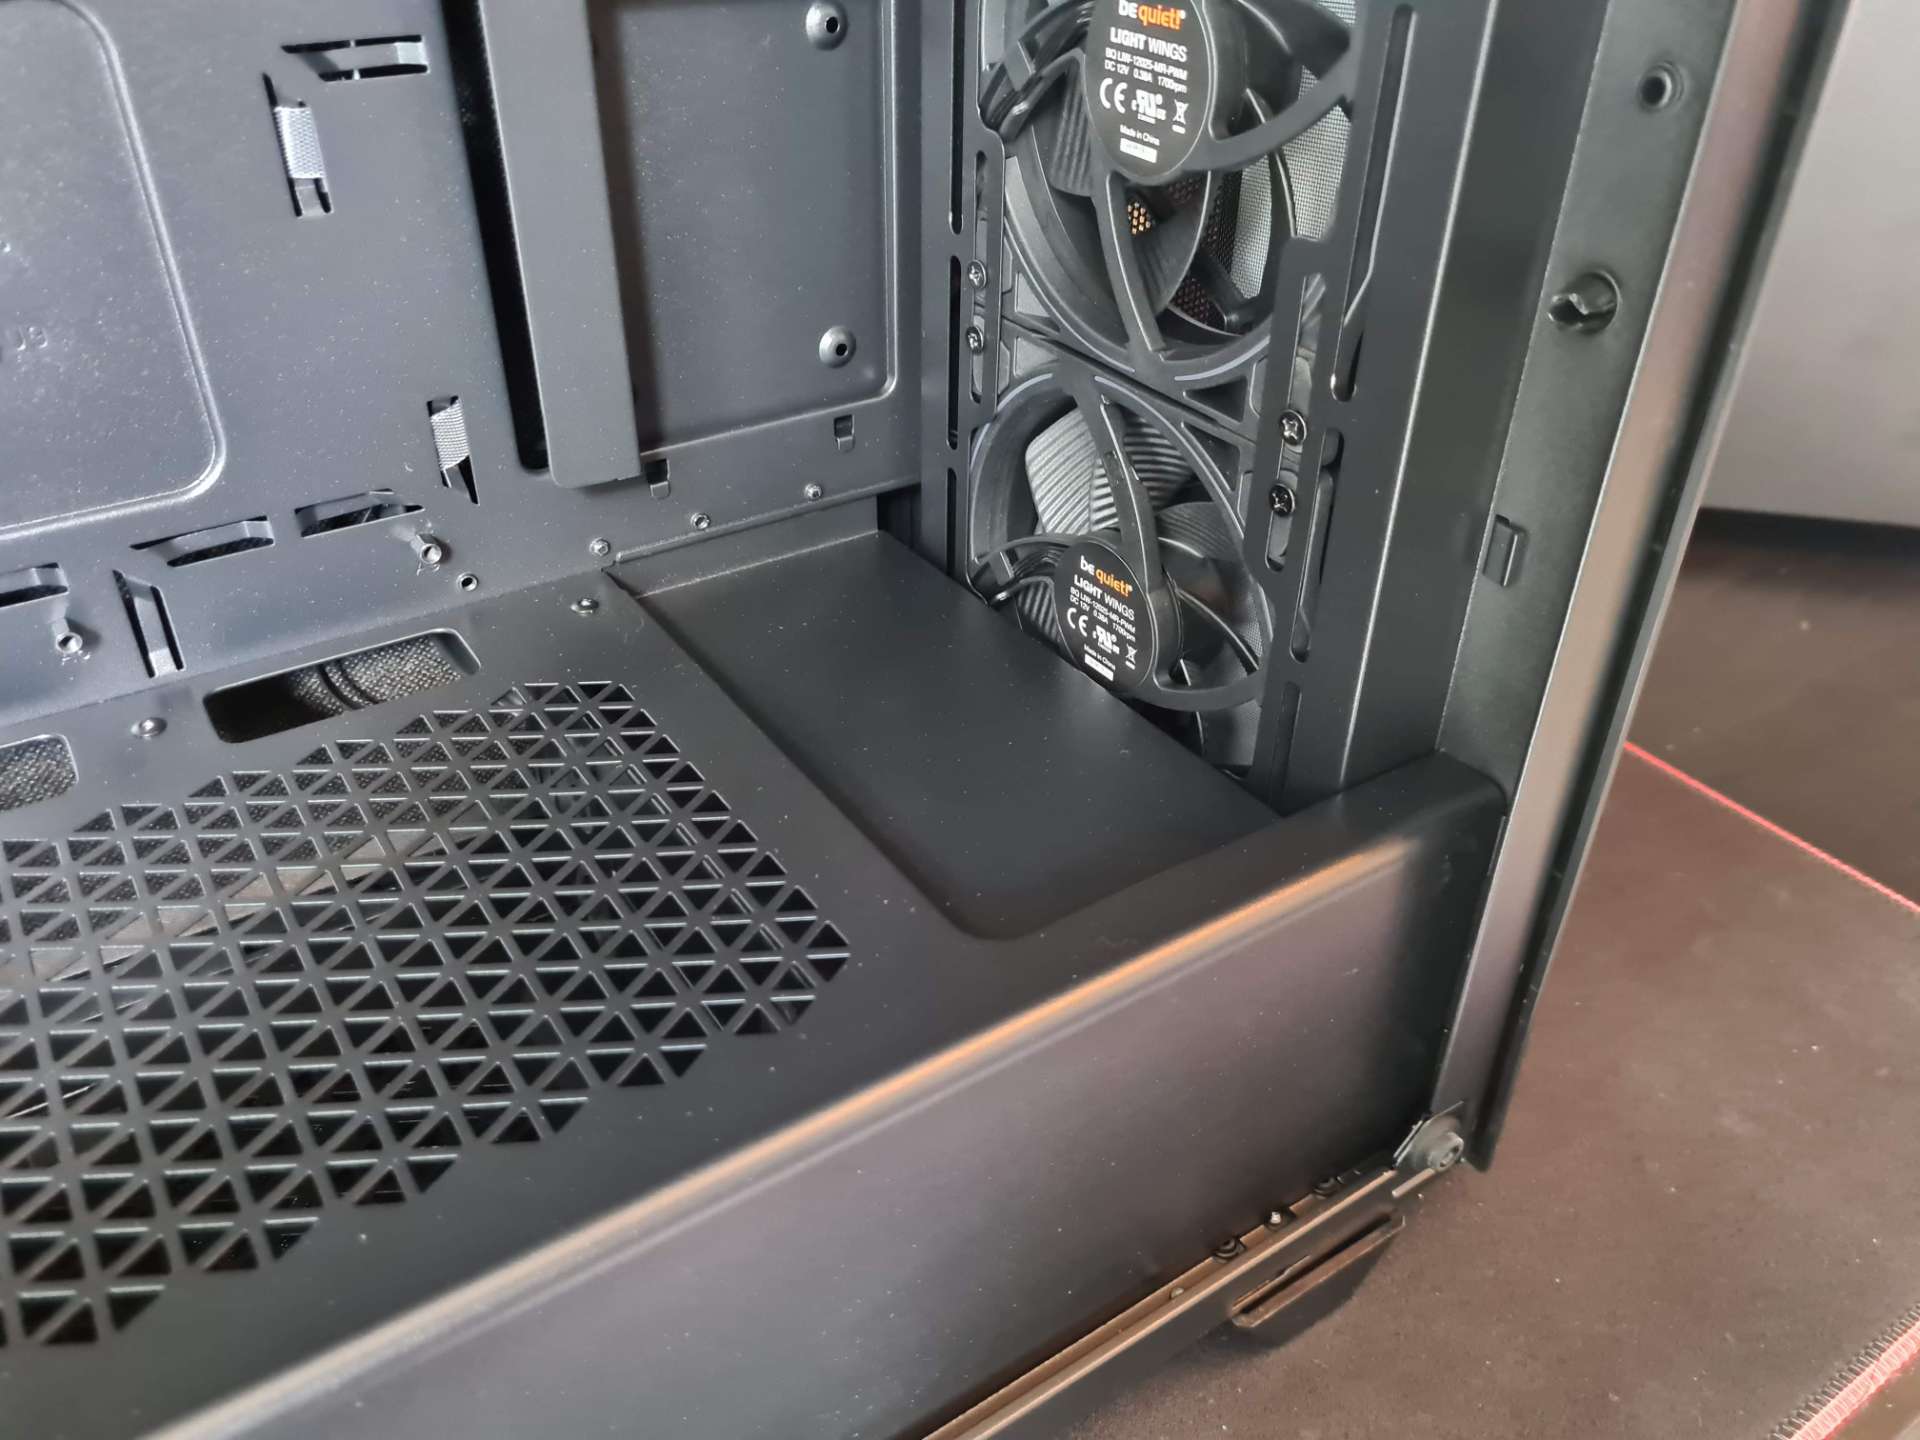
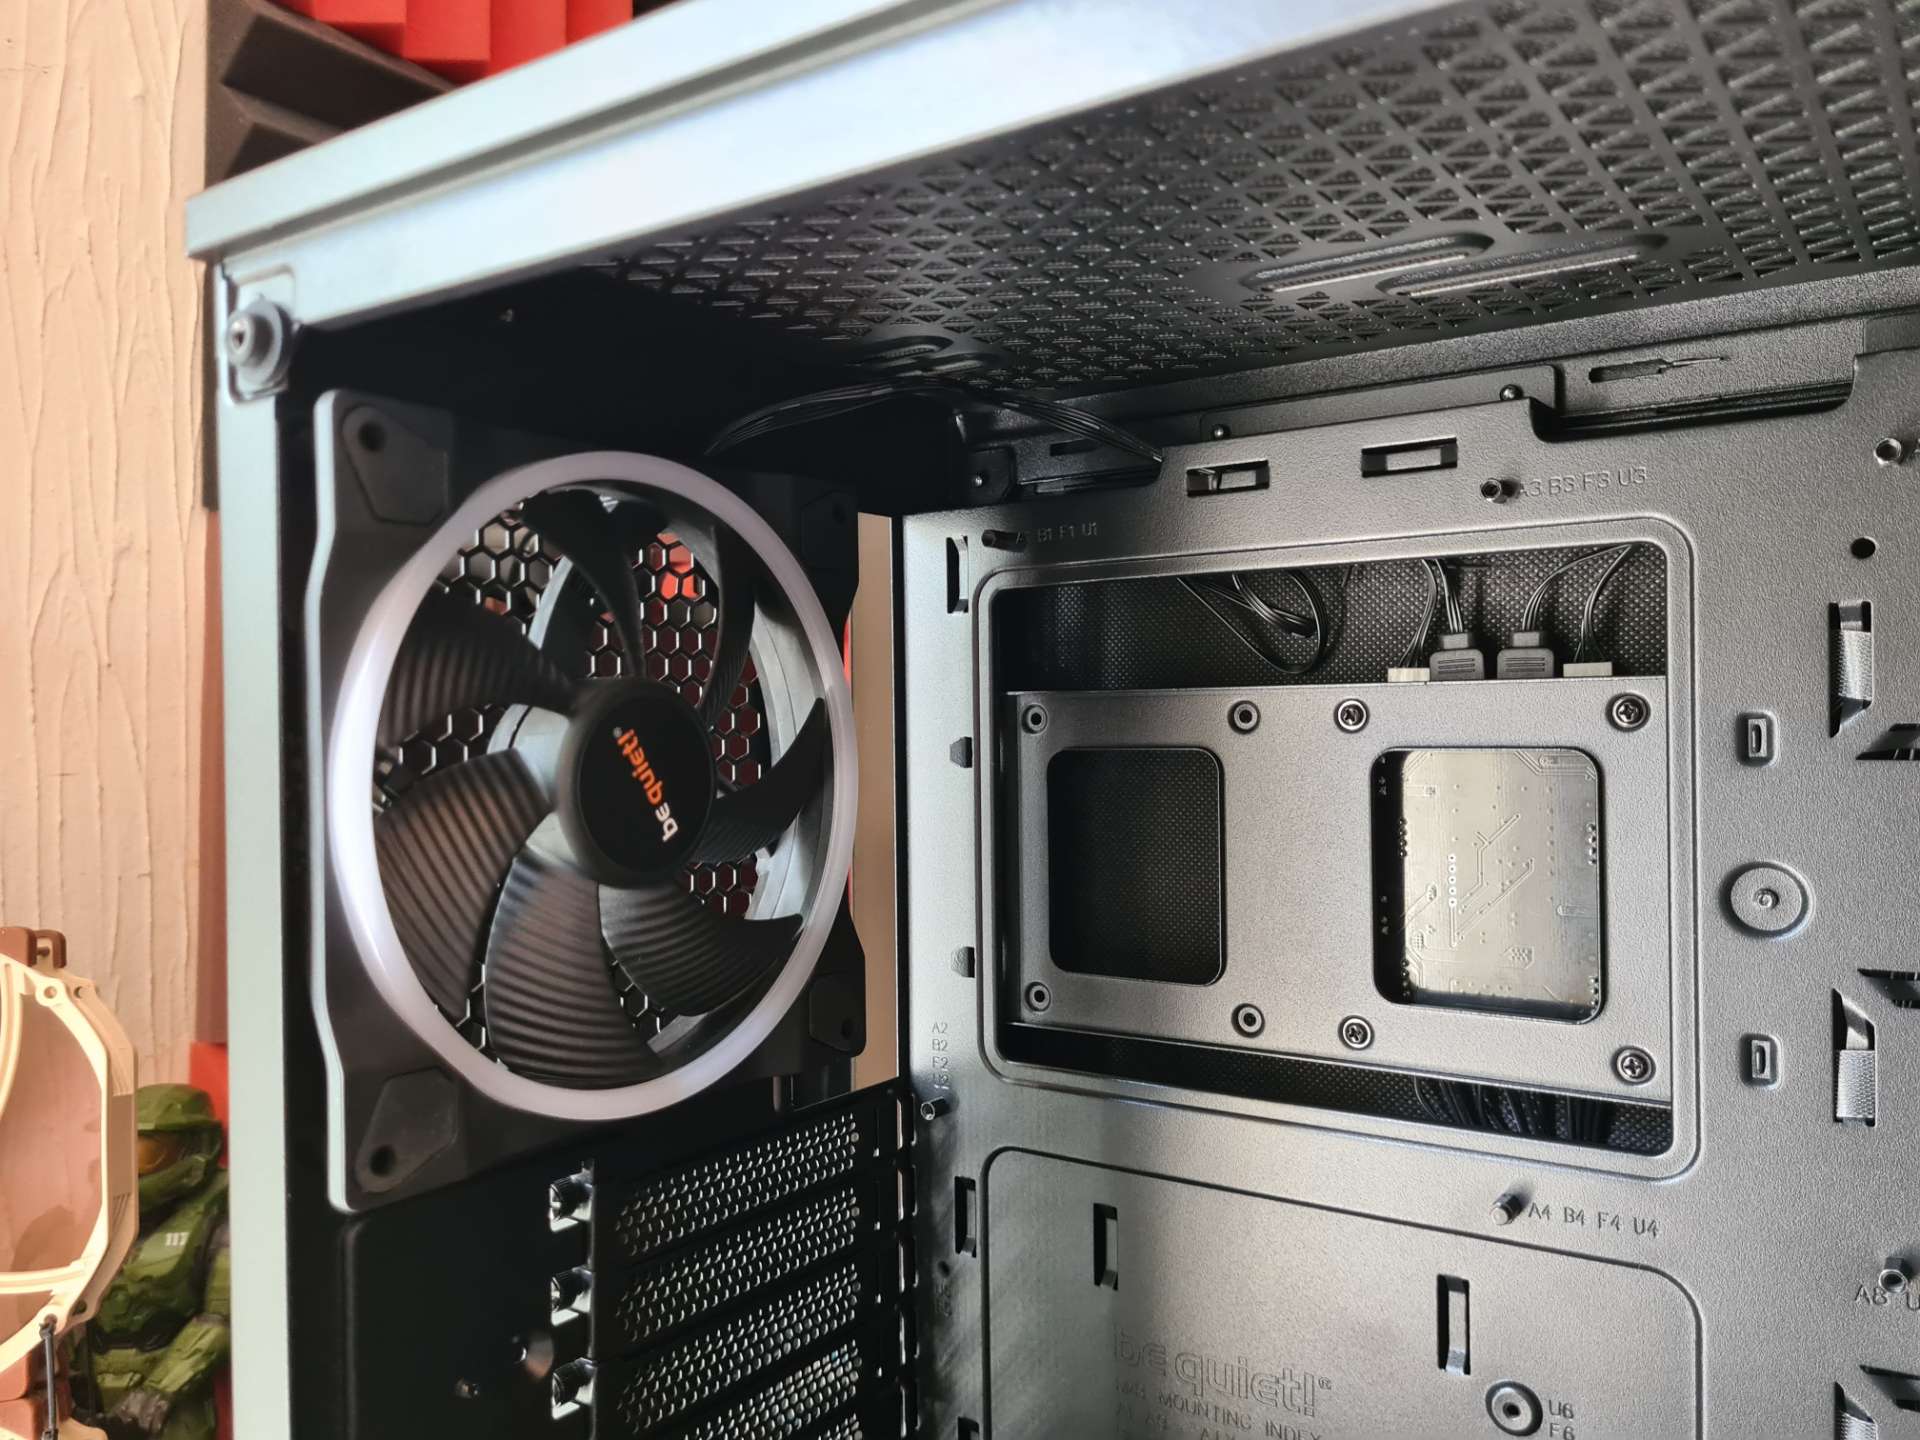
Towards the front, you’ll find a trilogy of Light Wings fans, which are going to deliver a huge wall of cool air to your PC build, but also provide a beautiful light show once everything is powered up. The front of the PSU shroud has a large cut-away, which allows the bottom fan to get air throughout the case, but also gives you clearance for larger front-mounted radiators.
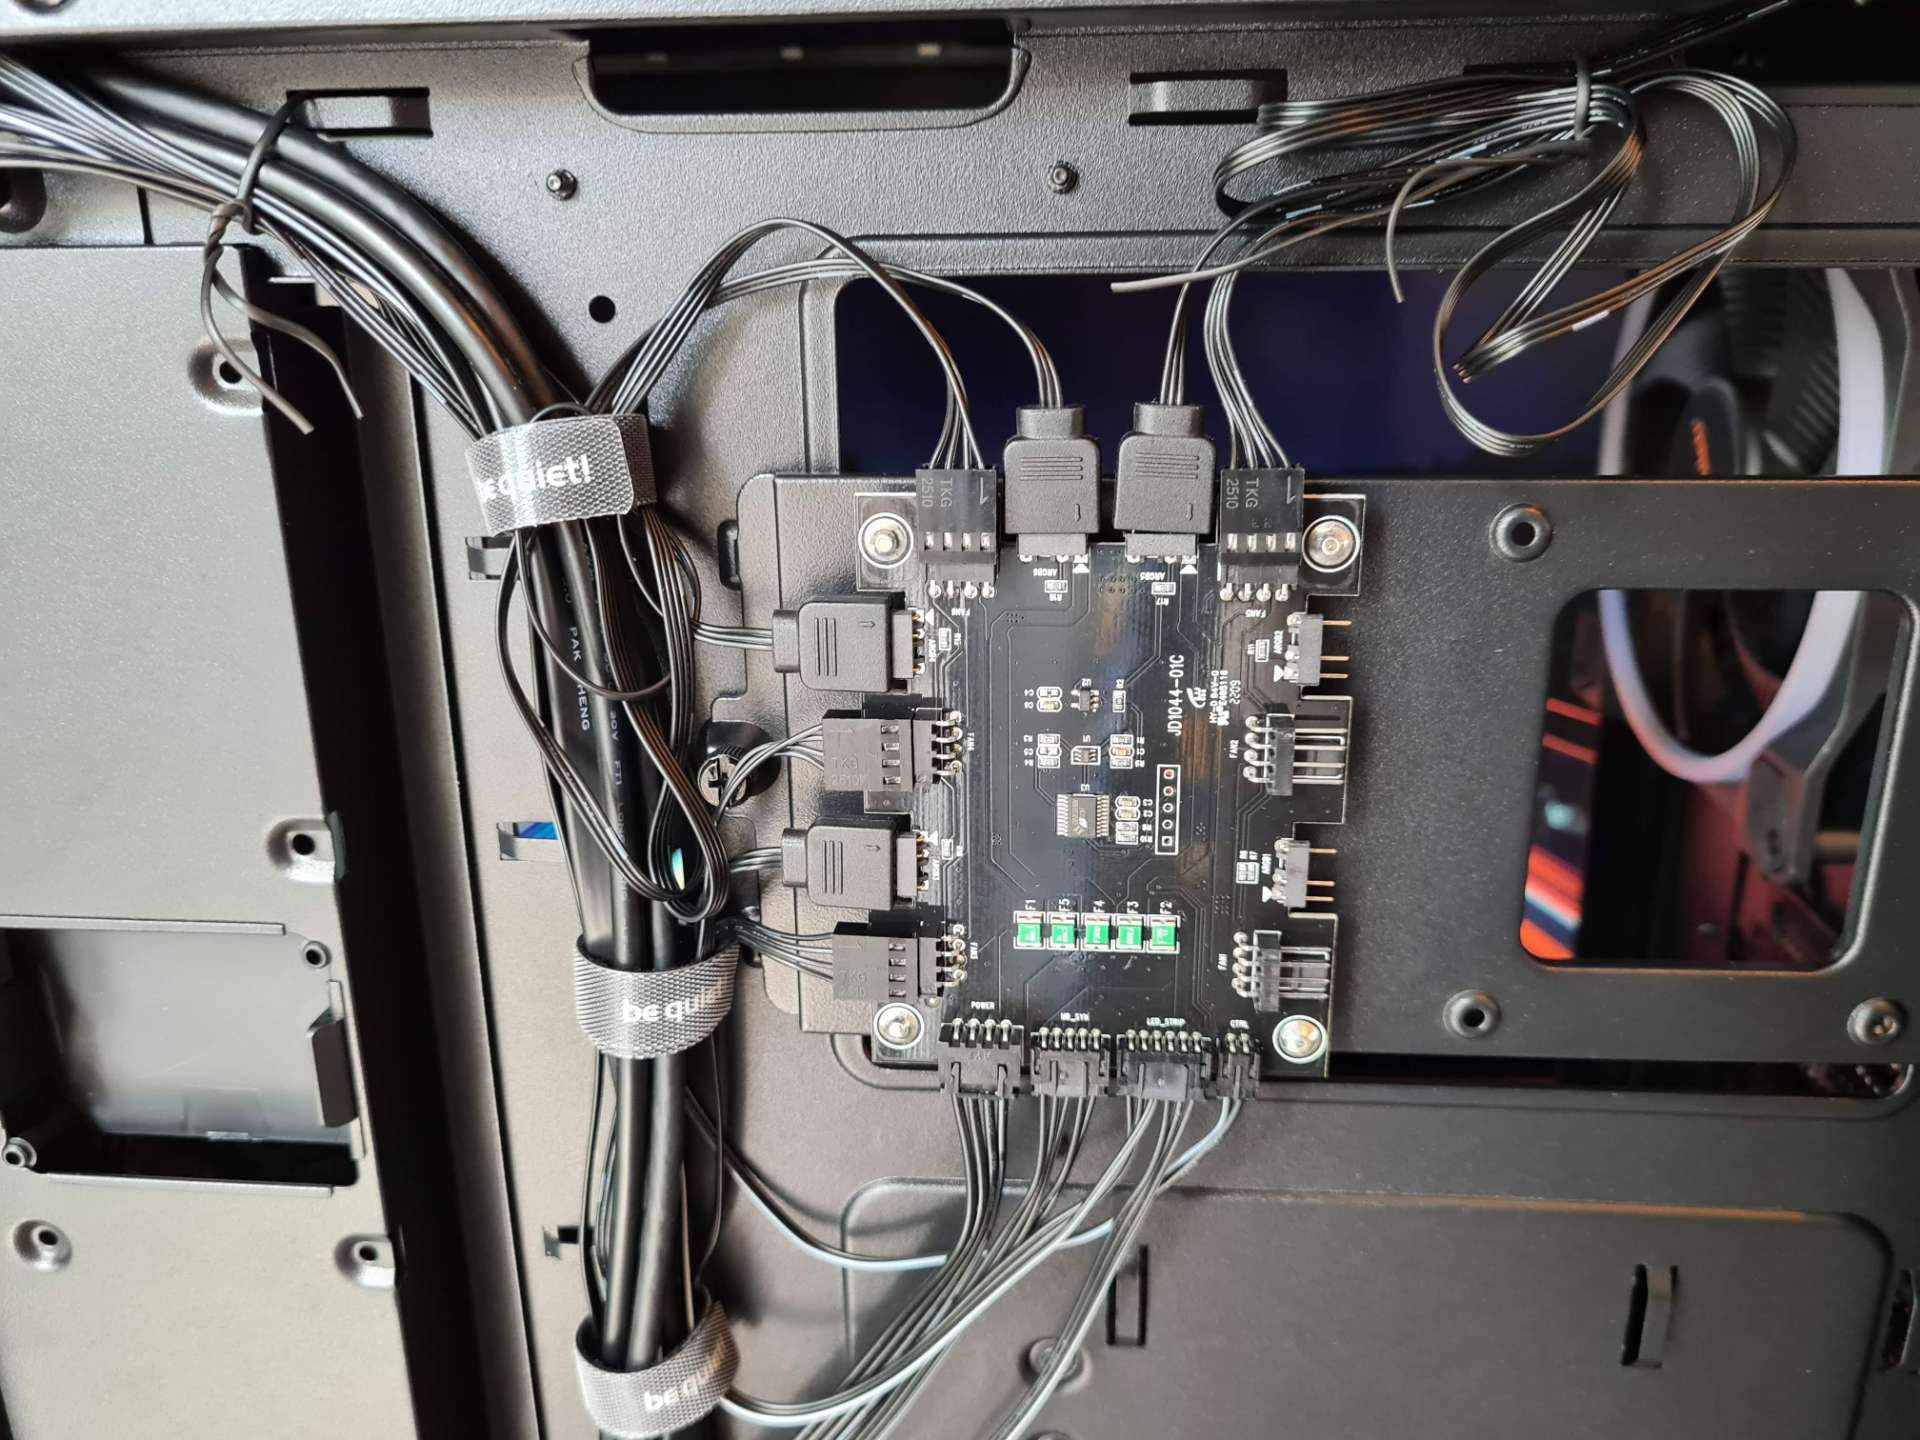
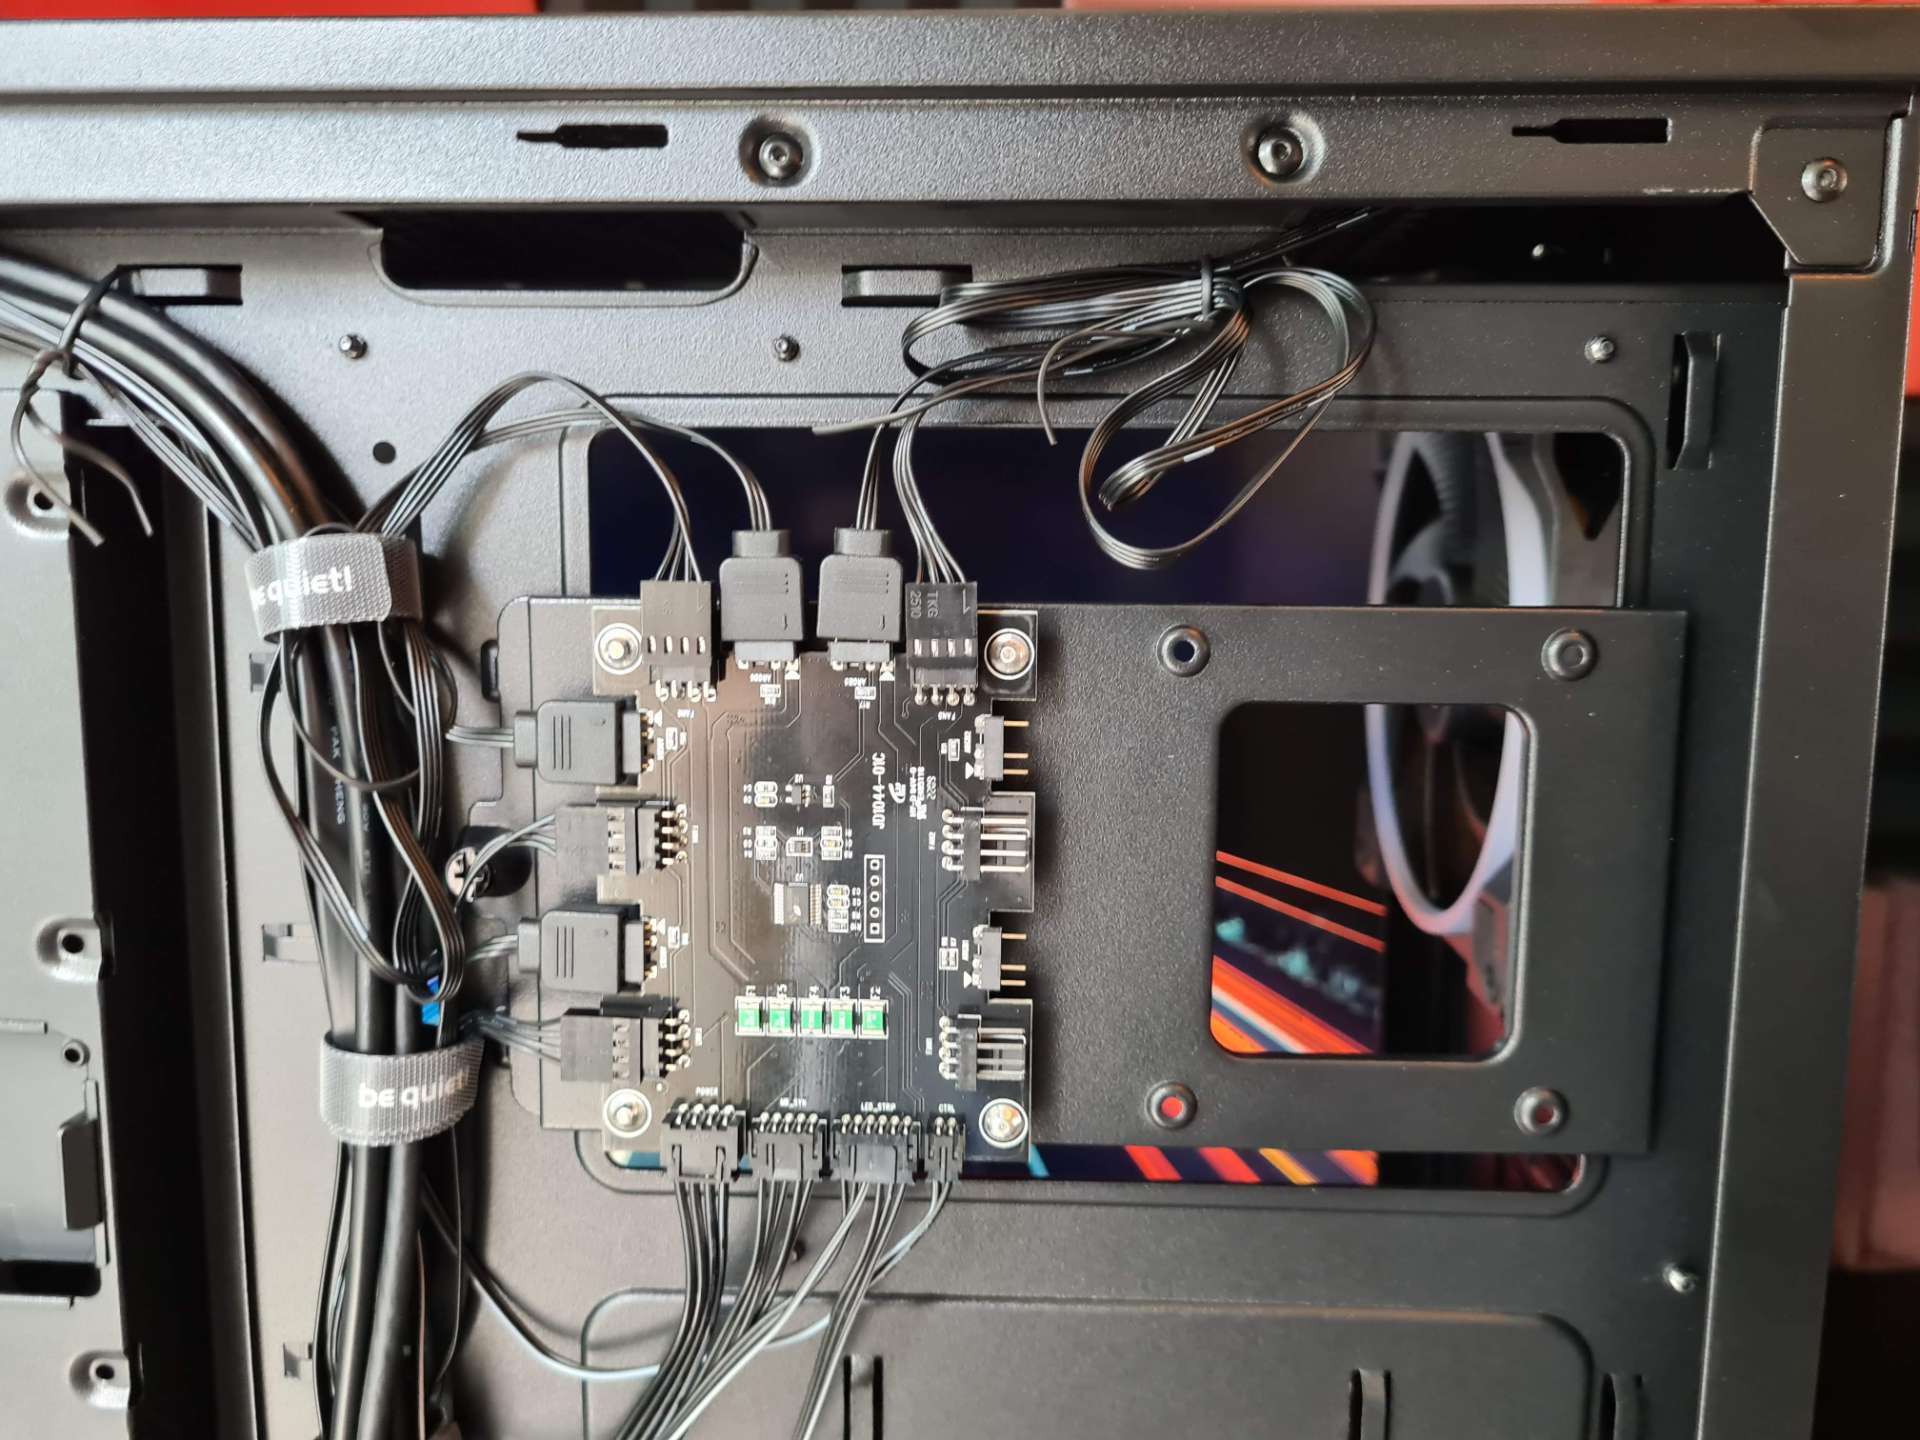
Finally, in the rear, you’ll find the fourth Light Wings fan, all of which are pre-wired into the ARGB/PWM hub in the rear of the case, and ready to rock.
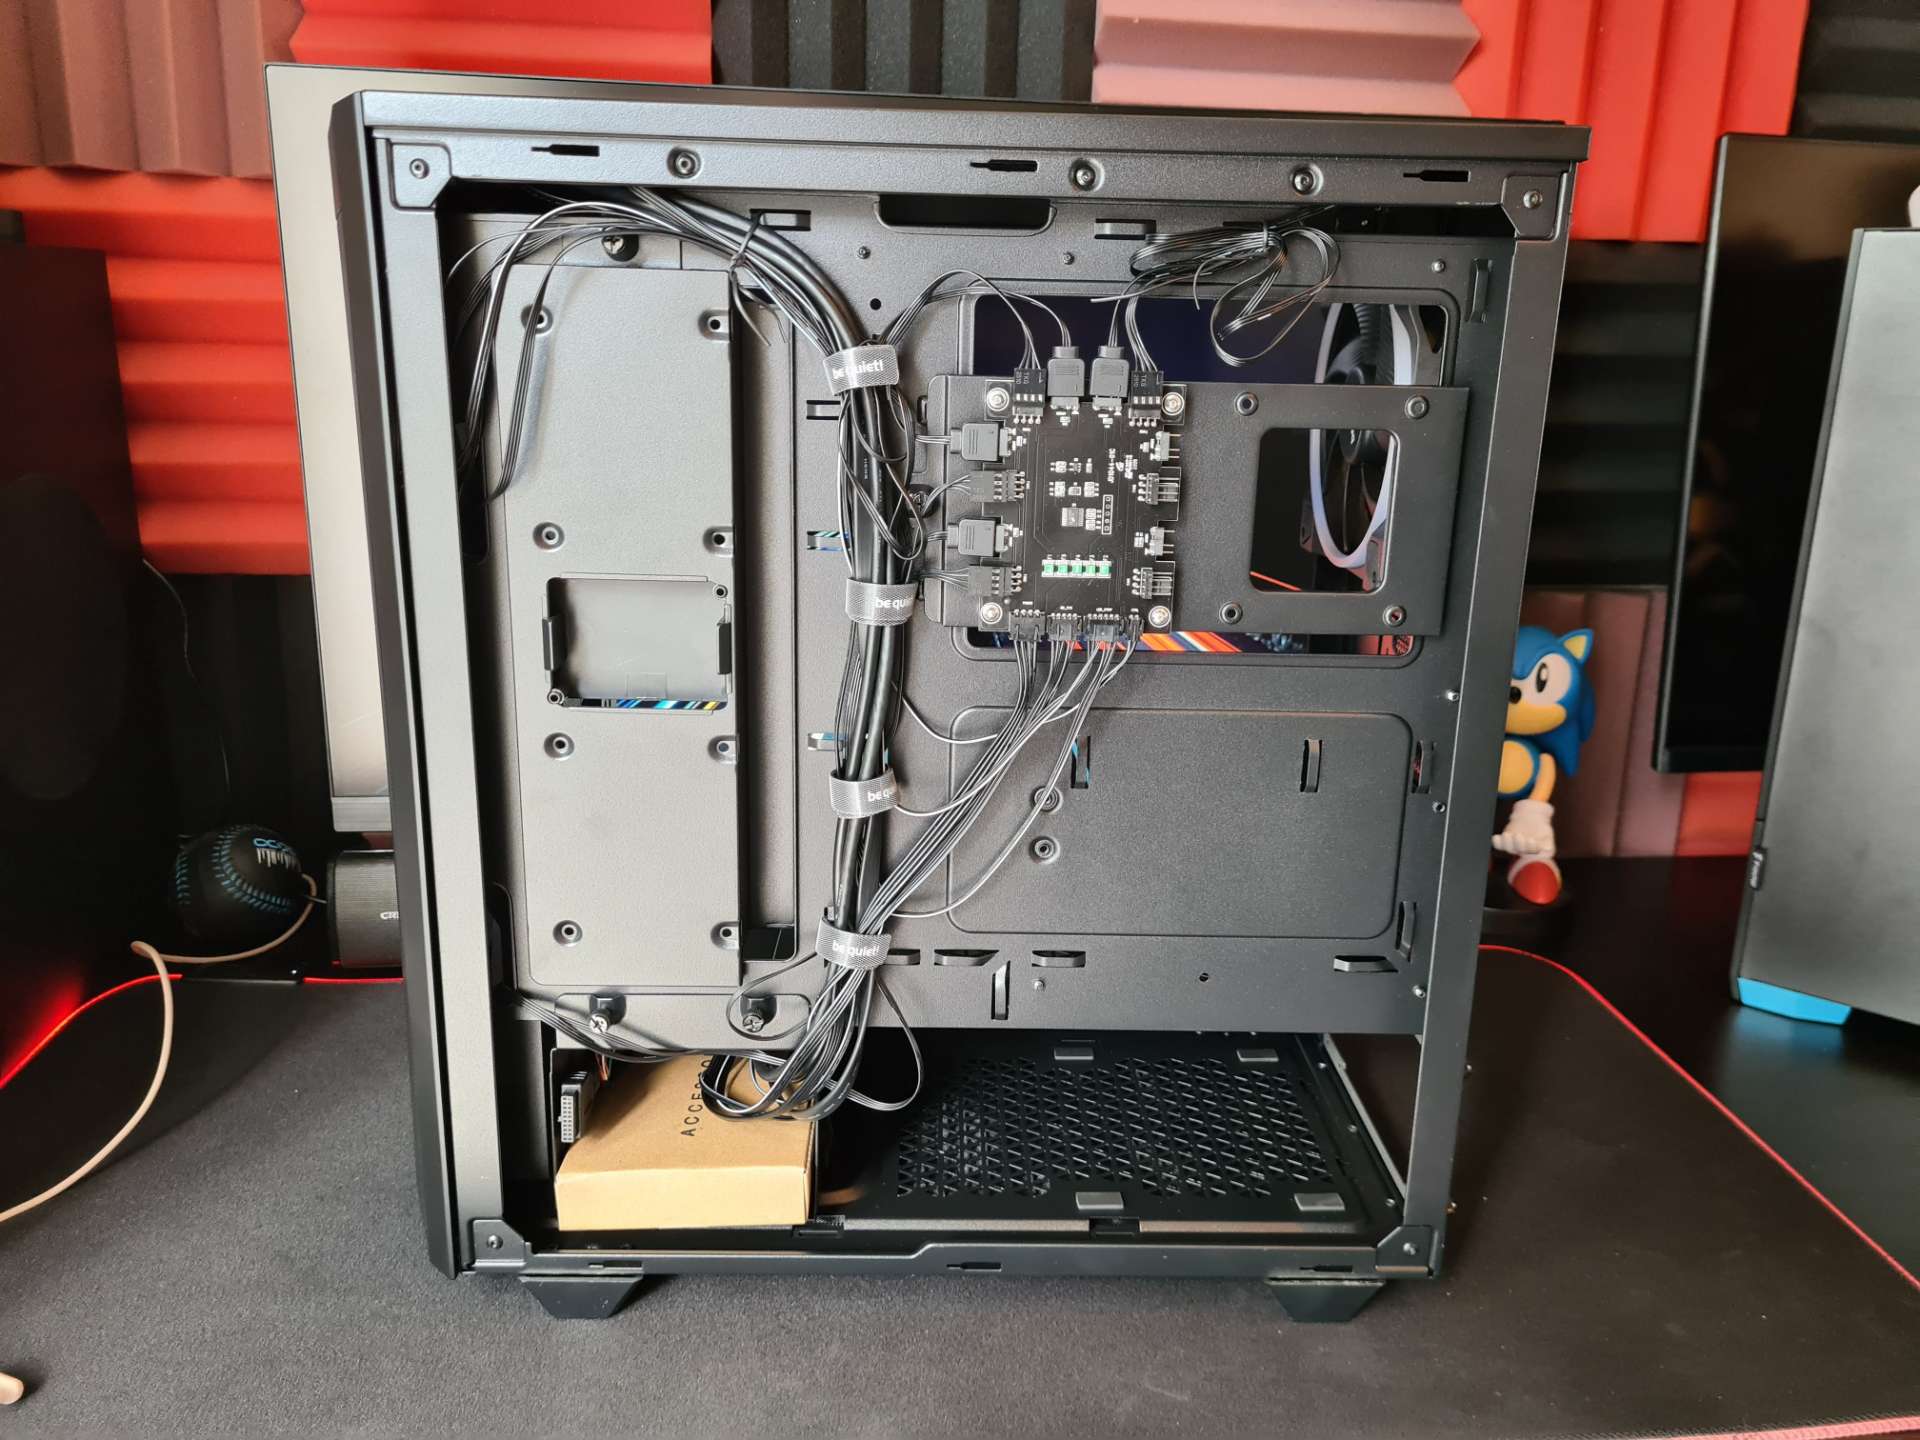
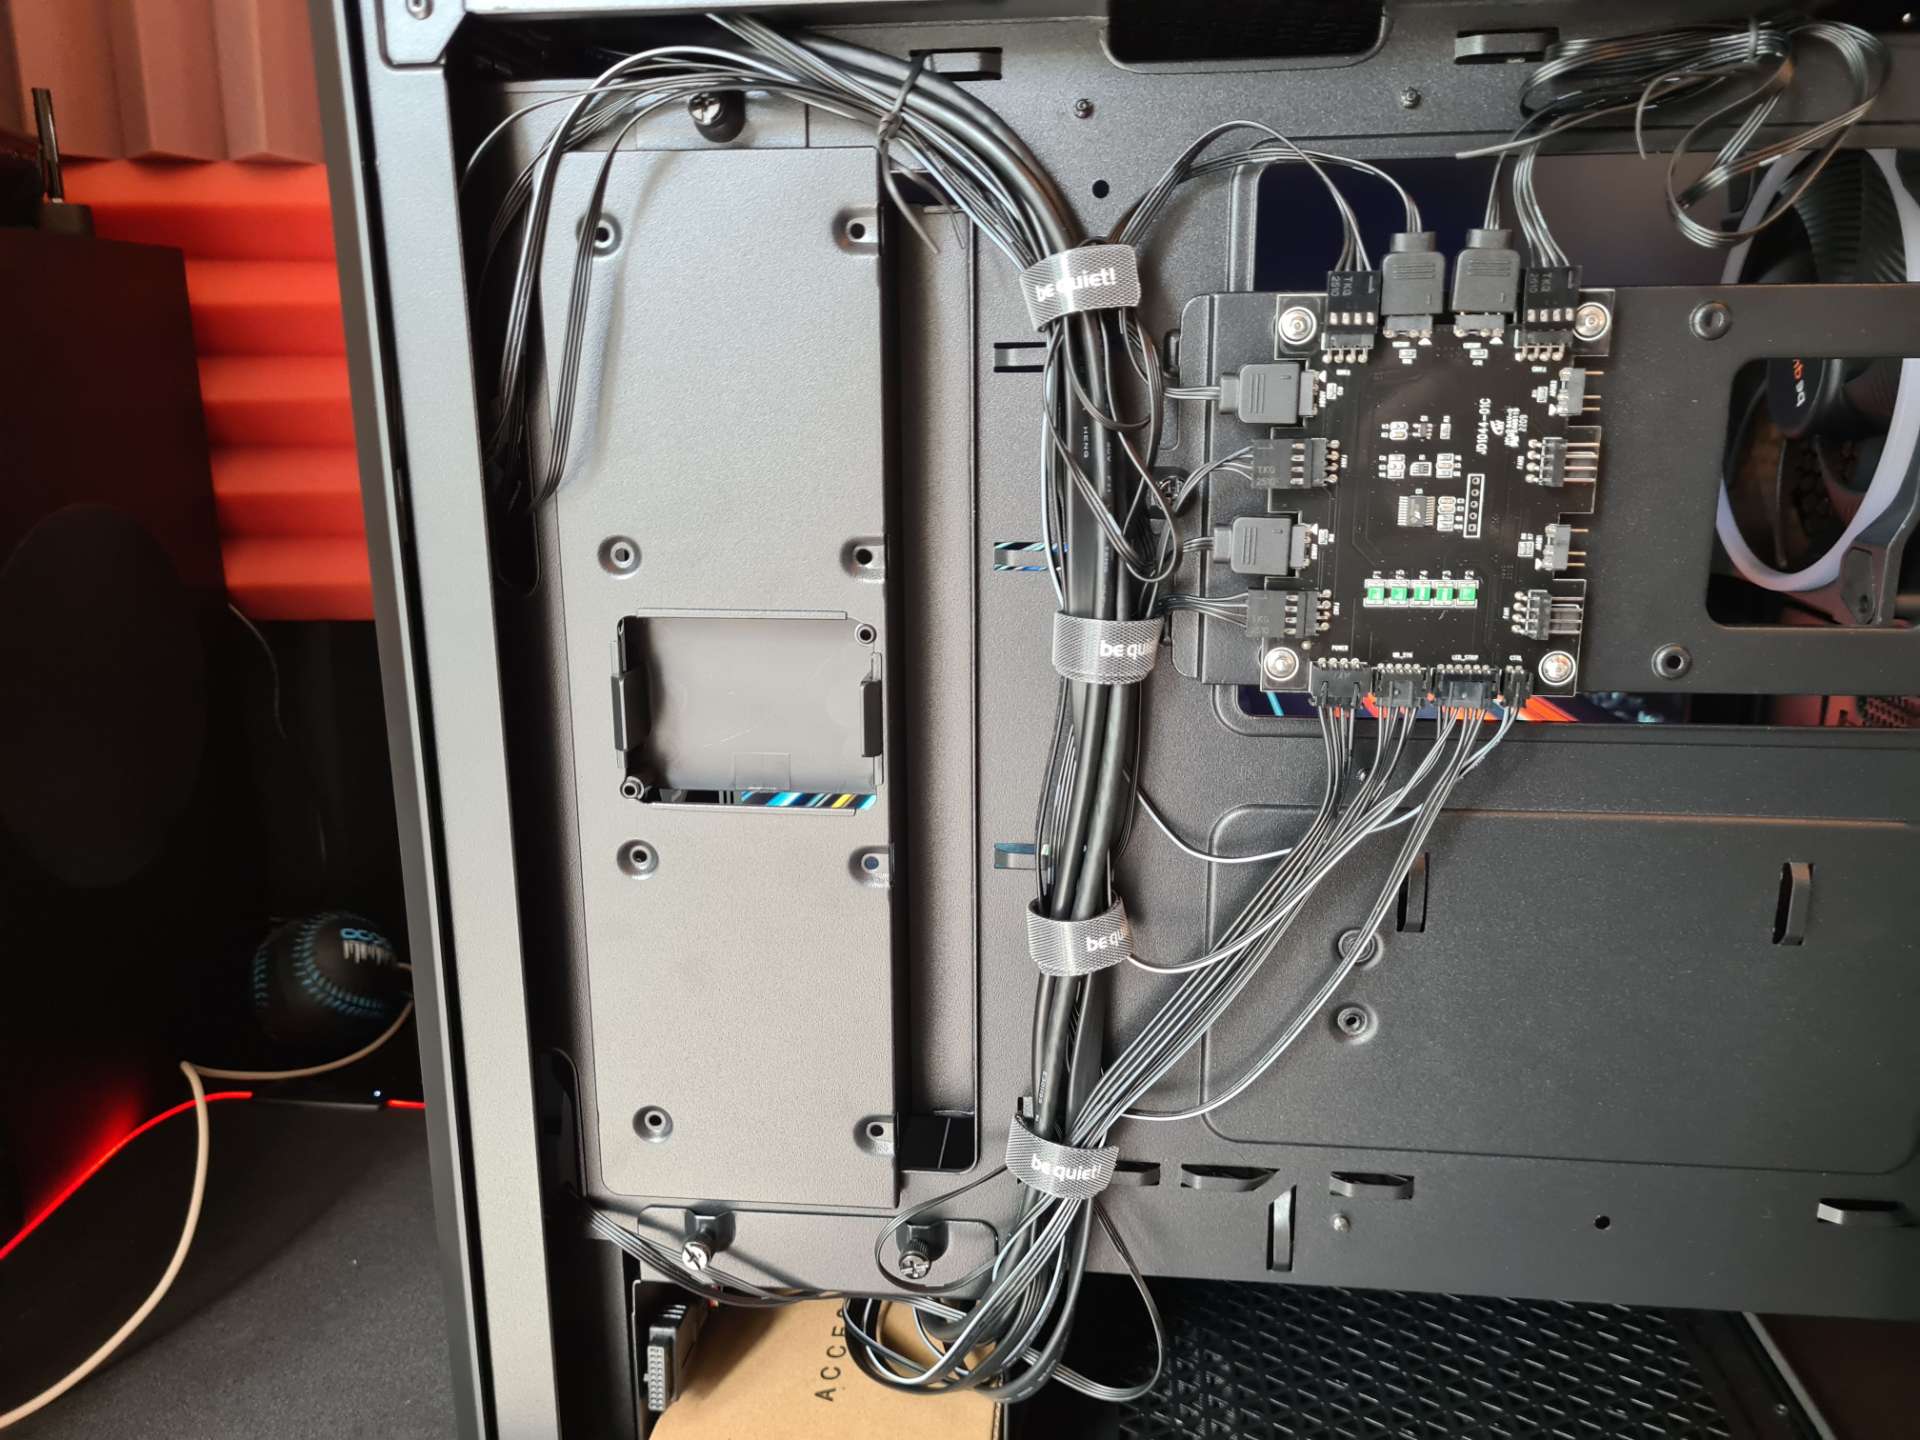
Behind the motherboard, the 500 FX still looks surprisingly clean and tidy. There is a surprisingly large amount of space back here for cable management, so the build should go pretty smoothly.
The entire section on the left here is completely removable, allowing you to route cables within it and hide them cleanly and tidily out of sight.
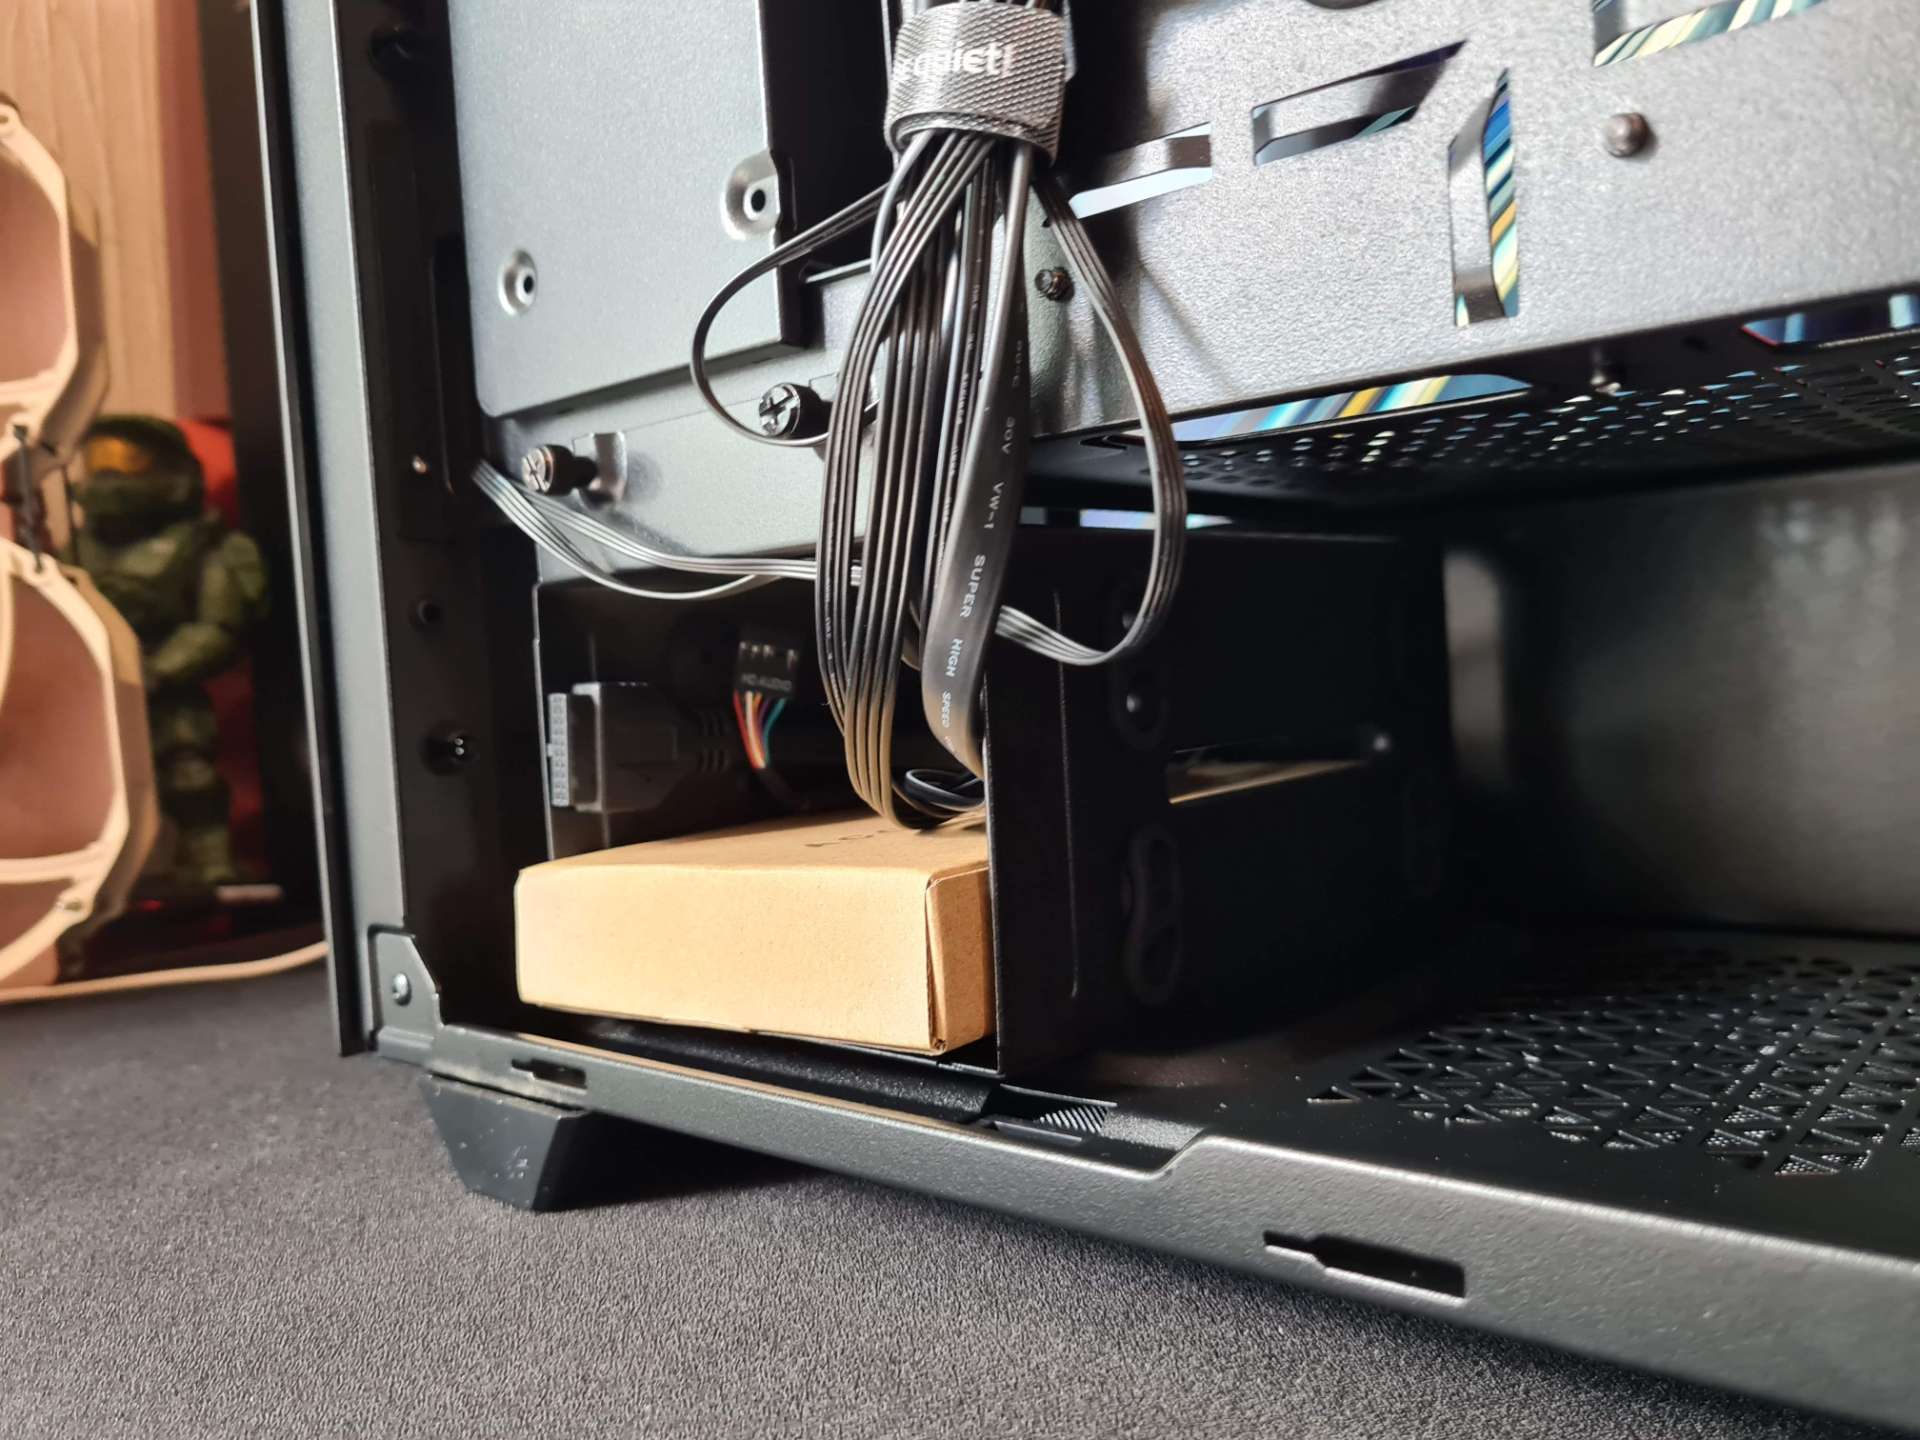
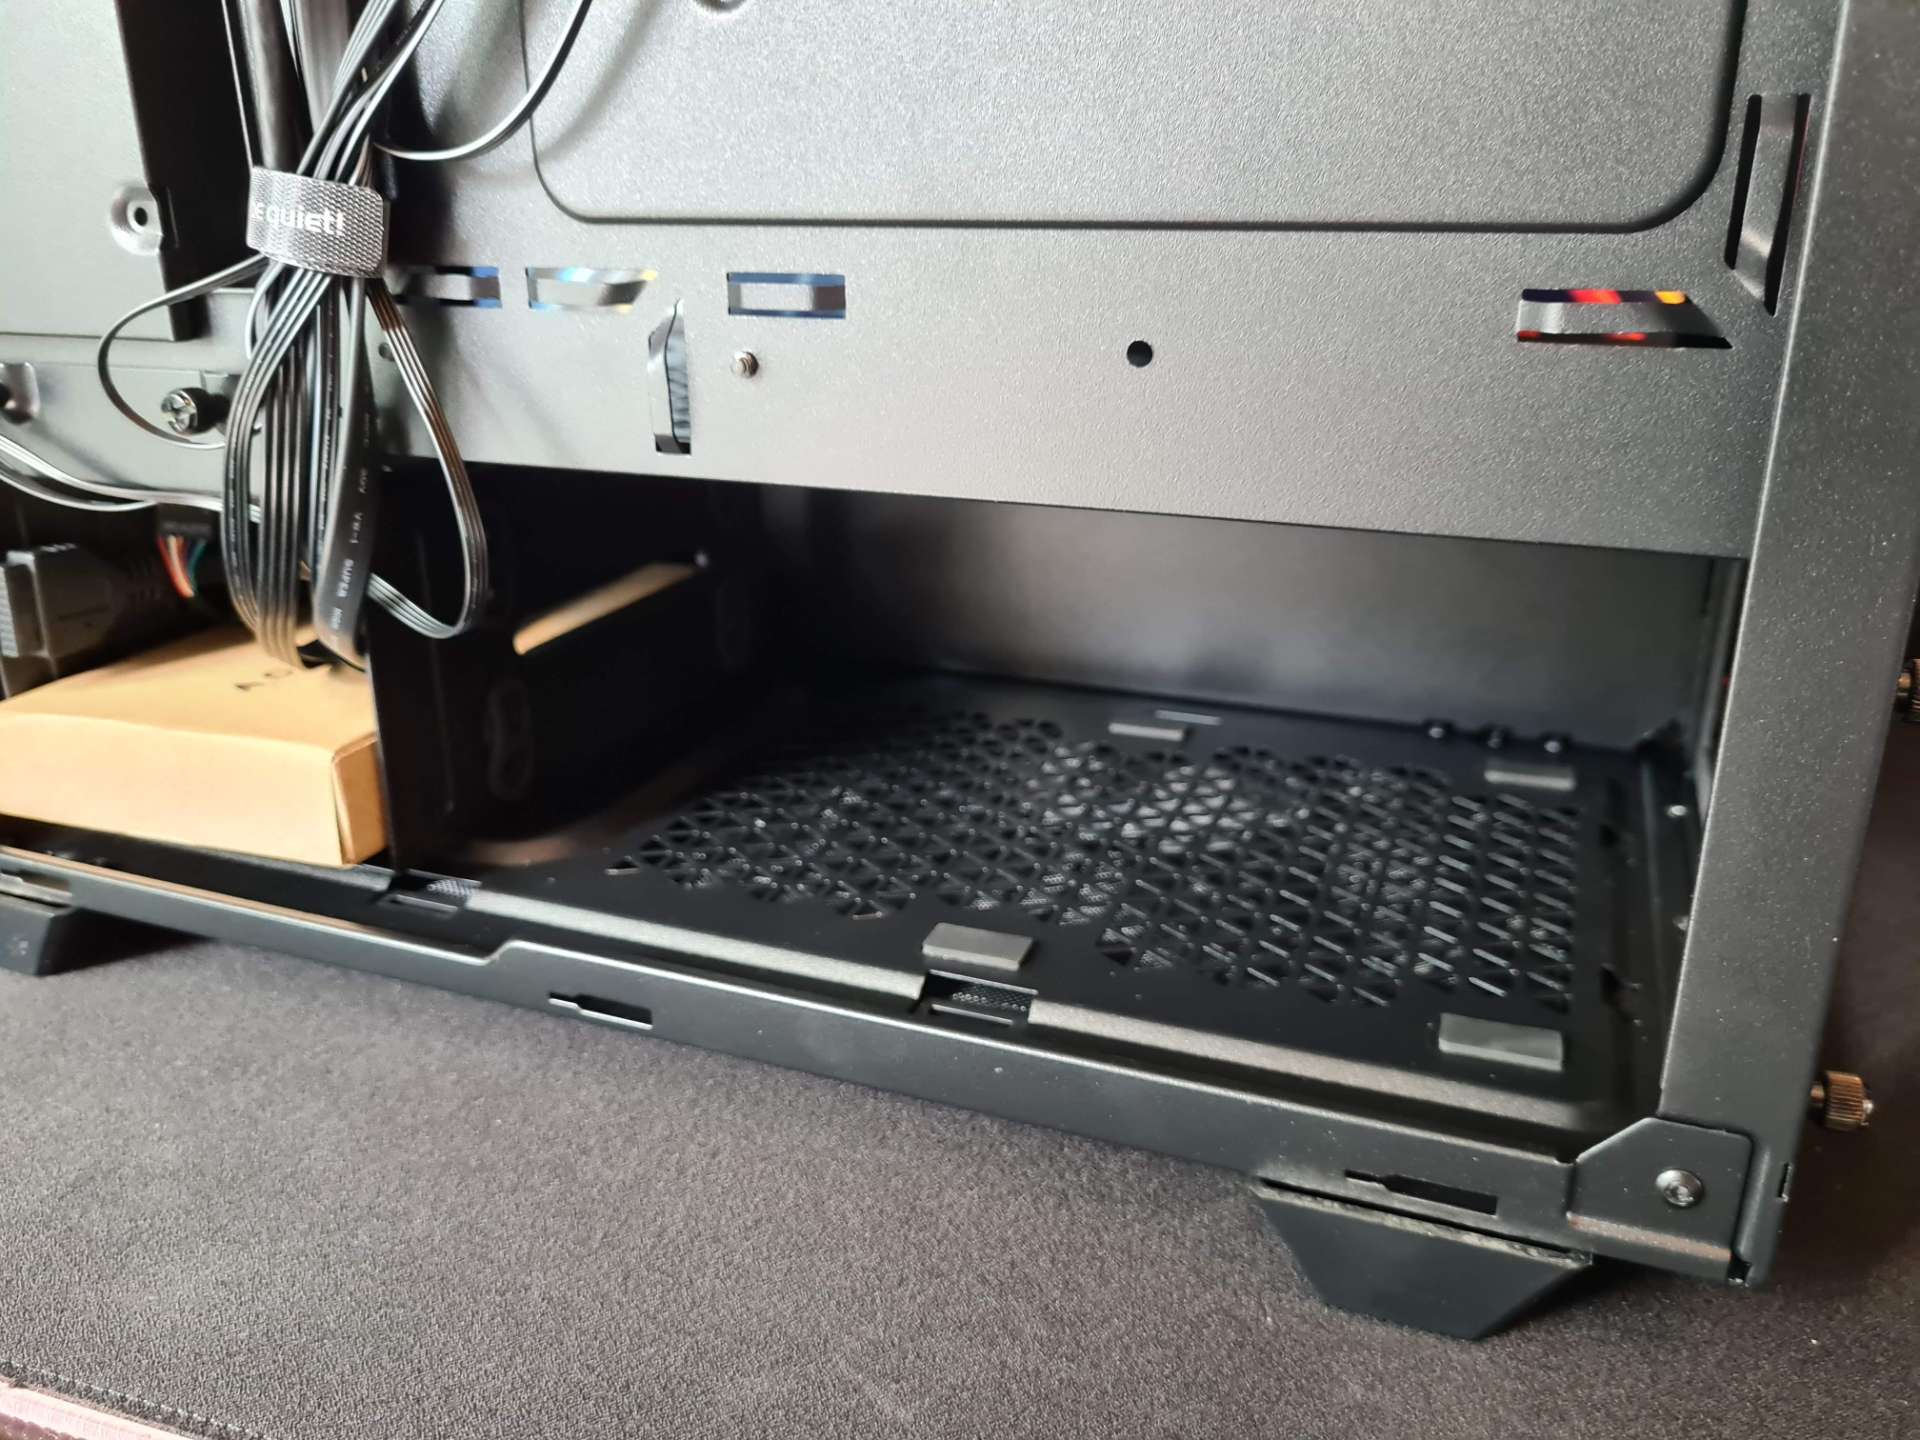
There’s a fully removable HDD cage in the bottom of the case too, which can be slid out to free up a huge space in the bottom of the case.
Even with it in place, there’s a robust amount of space under the shroud for a good size PSU, as well as your excess cables.
A lot of the cables are already dealt with though, with the PWM/ARGB hub handling all the lighting and fan control stuff. You just need to hook up a PWM cable to your motherboard, you can pair your motherboard RGB too if you so desire, and a SATA power cable does the rest.
There are cable tie loops everywhere too, so even if you do have longer cables getting in the way, you can strap them down easily enough.
Rapid IPS IMAGE QUALITY, FRAMELESS GAMING - MSI Rapid IPS panel monitors provide outstanding colour…
STUNNING RGB - Radiant 3-zone PrismSync RGB shines in 16.8 million configurable colors ULTRA LIGHTWEIGHT…
[27 Inch UltraGear UHD 4K] 3840 x 2160 pixels Gaming Monitor display expresses high colour…
CLEAR VIEW: Seamless glass across the front and side panels gives your build the undivided…
Three Ways to Connect: Sub-1ms SLIPSTREAM WIRELESS technology, low-latency Bluetooth wireless technology, or USB wired…
EXTREME IMMERSION, FRAMELESS GAMING - MSI curved monitors deliver a more immersive gaming experience with…