Corsair Graphite 380T Mini-ITX Chassis Review
Peter Donnell / 10 years ago
Complete System
Total build time on the 380T was 30 minutes, which is pretty awesome for a chassis of this size as the limited space can often lead to tricky installation processes… which it did, but they were easily overcome.
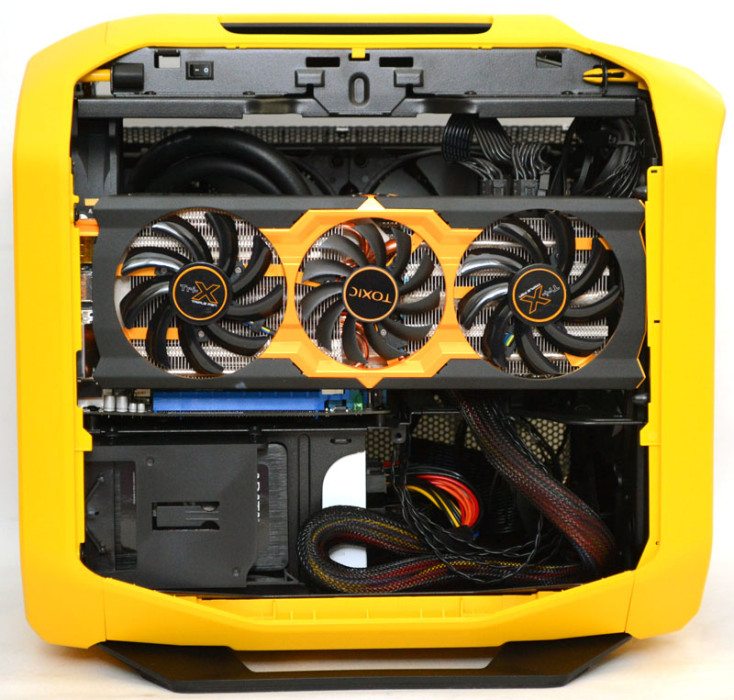
The GPU compatibility for the 380T is a lengthy 290mm, more than enough for many of the latest GPUs on the market, but our Sapphire R9 270X Toxic is 308mm long and while it was a tricky job, IT FITS!
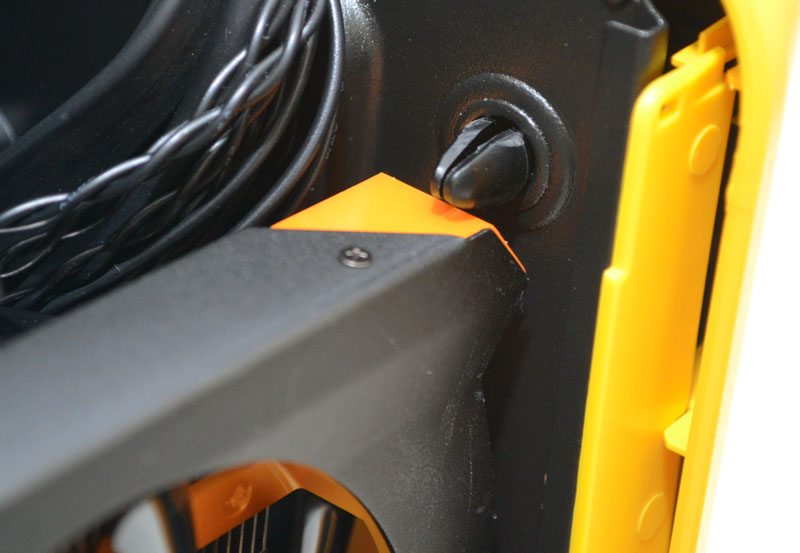
I had to fully remove the front panel as these pegs were blocking the tail end of the card by about 6mm, fortunately the shape of the cooler allows the card to sit between them once seated in the motherboard and we have significantly less than 1mm of space between the chassis and the back of the card; It’s a close call, but as the old cat meme saying goes “if I fits, I sits.”
The PSU cables aren’t routed as good as they could be, but there are a lot of cable tie loops on the chassis interior , so those wanting to put in the extra time to tidy things up shouldn’t have too much trouble.

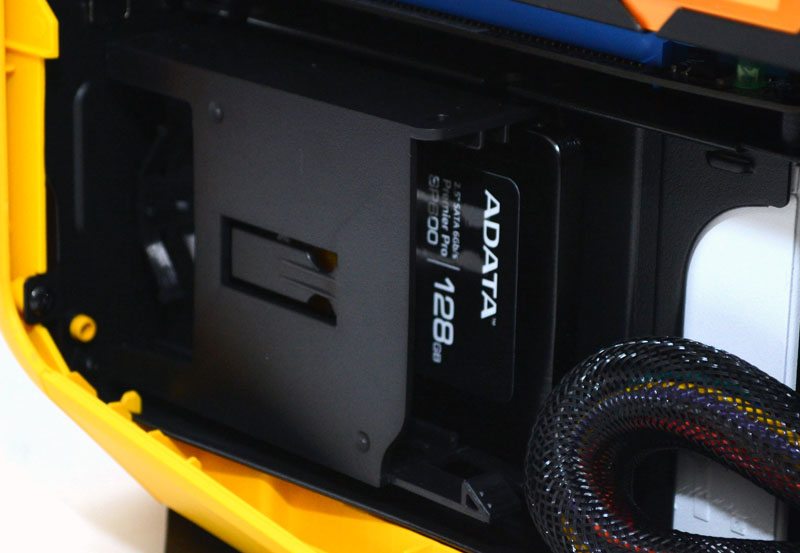
SSD installation was nice and easy, run the cables around to the back and slide the drive into place, simple.
I’ve opted to remove the 3.5″ drive bays, mostly for demonstration purposes that they can be removed, but it also freed up a vast amount of cable management cramming space.
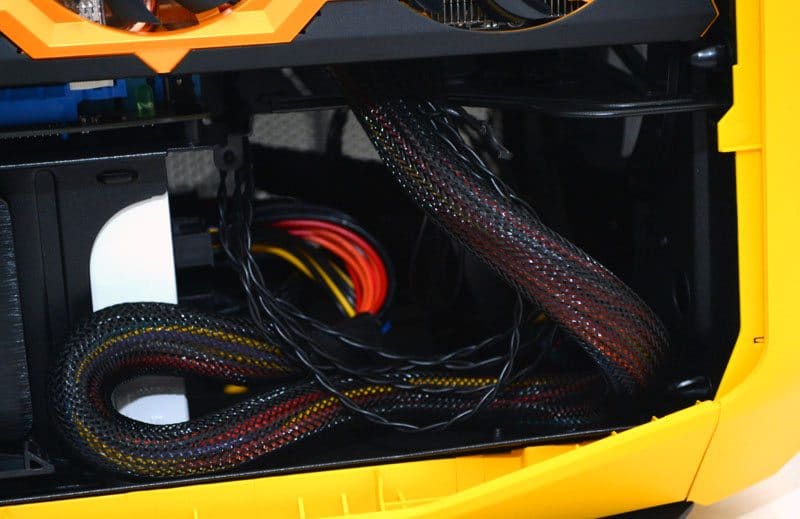
All that cable routing space in the bottom is a joy, as it means the upper compartment with the motherboard is nice and clear of obstructions, allowing airflow through from the front fans to pass easily through the chassis.
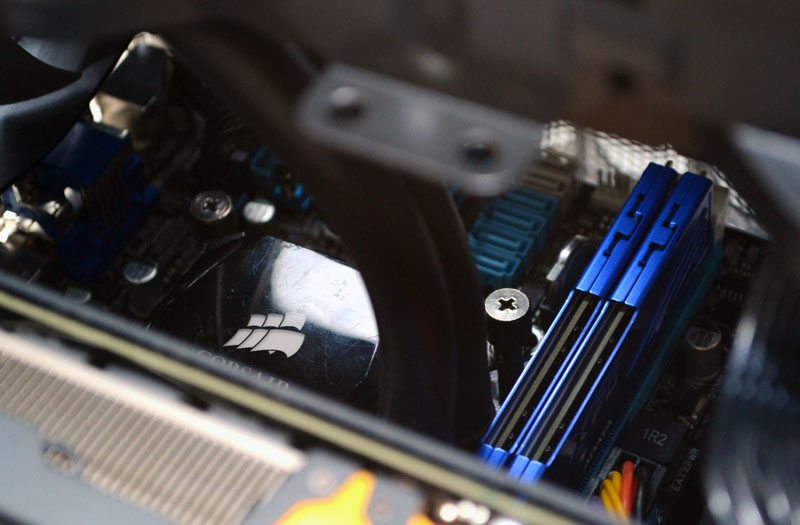
Mounting the H100 was incredibly simple, I shudder to think of the hell I’ve had to deal with when installing this cooler in other mini-ITX chassis, but this was an absolute breeze. It’s worth pointing out here that there is some space next to the PSU that would be idea for managing excess PSU cables, but for some reason this is one of the sections of the chassis that doesn’t feature extra cable tie loops, when ideally it could do with a whole bunch of them.
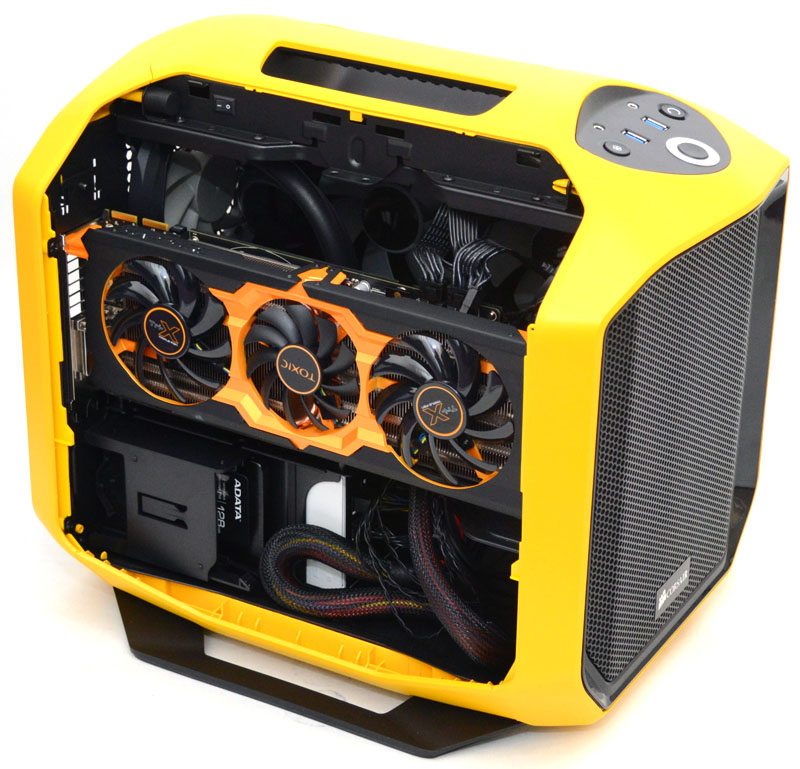
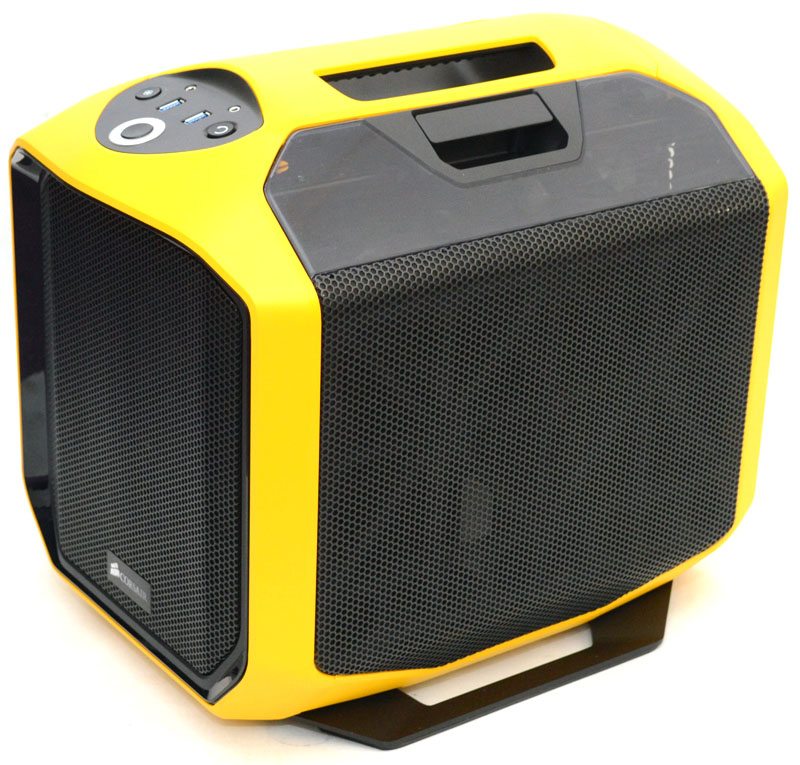
All side panels back in place and you can just about make out the orange from our Sapphire Toxic GPU through the mesh.
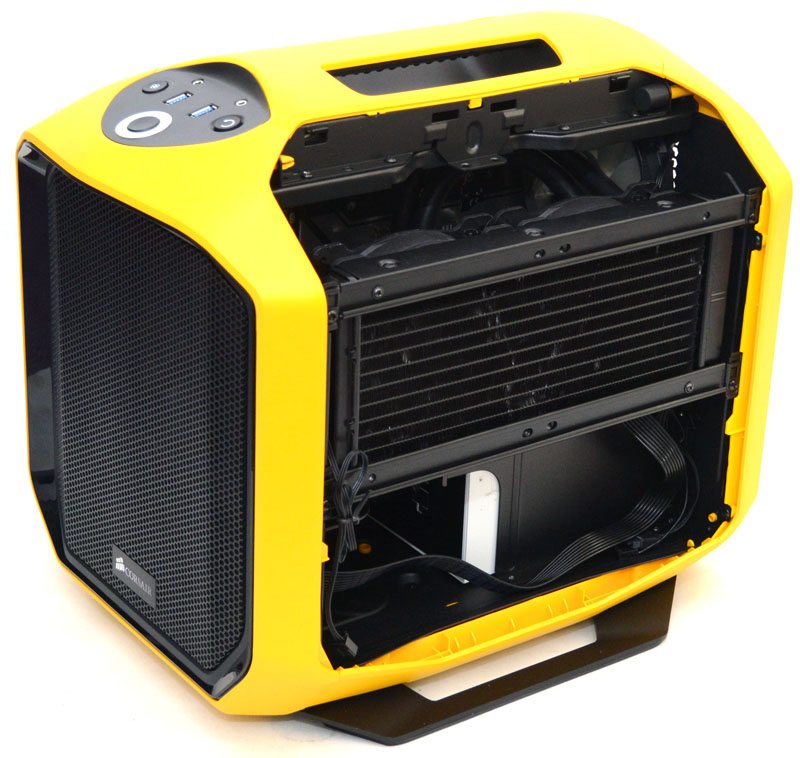
Around the back you can see our PSU is mounted on the bracket.
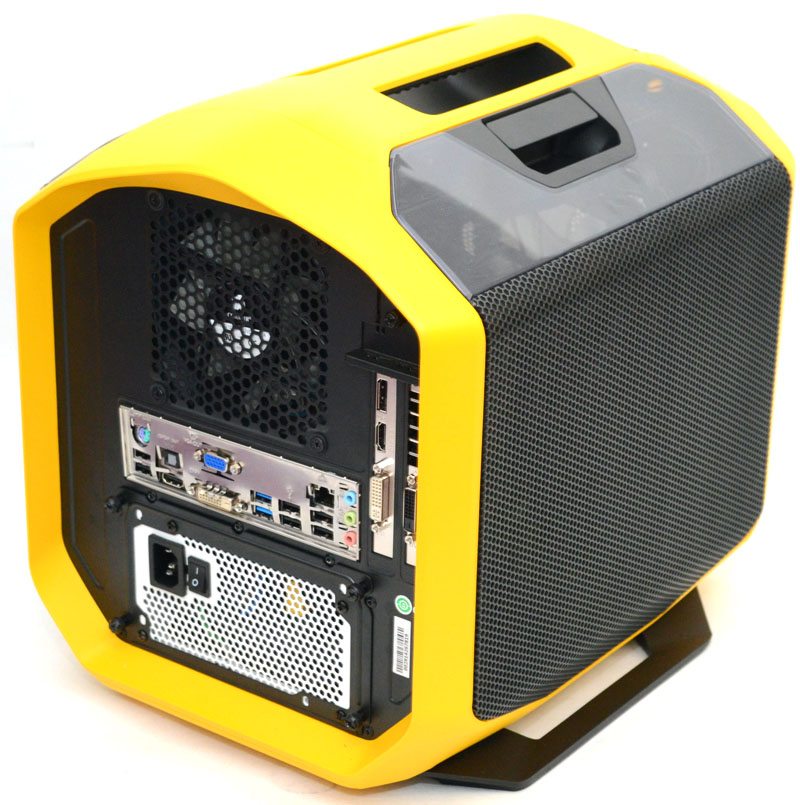
Nothing much to see here, but certainly all neat and tidy.
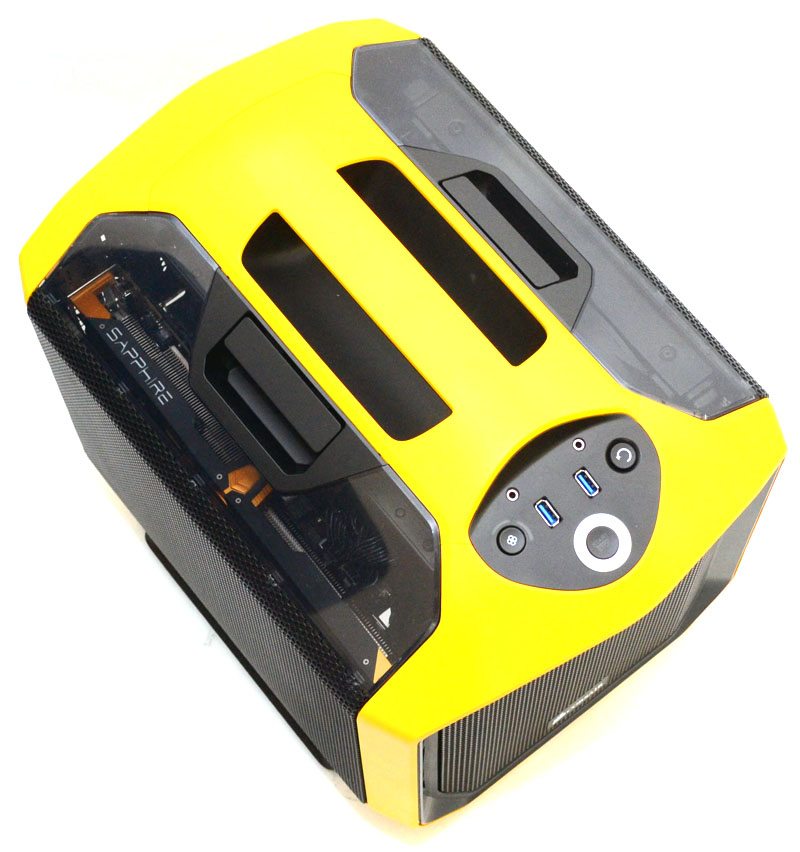
The top down view gives us a great shot of the interior and most importantly the side of our GPU, which is a pretty cool view in my opinion.