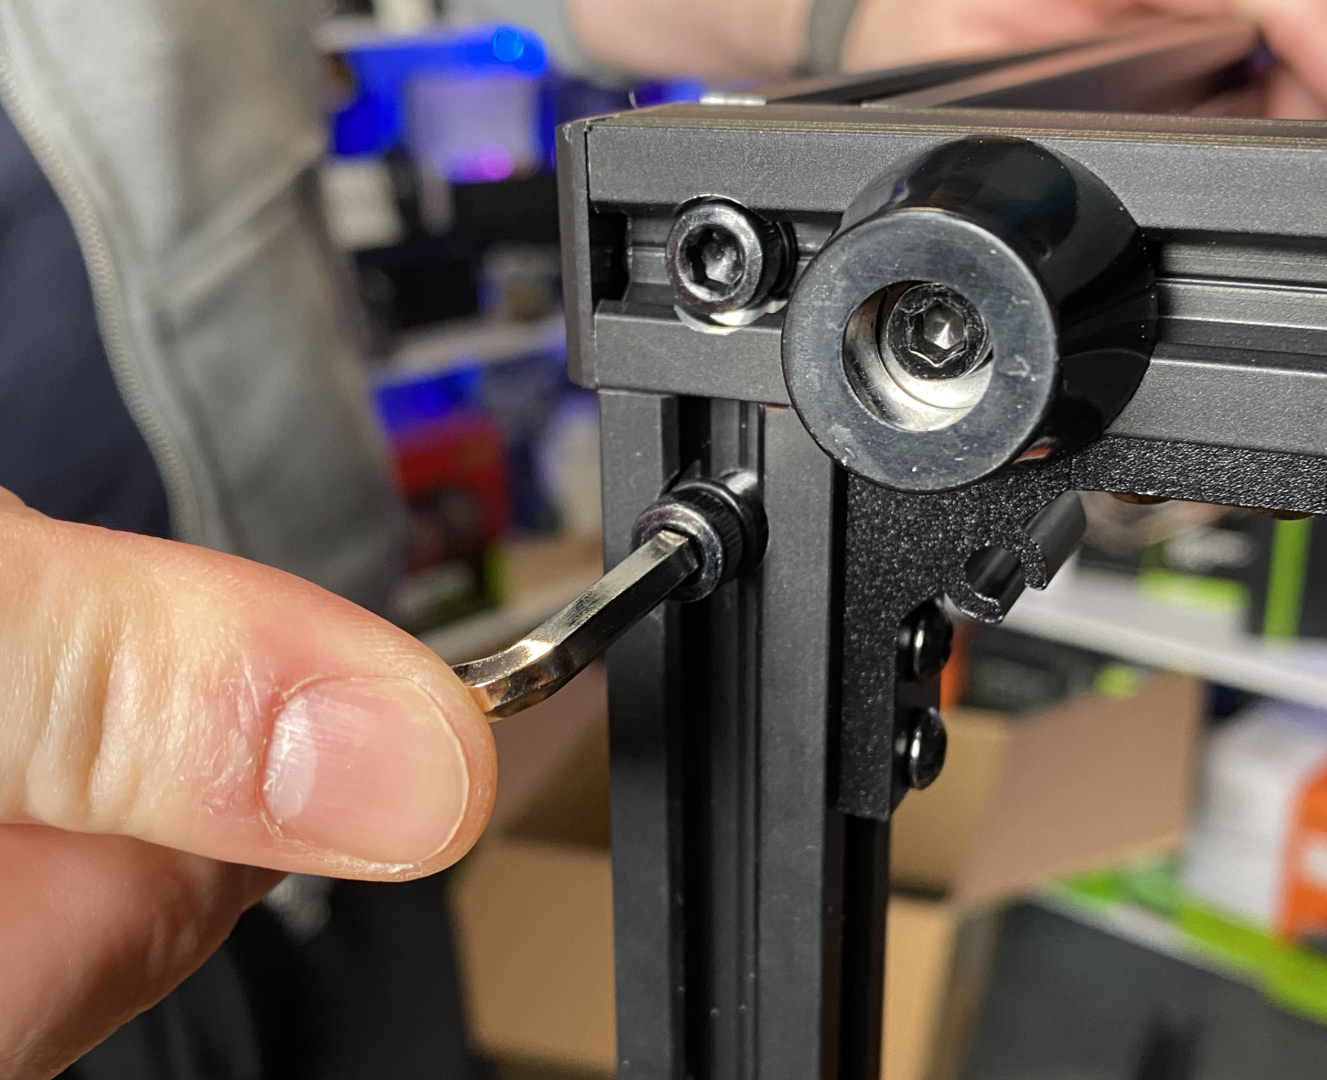
The instructions are easy to follow, providing written and visual aid to help you understand what to do.
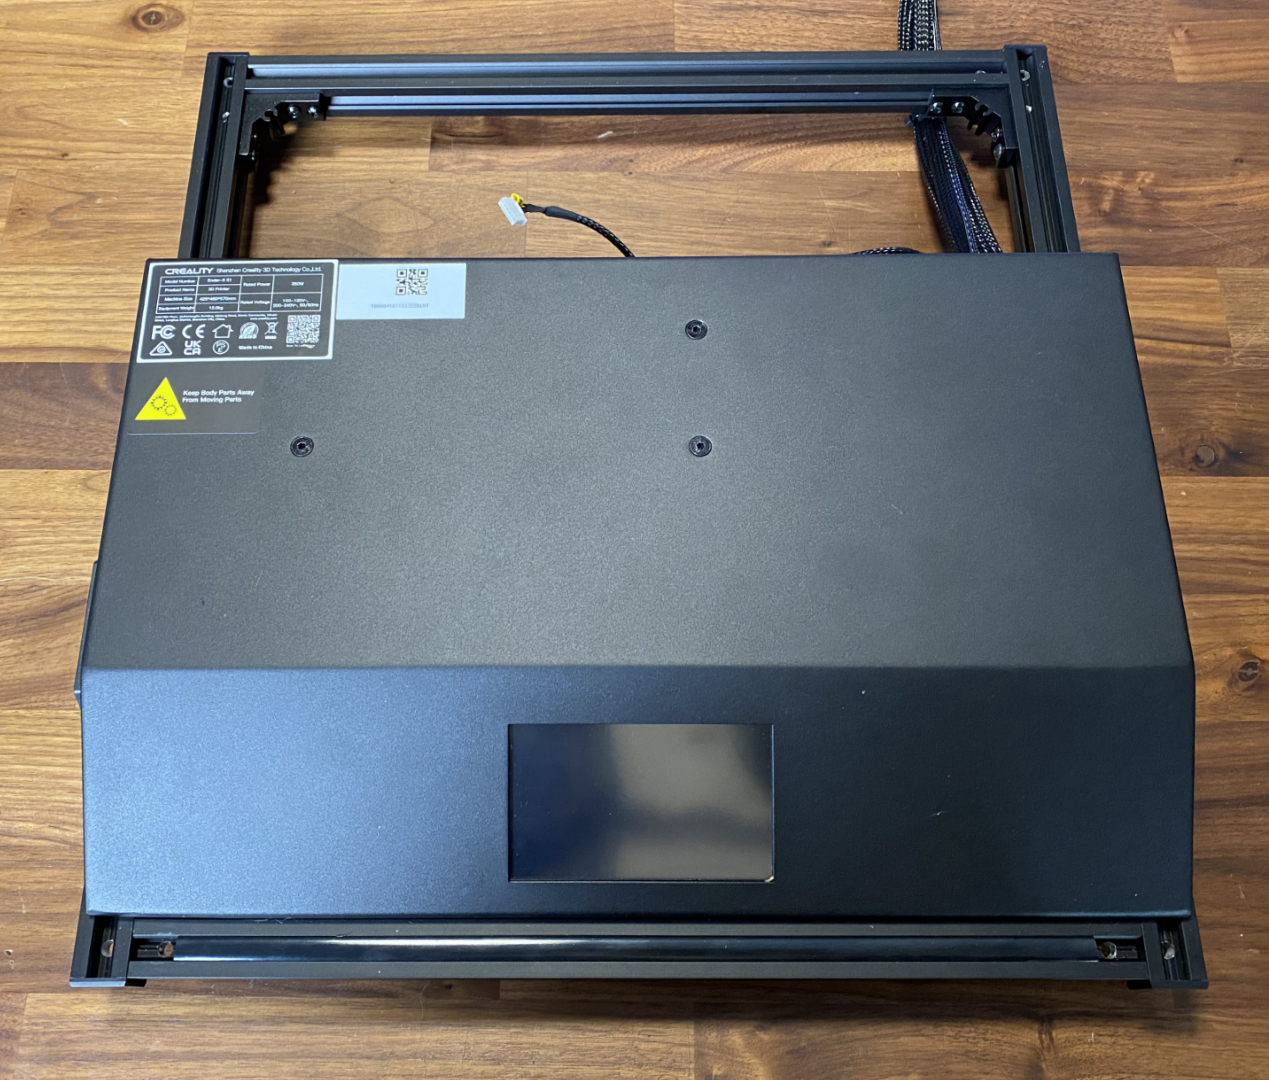
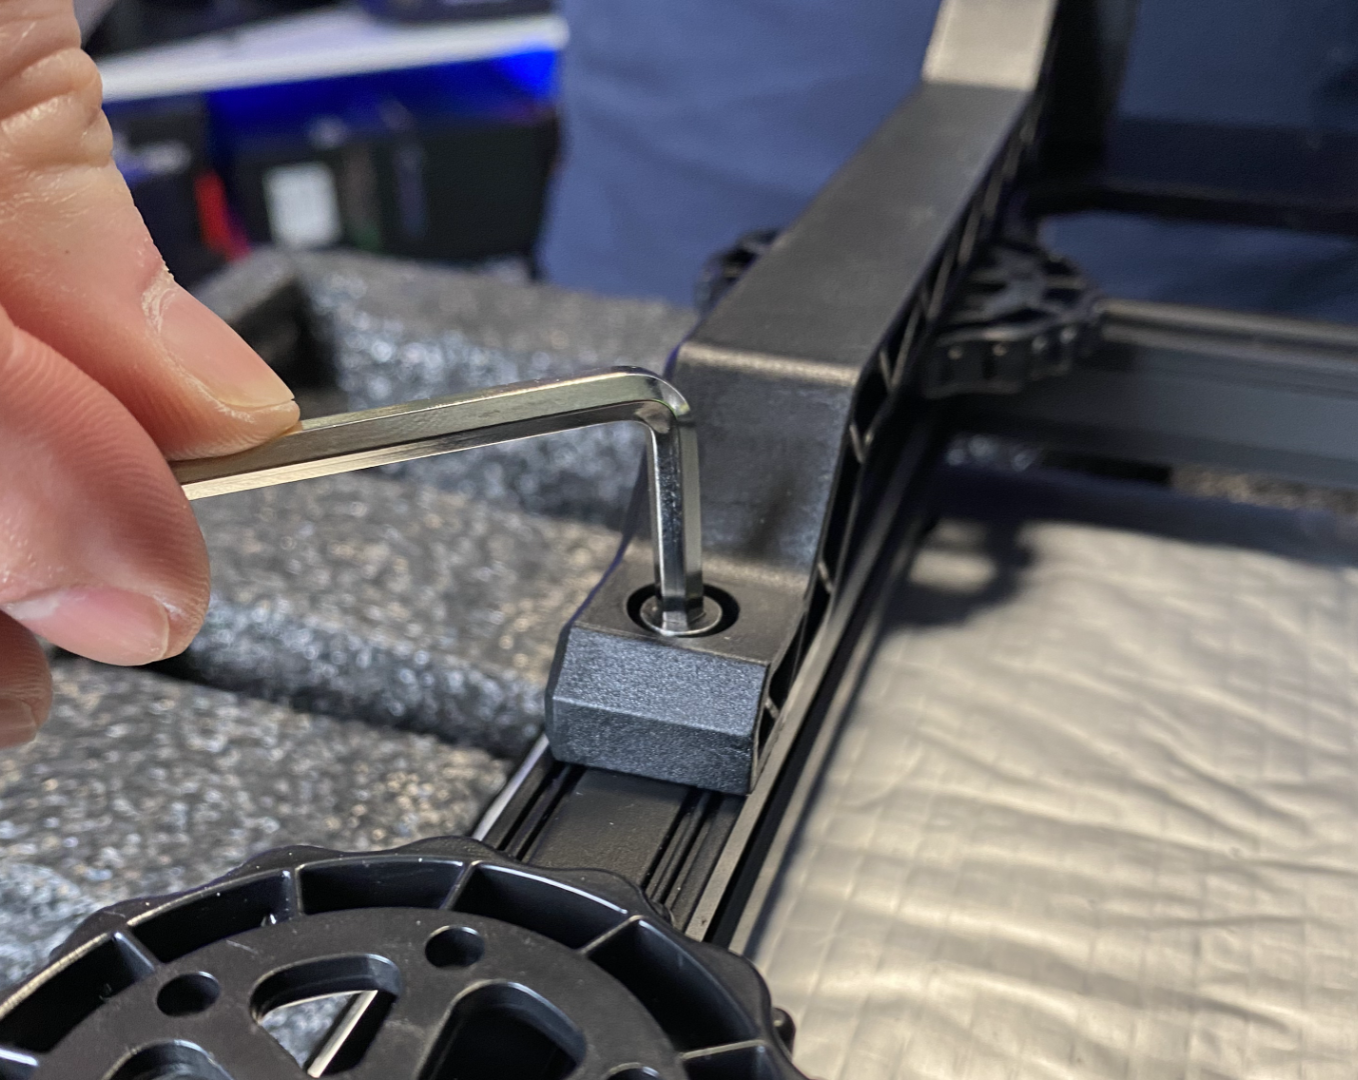
The first step is to attach the bulk of the frame to the base.
The screws and tools needed to assemble the printer are all provided in the accessories box.
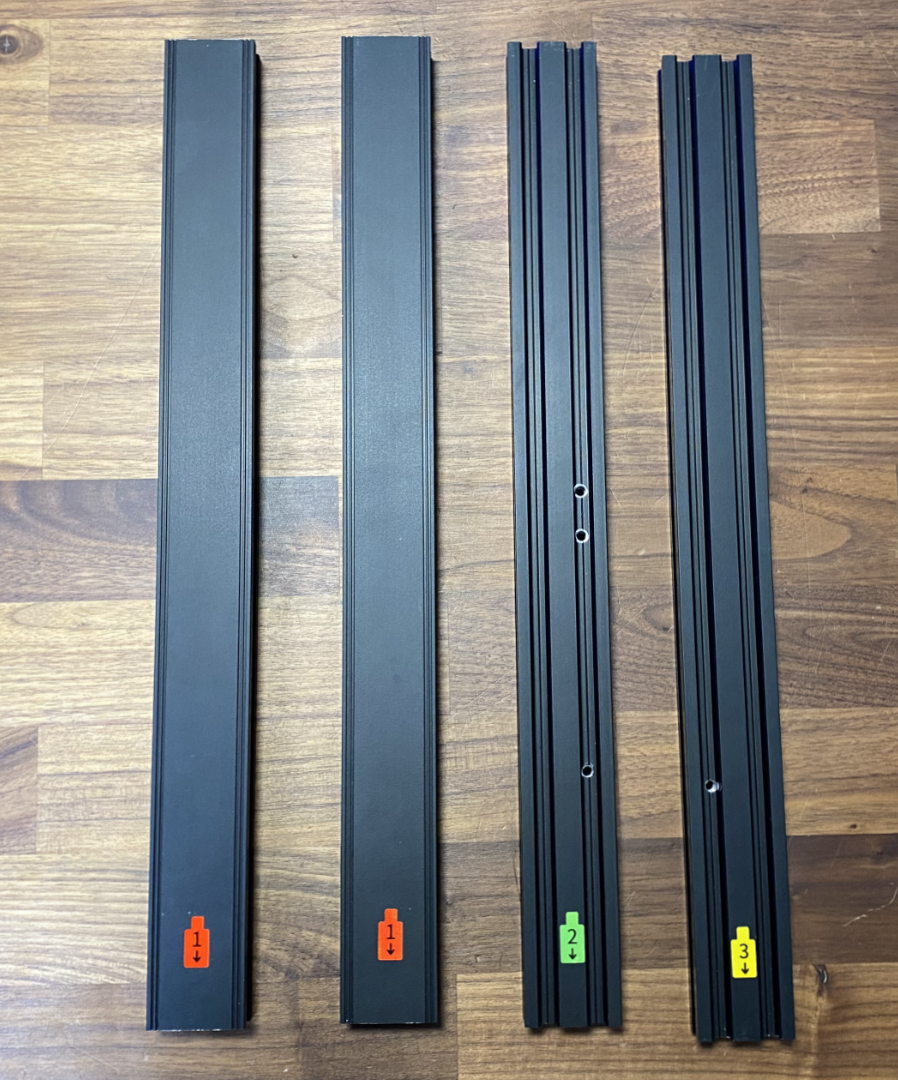
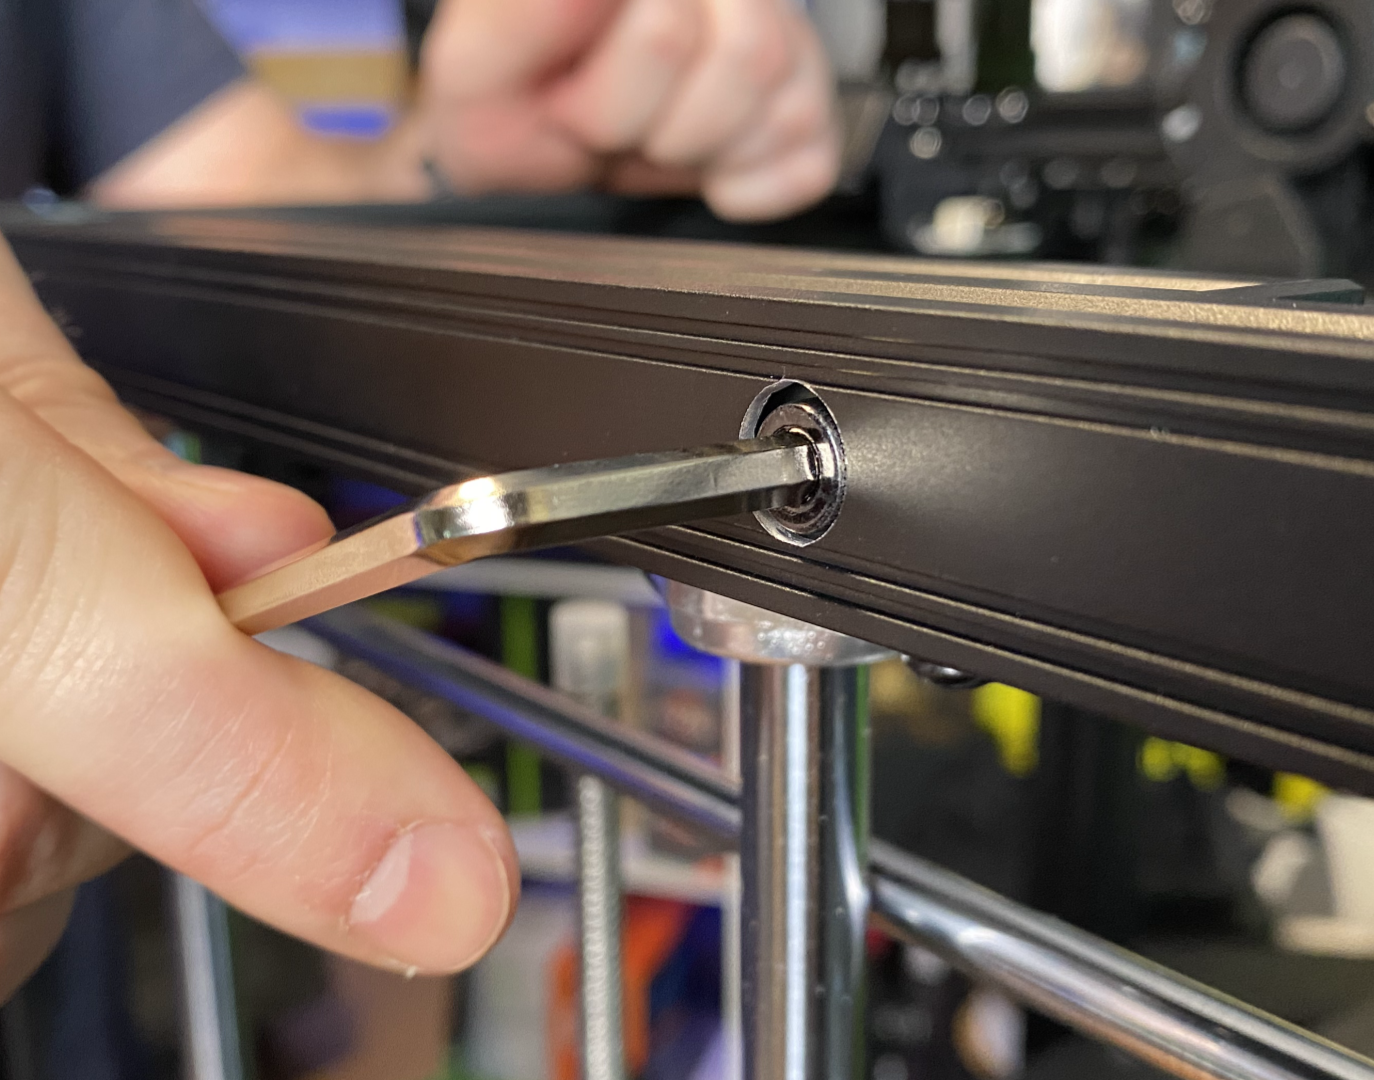
The next step is to attach the top of the printer. Most of the printer is already assembled, so it makes it simple and easy to find the parts and screw them together.
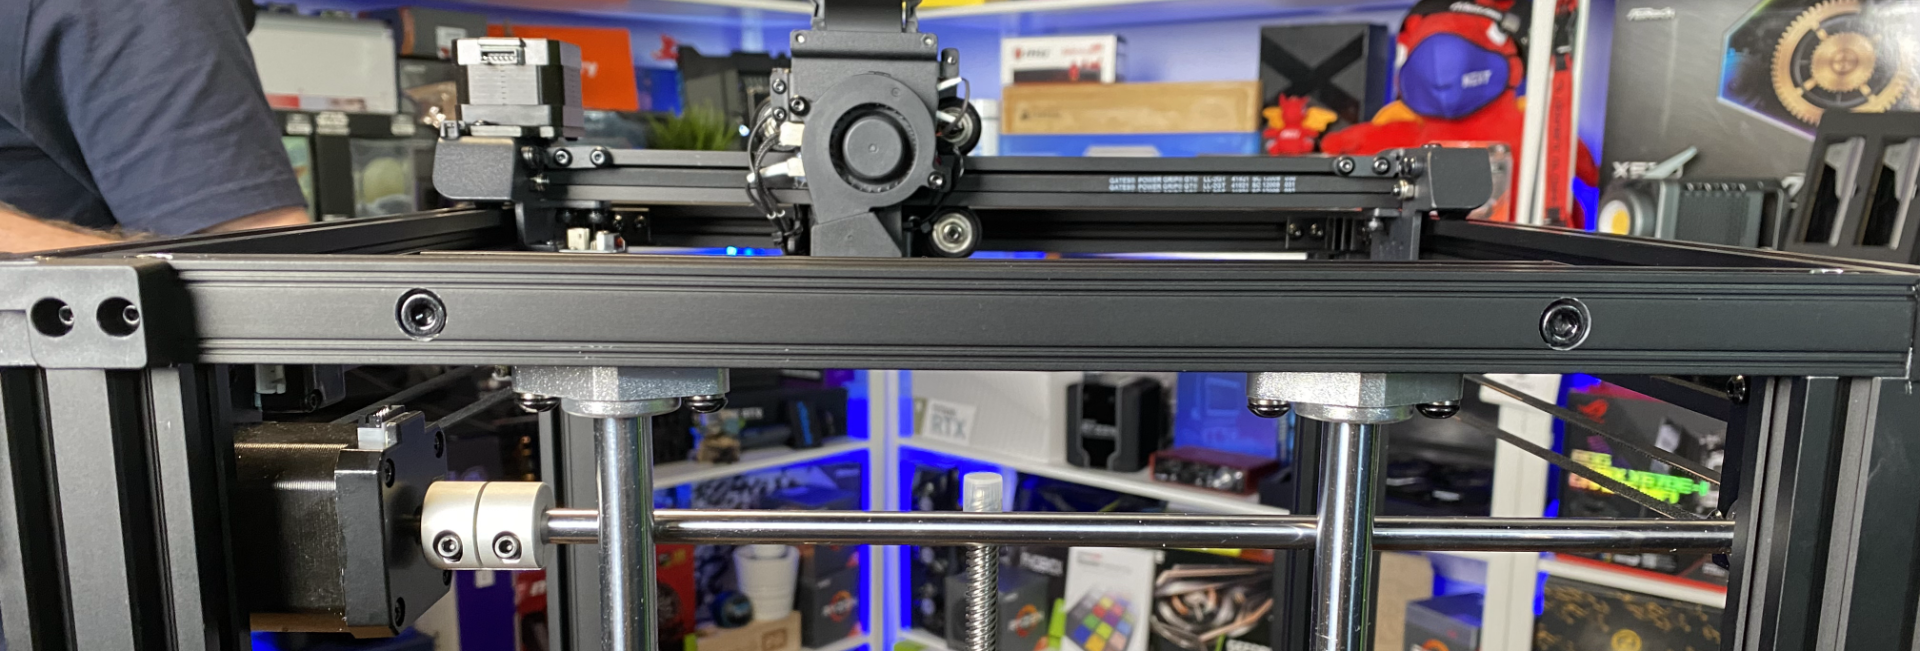
Next we need to attach the print bed to the frame, this is done in two parts, the first part involves attaching the bed to the Z-Axis which is a pre-assembled unit.
Once you’ve attached the bed you then need to take the entire unit you’ve just put together and screw it into the frame of the printer, this slots right into the back and creates a strong structure.
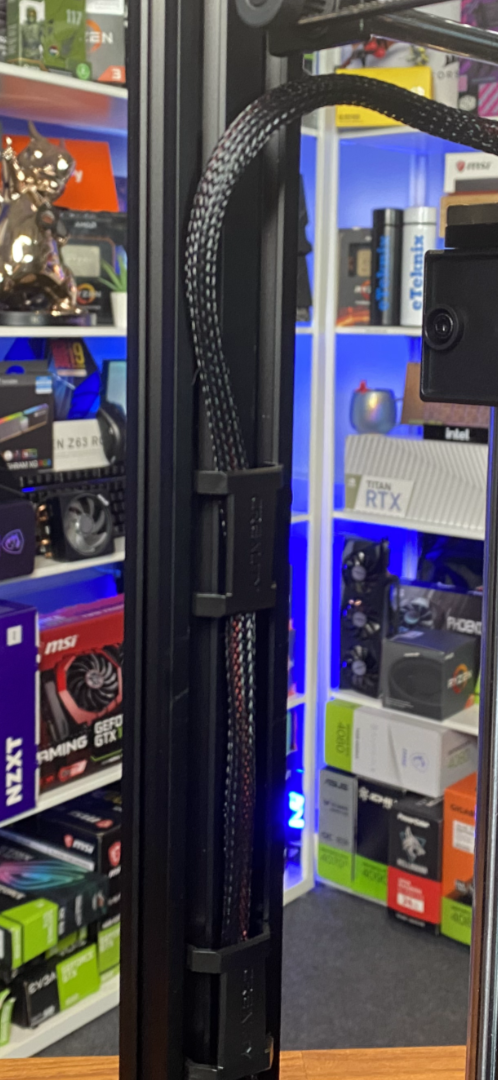
The Last steps are simple, screw in some support beams, the filament holder and then follow the diagrams on where to plug in the cables, and then you’re ready to start calibration.
【Elevate your desktop】EFISH mouse pad adds color, style and comfort to your workspace.the smooth soft…
80 PLUS Bronze Certified: Provides up to 88% operational efficiency, generating less heat and lowering…
Featuring deluxe custom artwork of iconic figures from the beloved Fallout franchise, this deck is…
Presented for the first time ever, the 3 volume set of The Elder Scrolls V;…
Valve's latest upcoming game which has been in development since 2018 and was originally codenamed…
Ghost of Tsushima Director’s Cut made a strong debut on PC, hitting over 57,000 concurrent…