D-Link Performace Series DIR-890L AC3200 Router Review
Bohs Hansen / 7 years ago
User Interface – Settings
The second tab contains all the available settings and on now we are going to take a look at them all.
Internet Settings (WAN)
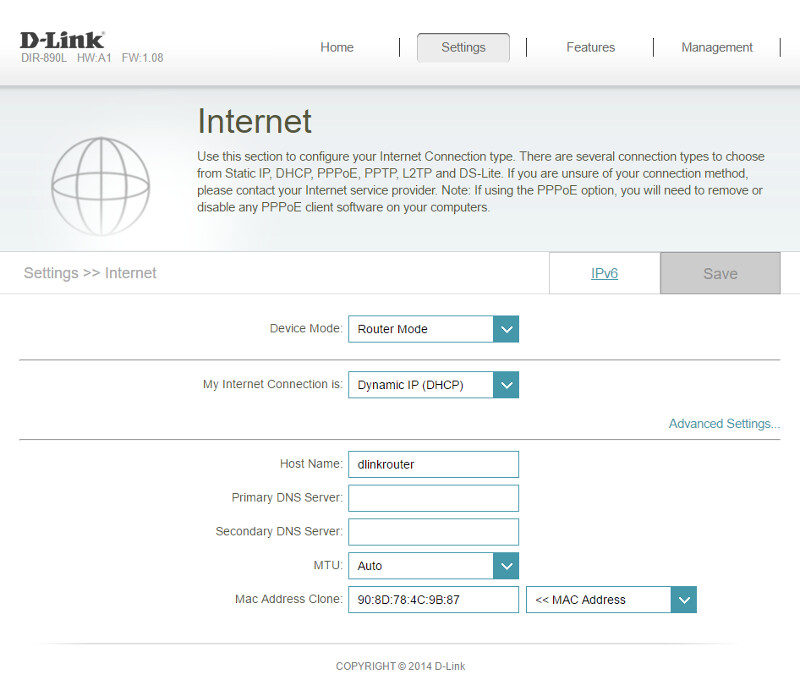
The first thing we come to are the internet settings that also partially are router settings. First, we can choose between router mode or access point mode. Most people will most likely need the router mode and that’s the one I’ll be using in this review too, but the access point might be just as useful depending on your general network setup.
The internet connection itself supports static IP, dynamic IP, PPPoE, PPTP, L2TP, and DS-Lite. Further, you’re able to set the router’s host name, DNS servers, and MTU size here.
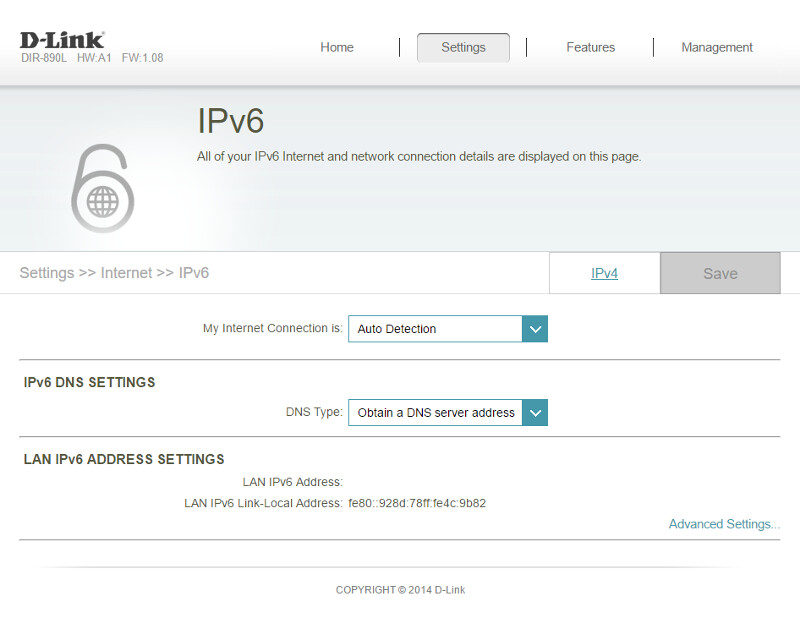
The D-Link DIR-890L also supports IPv6. While not that widely adopted yet due to the more complex addresses to remember, it will become necessary sooner or later.
Wireless Settings (WLAN)
Next up are the wireless settings and that’s only natural as the wireless capability is one of this device’s strength. The Smar Connect feature is turned on by default and in this mode, you only have one visible network SSID and password to set and remember. The router will take care of the distribution of connected clients itself and place them where they’ll get the best performance.

Disabling the Smart Connect will give you access to the three individual bands with their independent settings. You can set everything from mode to channel and transmission power.
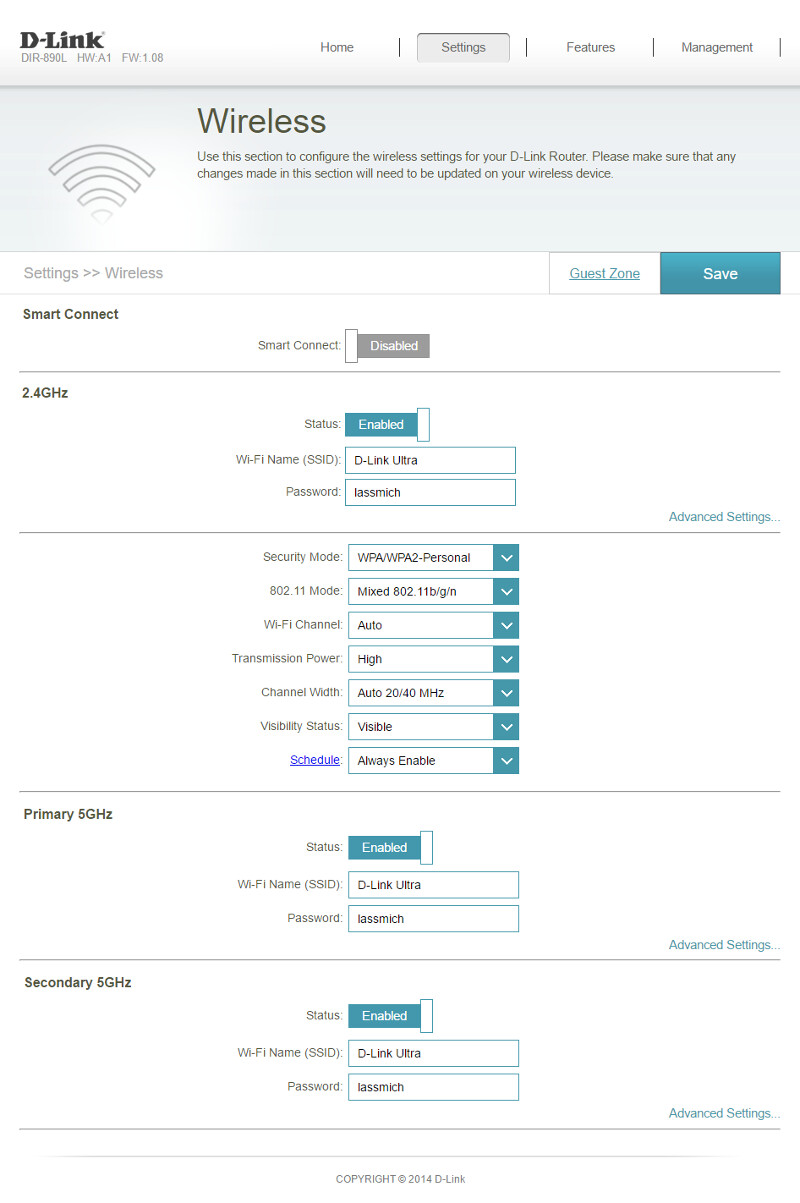
The DIR-890L also supports Guest networks on the wireless band. Enabling this will allow you to offer wireless network access in order to access the internet while you keep them out of all your own systems at the same time. It also saves you from having to share your ordinary WiFi password with other people.

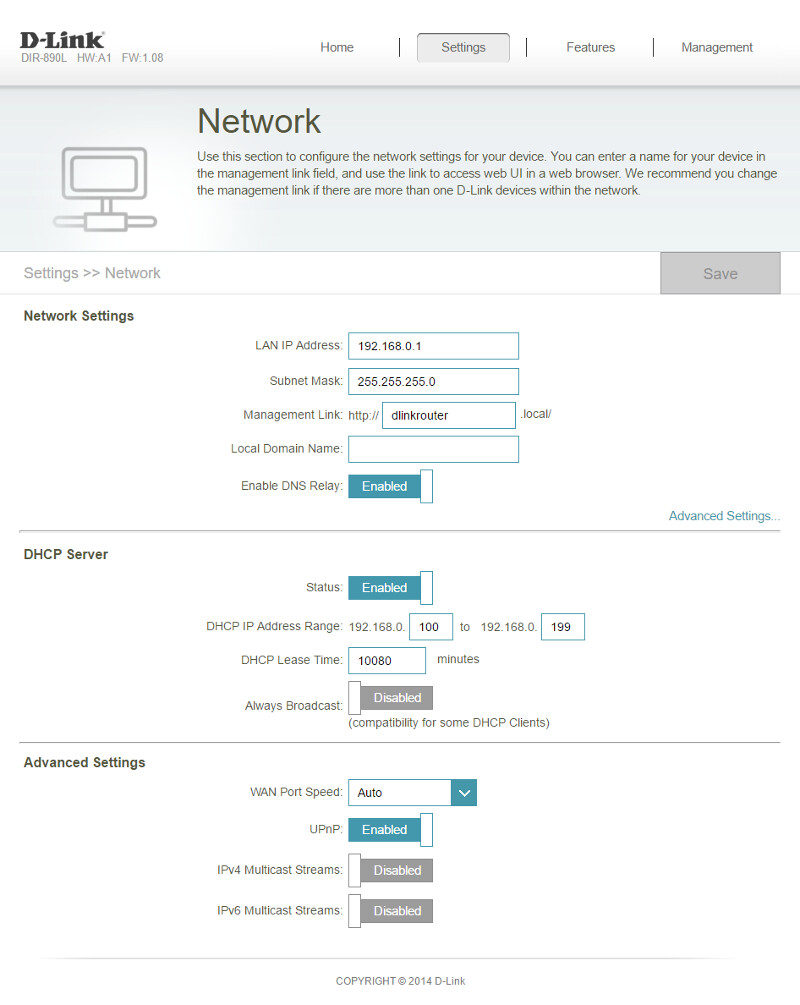
Network Settings (LAN)
We also need some wired network settings for the four available Gigabit Ethernet ports and we have everything available here. There are the basic settings such as the routers IP address which will determine what network mask it runs on as well as the local management link and domain name.
The DHCP server can be limited or expanded in its available addresses and you can naturally also turn it off should you want to distribute your network settings manually. We can also turn UPnP off here and enable multicast streams for IPv4 and IPv6 separately.
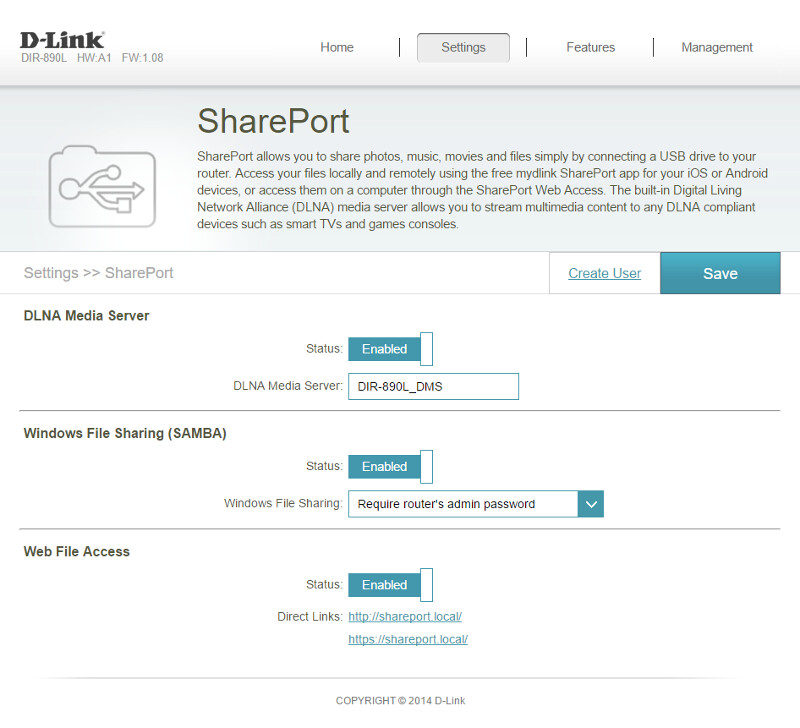
SharePort Settings (USB)
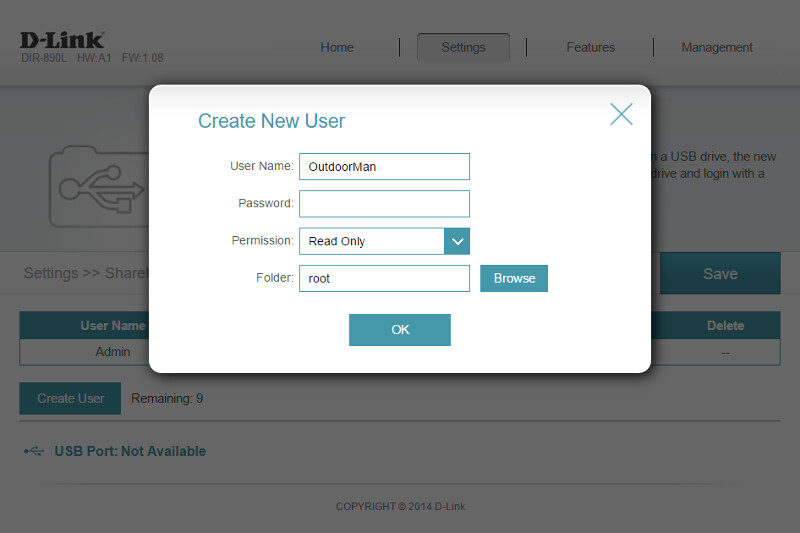
The SharePort settings page is where we find all features related to the USB ports, the built-in media server, and file access.
We always have our admin user as default, but we can create more users too, up to a total of 10 including the admin user.
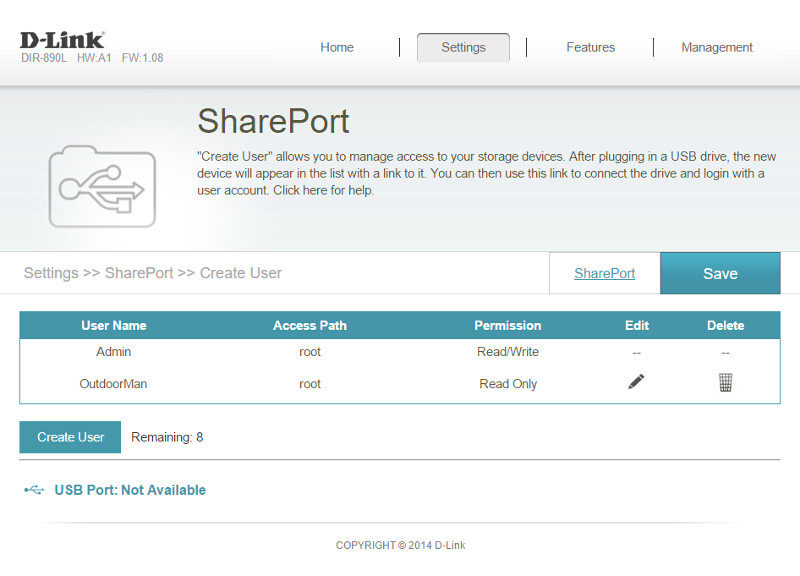
Creating a new user doesn’t take long as all you need to enter is a username and password as well as set the access rights for the new user.