Elgato Thunderbolt 3 Mini Dock Docking Station Review
Bohs Hansen / 6 years ago
A Closer Look
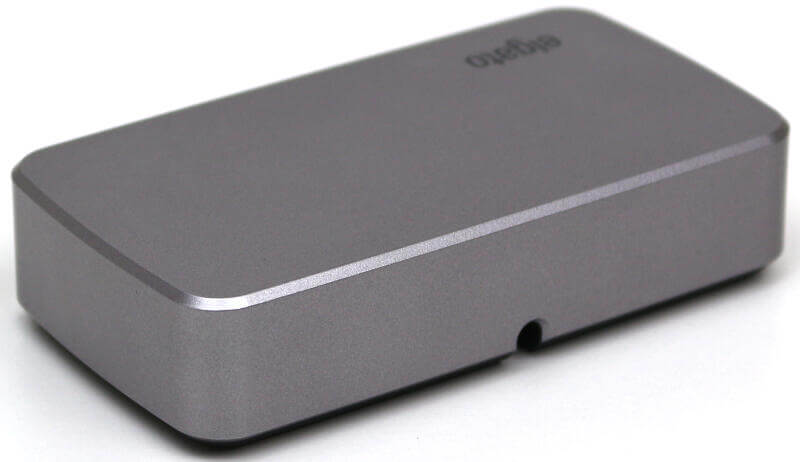
The unit in itself is a simple one. It’s small, so we’ll get through this page quite fast.
Connectors and Ports
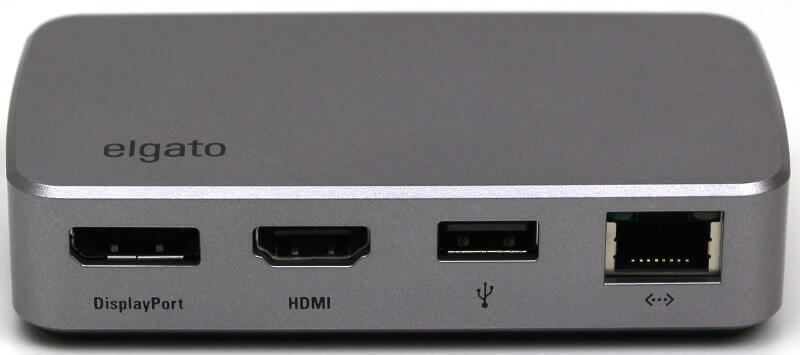
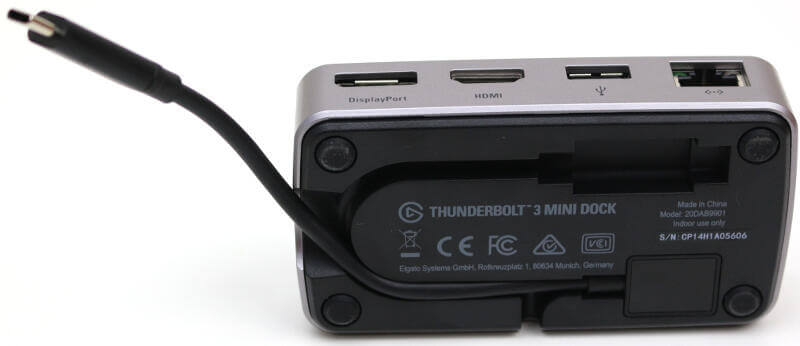
Let us start with the front of the unit, or rear, depending on how you look at it setup-wise. All four available ports are on this side. You get a DisplayPort and an HDMI port, both with 4K 60Hz and 1080p 144Hz support. Next to them is a USB 3.1 Gen.1 (USB 3.0) port and the RJ45 Gigabit Ethernet port. That isn’t a whole lot, but it does the job. The ability to add wired networking and extra large monitors is what counts here.
The Other Sides of the Casing
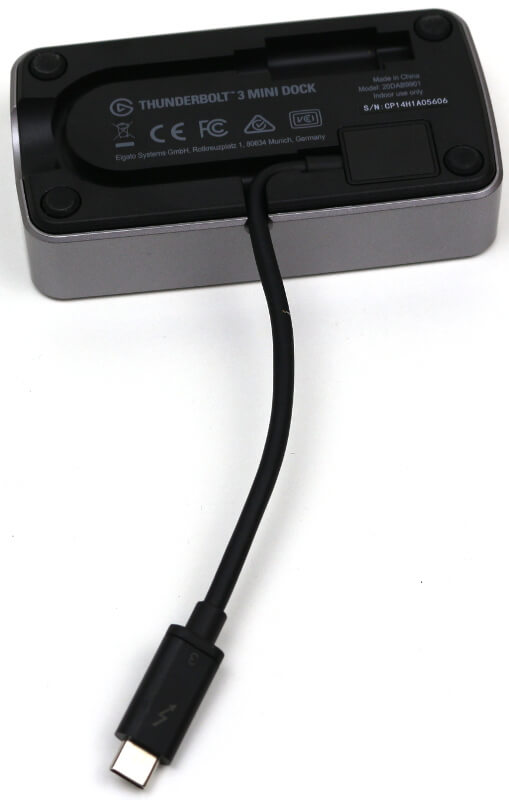
There aren’t any features on the other sides of the unit. It’s just a small and sleek box. The only small thing there is, is the cable-routing hole which is present on one side and the rear.
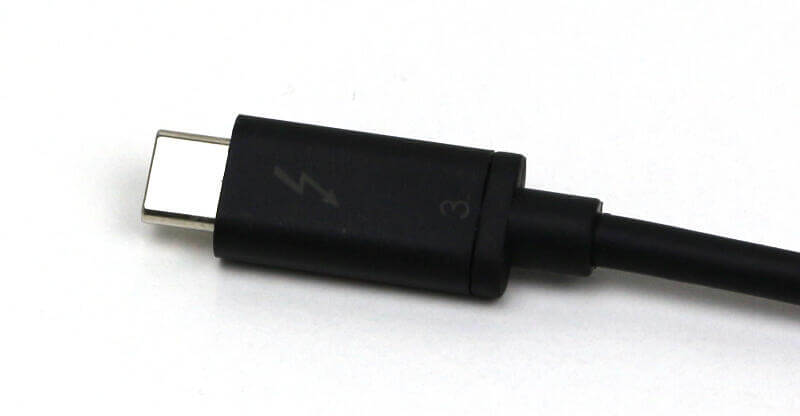
Built-in Thunderbolt 3 Cable with Routing Options
The built-in cable is located at the bottom of the Elgato Thunderbolt 3 Mini Dock. That is a feature great feature when you’re on the go, as you don’t have to worry about forgetting the cable at home. The short cable also prevents cable clutter when you set it up.
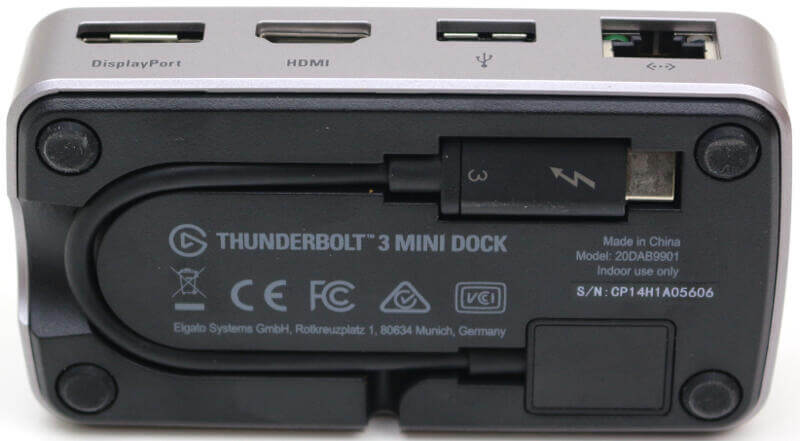
There are two routing options when you unfold the cable, either to the side or to the rear. The side groove is larger and doubles as easy access when you want to unfold and connect it.
Routing the TB3 cable to the rear will give you a longer reach than to the side, which also is something to consider.
The built-in cable offers another bonus, you don’t have to go out and purchase one separately. That can be an expensive add-on cost which you won’t have with the Thunderbolt 3 Mini Dock from Elgato.
Connect The Docking Station to Your System
It really couldn’t be any simpler than it is to connect your Elgato Thunderbolt 3 Mini Dock. Plug it in and you’re ready to go.

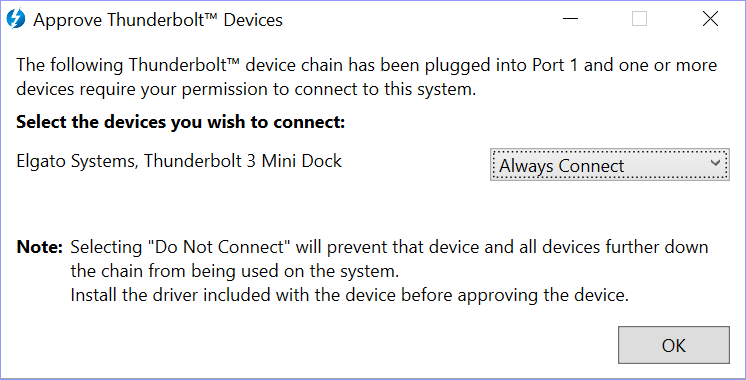
You might need to approve the device in your Thunderbolt 3 suite. The system needs to know that it is a trusted device before it will accept it. You can choose whether to accept it once or always. You’ll probably want to pick the always-option as you’ll be able to forget about this step with that selection.
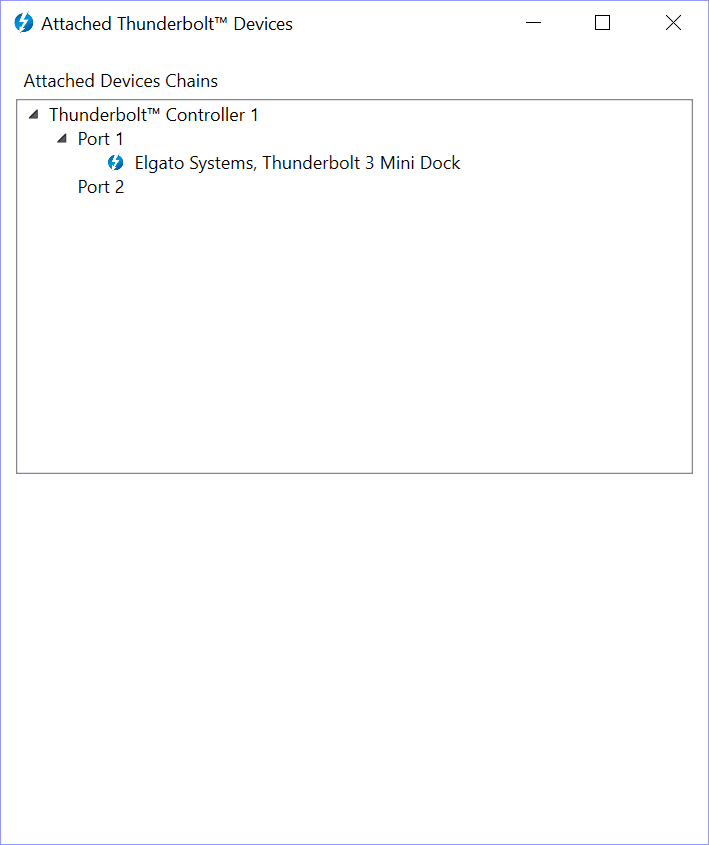
Once you’ve connected it, you can check within the Attached Devices function whether it’s found or not.