Game Max Onyx RGB Tempered Glass Chassis Review
Peter Donnell / 7 years ago
Complete System
Building a system inside the Game Max Onyx was fairly straight forward, although not quite as smooth as it could have been. I didn’t hit upon any major issues, but the case is a little bit smaller than it looks, and the cable routeing grommets are a little smaller than I would like to easily pass through cables. These are hardly deal breaking issues, obviously, and the end result does look neat and tidy, so all is forgiven.
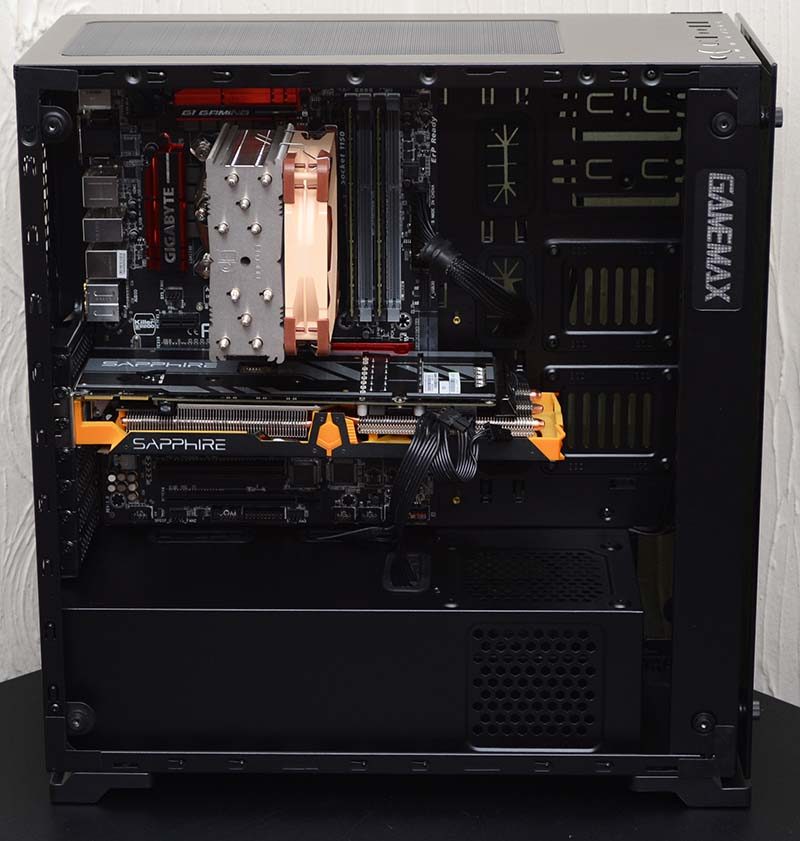
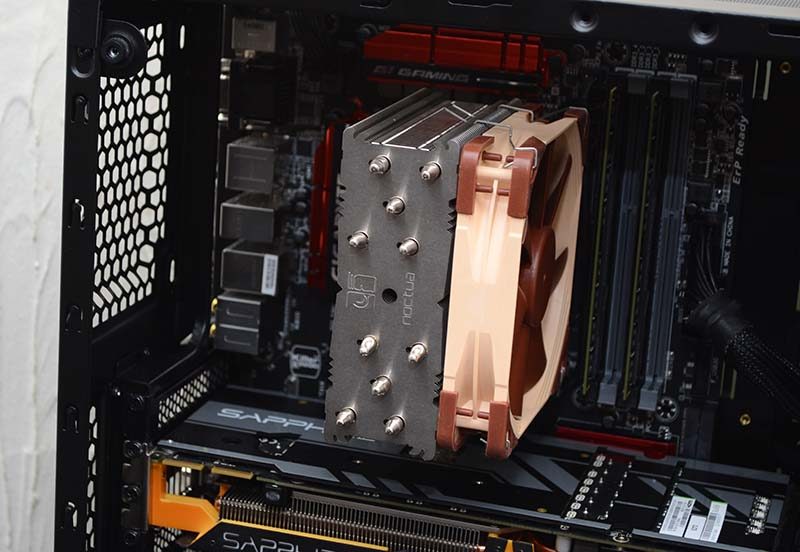
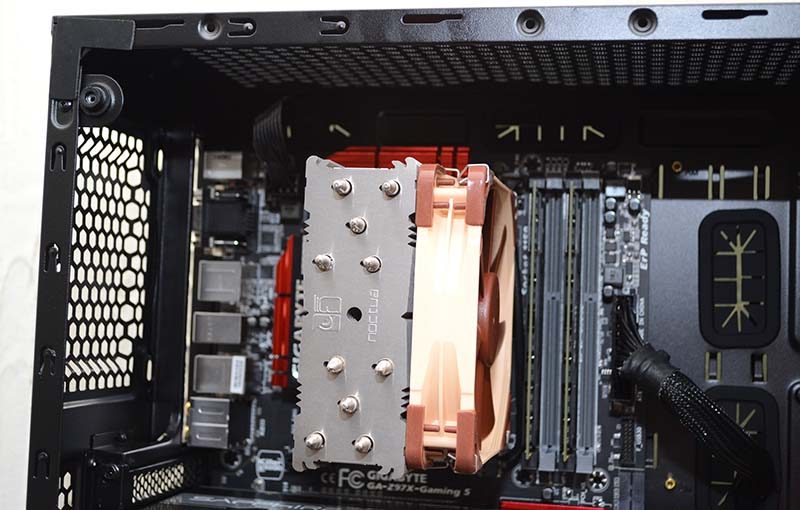
There’s plenty of room for a good size CPU cooler. While I would have liked to see a 120mm mount on the rear of the chassis to support an AIO cooler, the chassis is well suited to those focusing on air cooling; especially with that fan hub in the back of the case.
There’s not a lot of room up top either, so radiators are pretty much a no-go there too, but a pair of 120mm fans could be fitted to give you extra airflow. Personally, I think that the 3 x 120mm fans on the front are all the airflow you’ll need on a chassis of this size, and the heat will simply blow out the back and vent out the top of the chassis on its own.
There’s more than enough room here for a multi-GPU configuration, while the horizontally mounted cable routeing grommets are perfect for passing through cables to the graphics card, especially on those with side mounted power connectors. There are more grommets at the bottom of the motherboard, which are a little tricky to reach but can help you hide any USB headers and front panel cables very well.
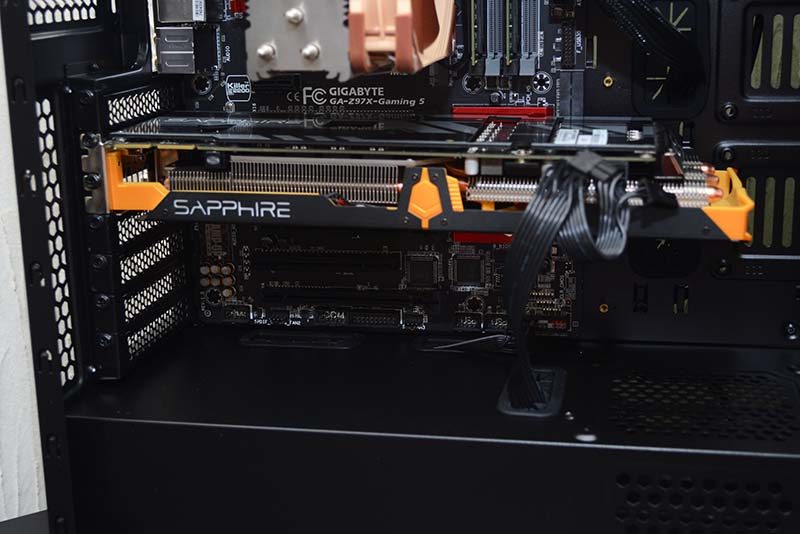
Graphics card size is clearly not an issue here, with room for our massive 270X, it’s unlikely you’ll find anything that doesn’t fit here. Plus that big wall of air from the front panel fans should help keep everything nice and cool.
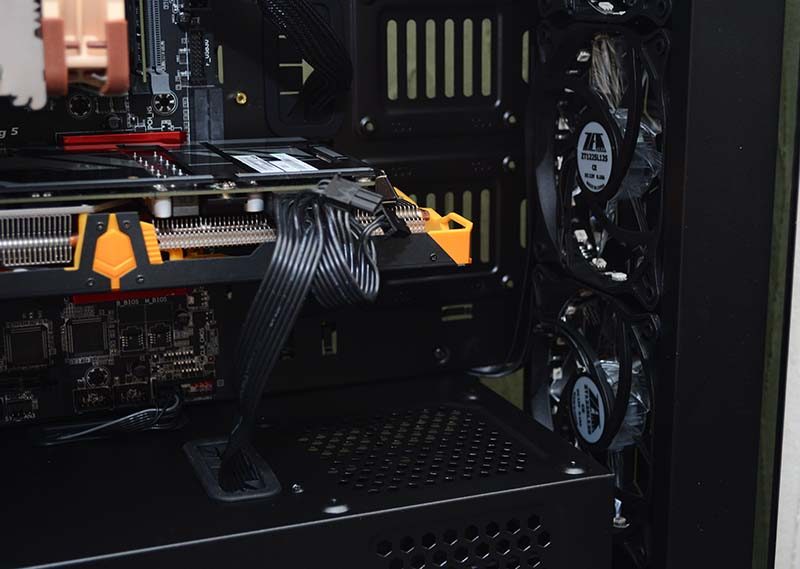
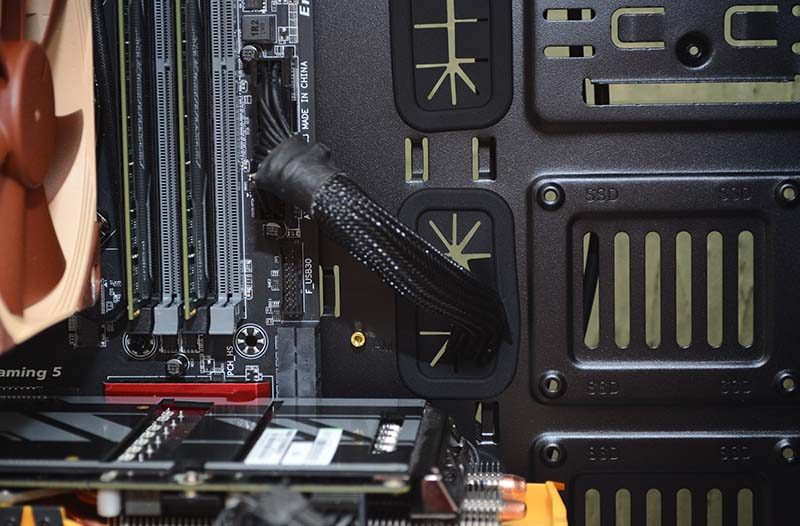
There are cable grommets just about everywhere, meaning you can minimise the number of cables trailing throughout your build. These will also come in handy for those using the vertical SSD mounts to the right of the motherboard.
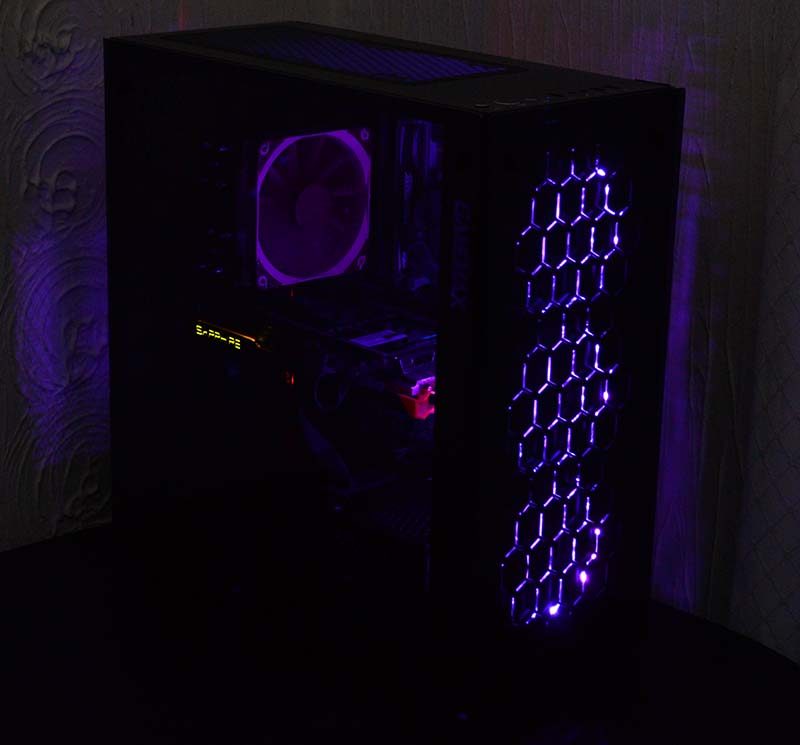
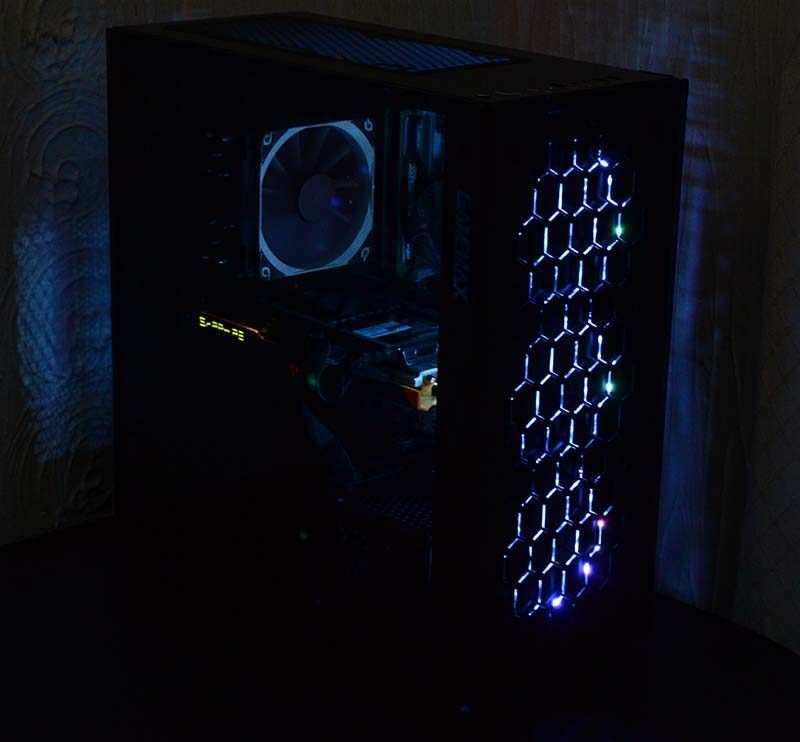
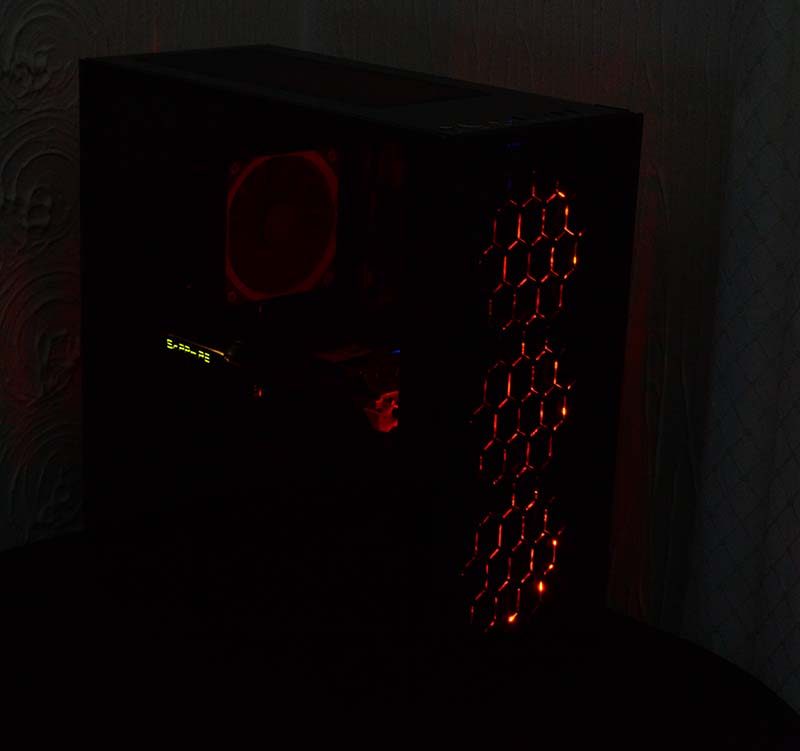
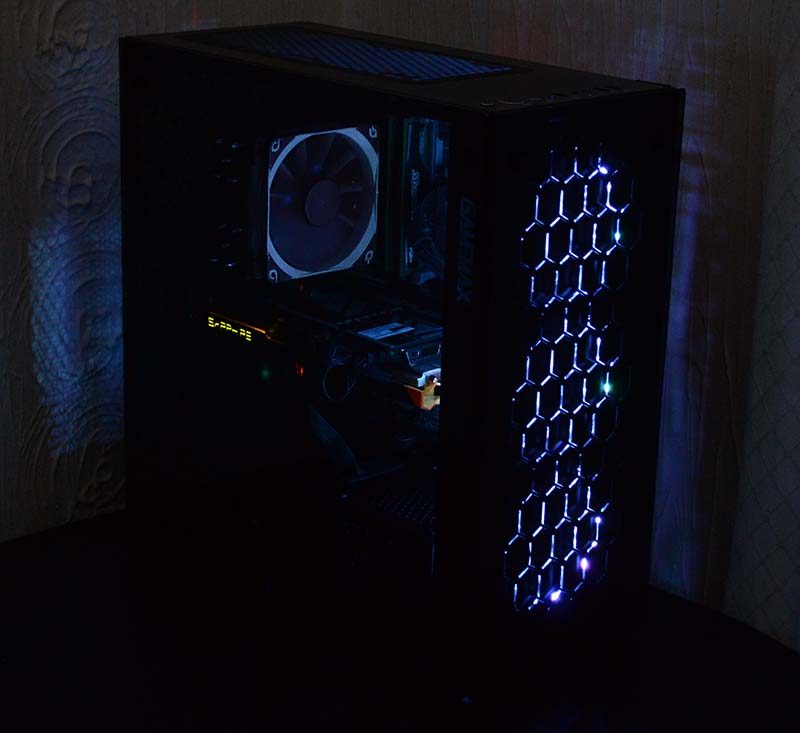
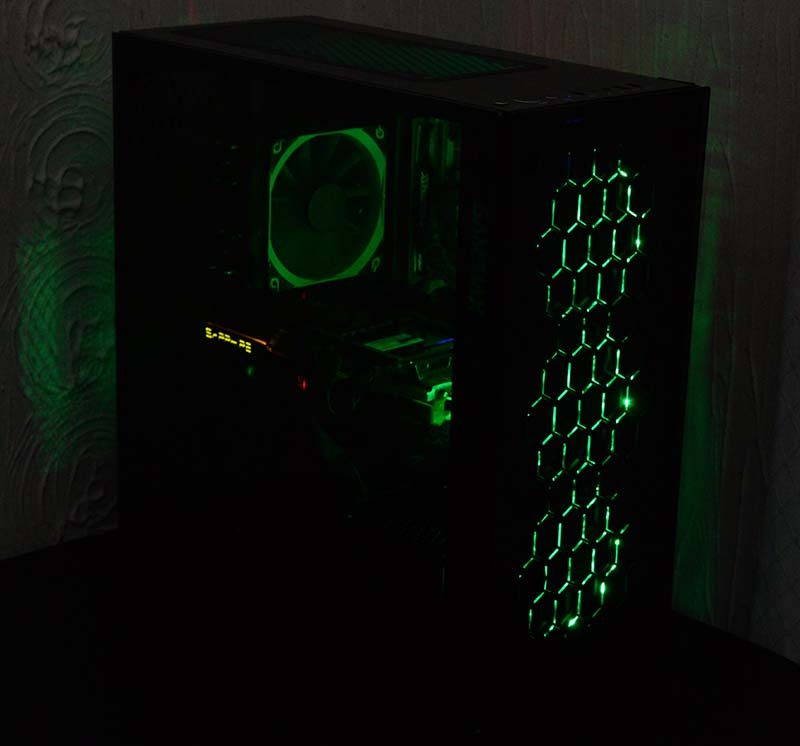
All panels back in place, and you can barely see any of the hardware we’ve installed in the chassis. It could be a bit of a fingerprint magnet if you’re not careful, but there’s no doubt that this chassis looks stunning even with the lights off.

Power it on, and the Onyx takes on a whole new life. The three 120mm fans on the front panel have powerful and incredibly colourful lighting that illuminates the chassis beautifully.
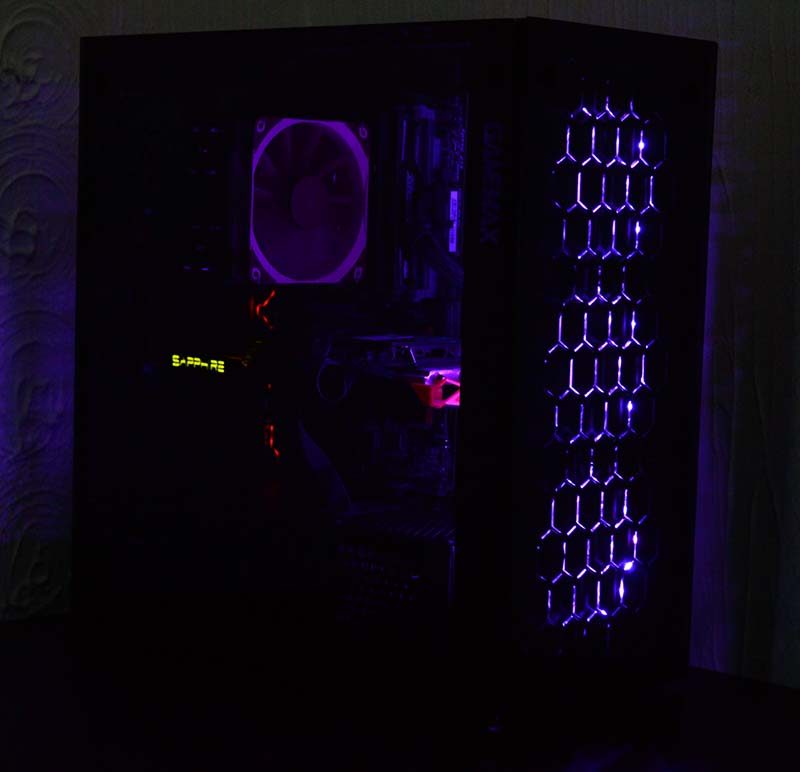
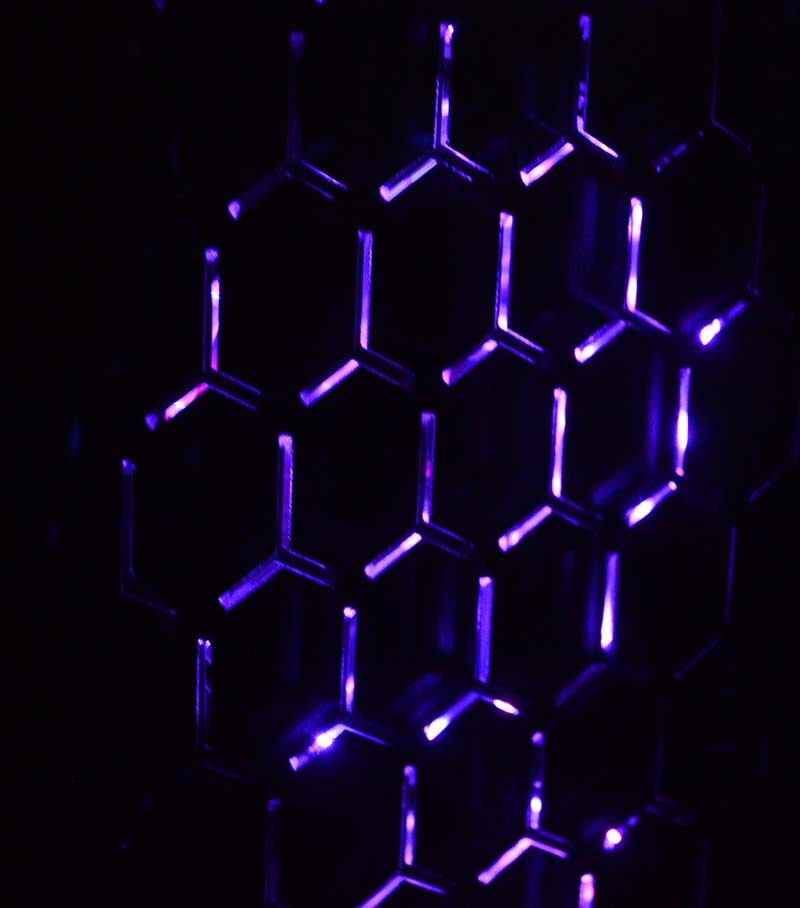
The front panel mesh is a funky honeycomb design, so rather than flooding light out the front of the chassis, it is broken up to give the glass this cool pattern instead.
While there’s not true RGB selector, you can use the front panel “LED” button to cycle through a decent range of colours, enable a colour cycle mode, or turn the lights off completely.

What’s this funky flying saucer on my ceiling? It’s about 1ft in diameter!
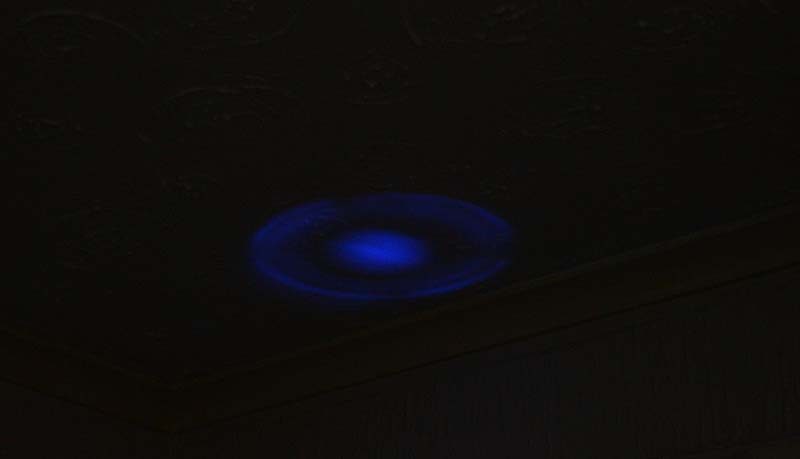
It’s that tiny power LED; it’s like a freaking laser pointer! I’d suggest unplugging the header for this light; it’s pretty darn bright.
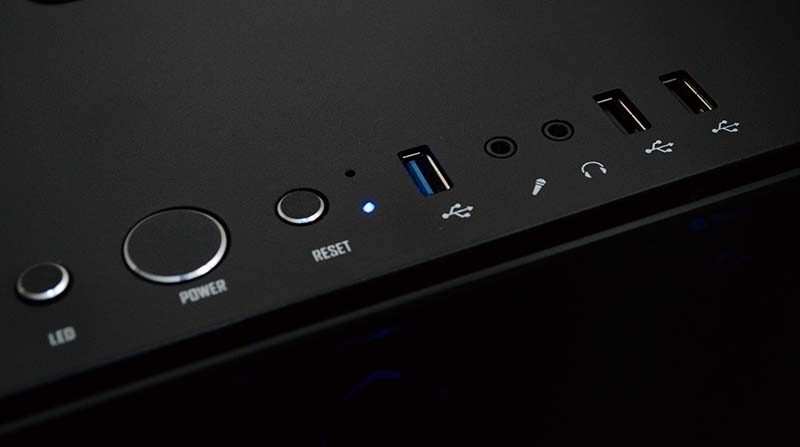
I can forgive one bright LED, however, especially when I can have this funky purple glow for the rest of the chassis.