Gamemax Aurora Mid-Tower Chassis Review
Peter Donnell / 6 years ago
A Closer Look – Interior
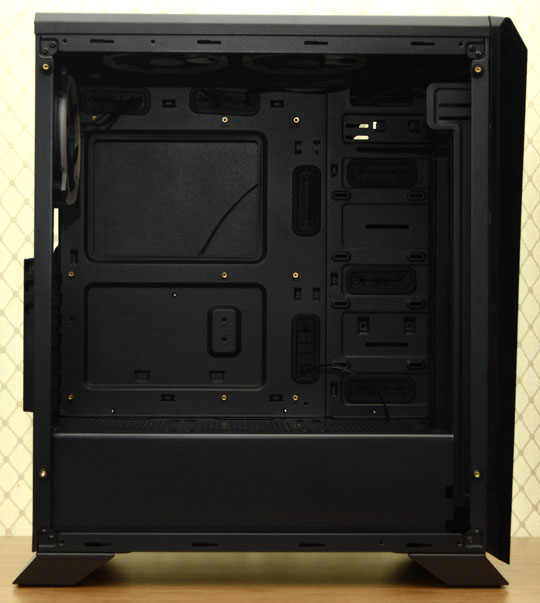
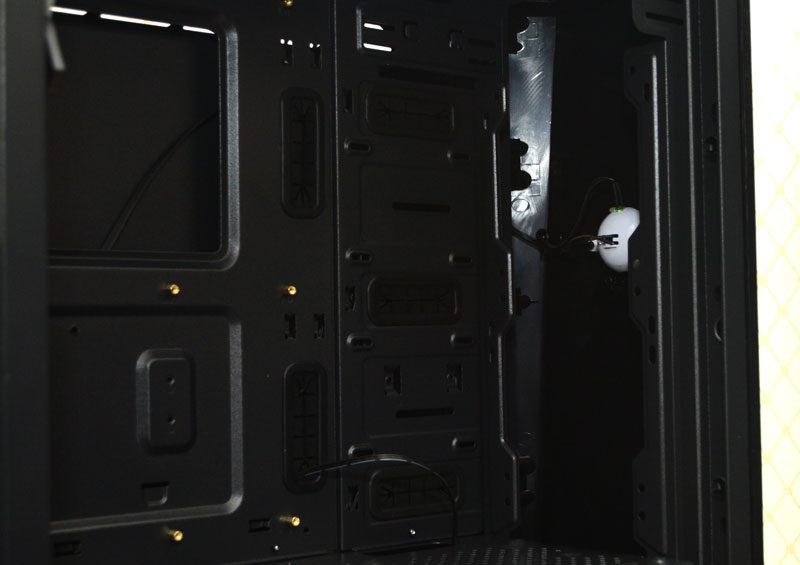
The interior of the Aurora is looking pretty sharp, with perfect placement of the cut-out behind the motherboard, as well as plentiful cable routing grommets. There are two above the motherboard, two to the right, and three more towards the front panel.
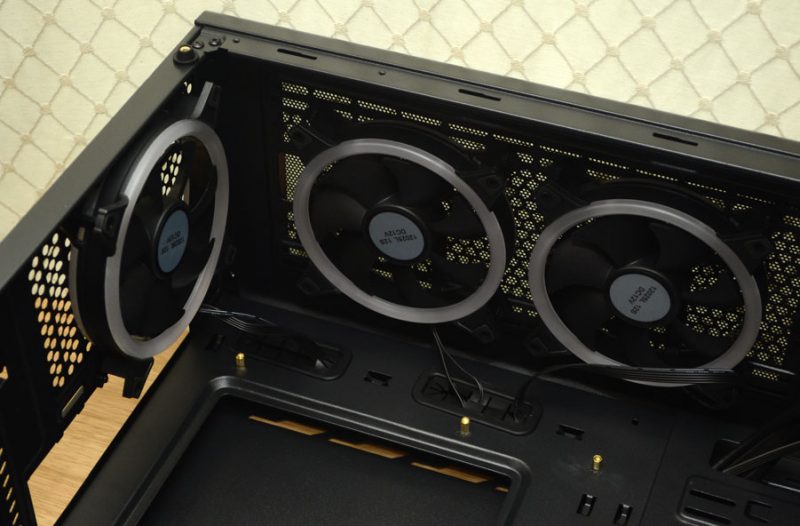
RGB Fans
Up to the top, you’ll find all three of those gorgeous looking RGB fans; I’m eager to see these powered up and shining. Again, some nicely placed cable routing here too.
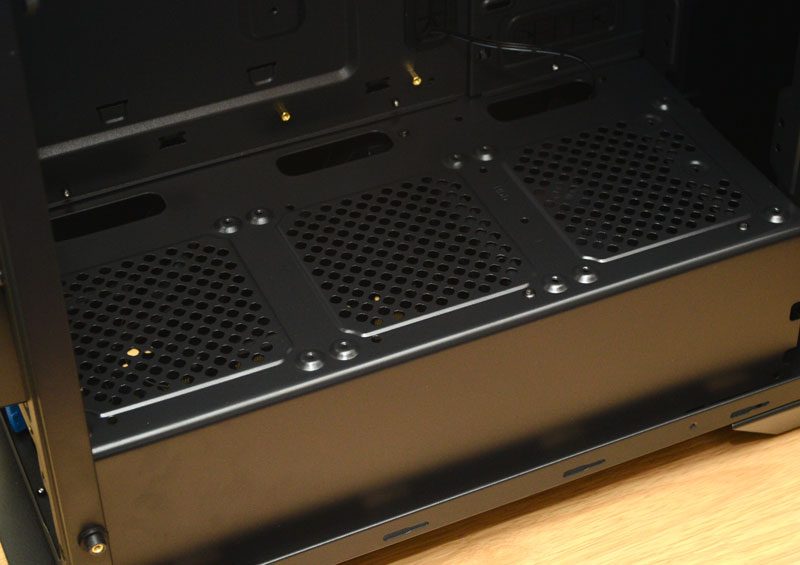
There are even more routing holes on the PSU cover too, which should ease the pain of routing motherboard cables. There are three 120mm fan mounts here also. Who needs these? I don’t know, as they don’t exactly have a decent air source to operate correctly.
Radiator Support?
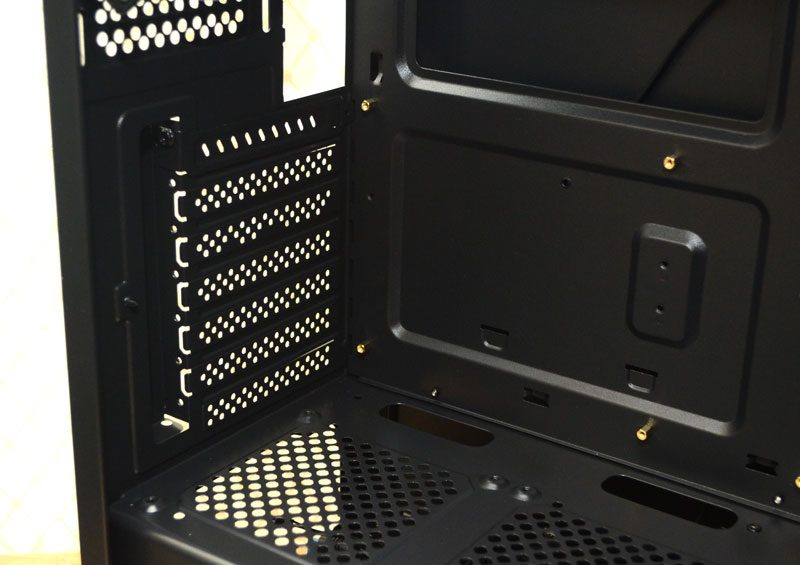
Up in the front, there’s a bracket to mount fans or radiators. However, radiator space is limited to slim models and may not fit on the outside between the bracket and front panel. Personally, I think sticking with air cooling would be the safe bet here.
Need to tuck away a few extra 2.5″ drives? The vertical mounts towards the front and that additional cable routing should make that easy enough.

GPU clearance is pretty decent, with good width to the chassis to deal with broader cards and cables.
Cable Management
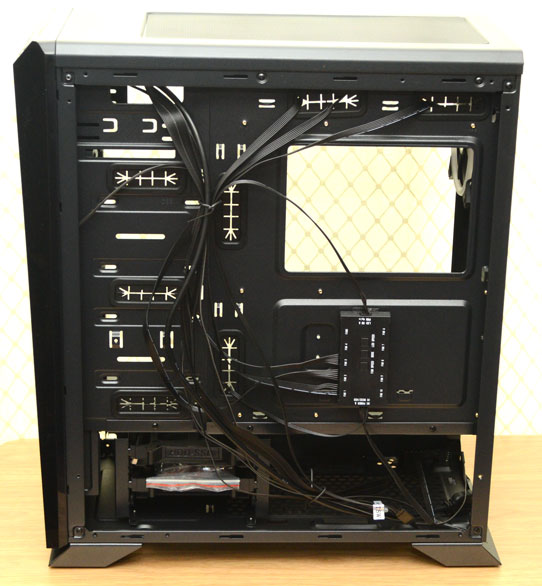
Around the back, there’s a decent amount of space for cable management. Furthermore, there are cable tie loops everywhere to help you strap things down and keep them tidy.
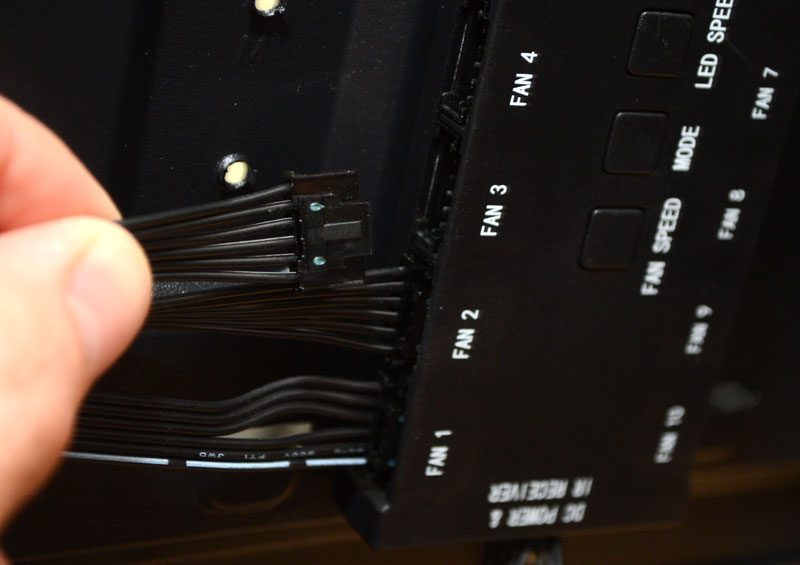
The included fan hub controls both the lighting on the fans and their RGB lighting. However, the fans that are pre-installed and all of the ports on the hub use a wide 6-pin header, which most fans wouldn’t fit.
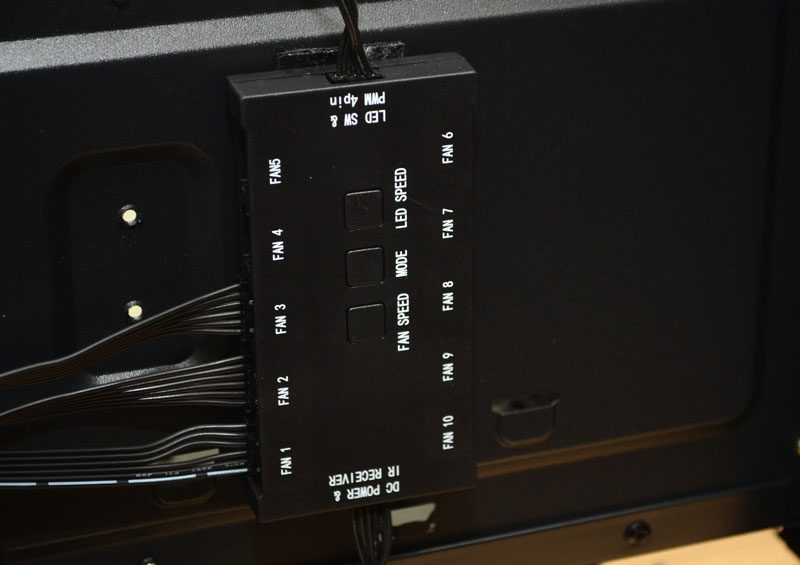
This means you can’t use the hub with standard 3 or 4 pin headers, which is awkward, as you can’t buy more of the fans that came included with the chassis.
Molex
The hub is powered by a Molex header too. I would have prefered a SATA, as nothing else uses Molex these days. If you’re using a modular PSU, it’s one extra cable to add and manage.

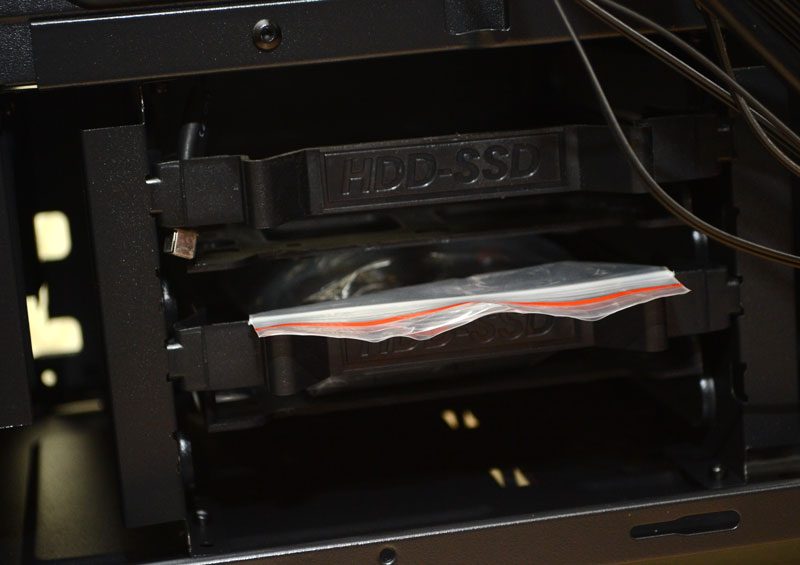
The HDD bay is located at the bottom below the PSU cover. I like this, as it means you can hide some of the less attractive hardware out of sight. Of course, it also means your cable routing looks neater, and nothing is blocking the GPU clearance either. They use removable trays for quick and easy mounting.