Noontec TerraMaster D4-310 4-Bay USB Type-C DAS Review
Bohs Hansen / 7 years ago
A Closer Look at the D4-310
The TerraMaster D4-310 is a beautifully crafted piece of machinery with a nice texture on the aluminium. There are LEDs for each of the four drives and one for the system power. Other than that, the front is relatively straightforward and only features a power button beside the drive trays.

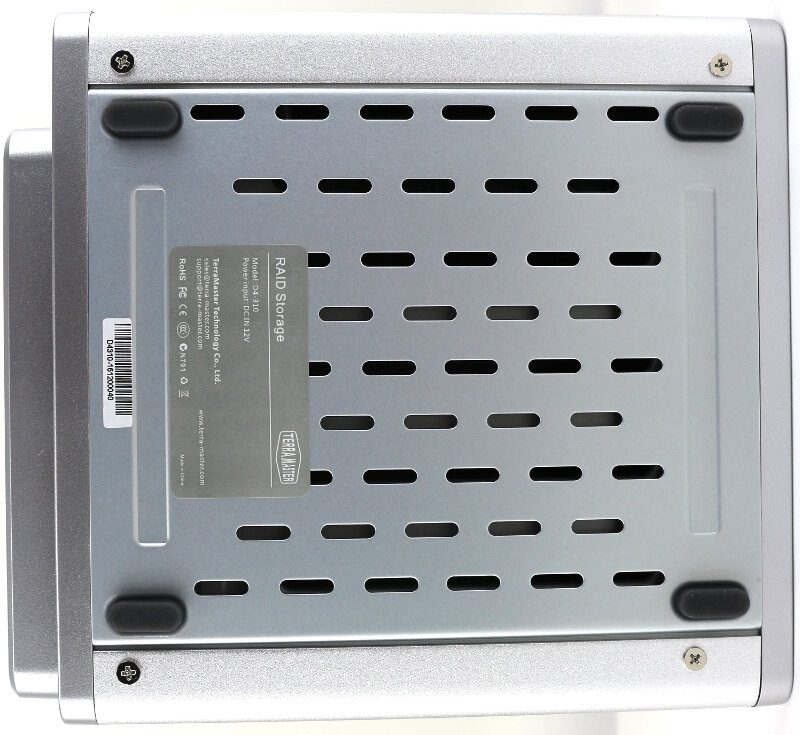
The bottom of the DAS has a bunch of ventilation intake holes. The unit features four rubber feet that should prevent any vibration transfers between the unit itself and the surface it is located on.
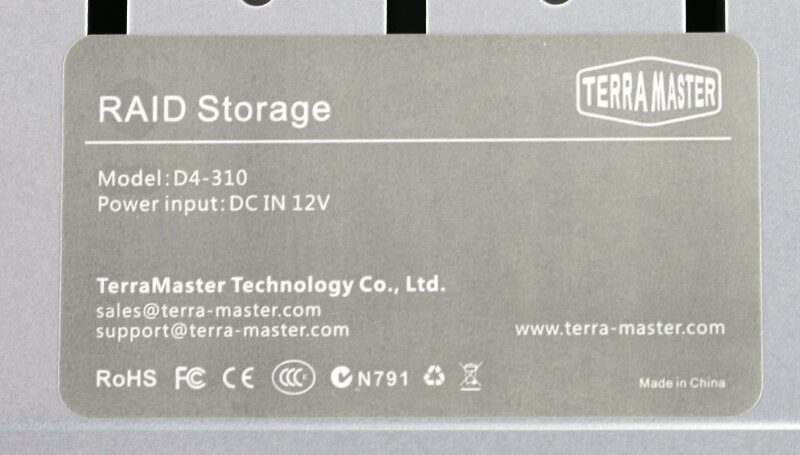
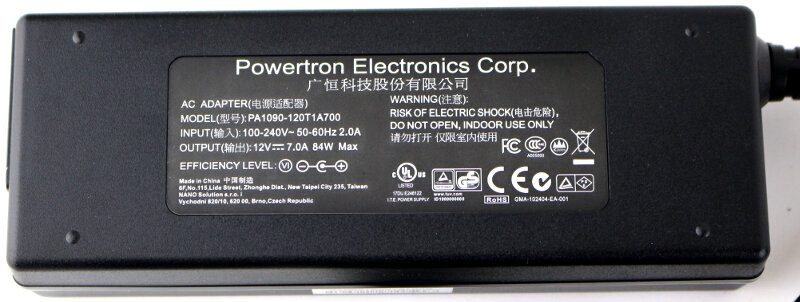
The product sticker doesn’t contain a lot of information, but it does mention the power requirements. A piece of useful information in the rare case that you lose or break the original PSU brick.
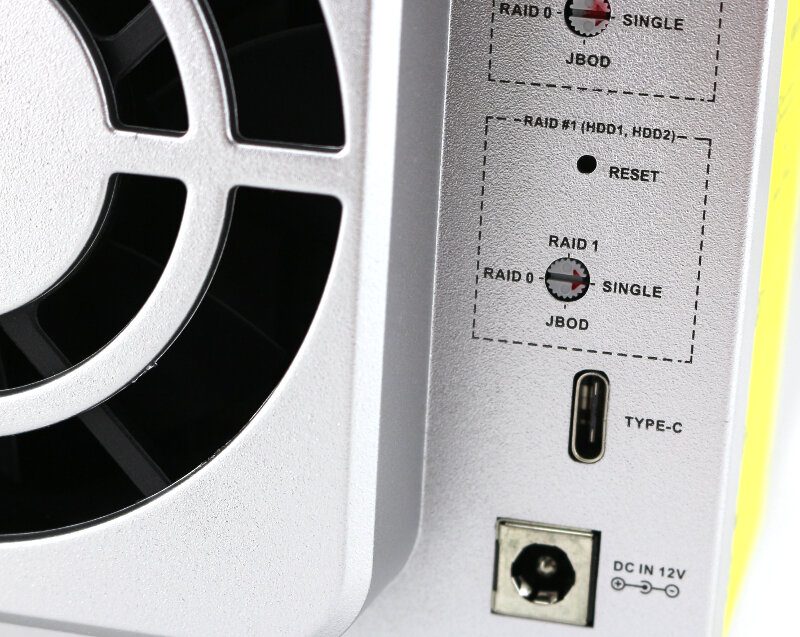
Moving to the rear and the whole thing gets a little more interesting. There are two USB 3.0 host ports at the top which allows you to connect other USB devices. This could be external storage drives, other RAID enclosures, cameras, card readers, and everything else.
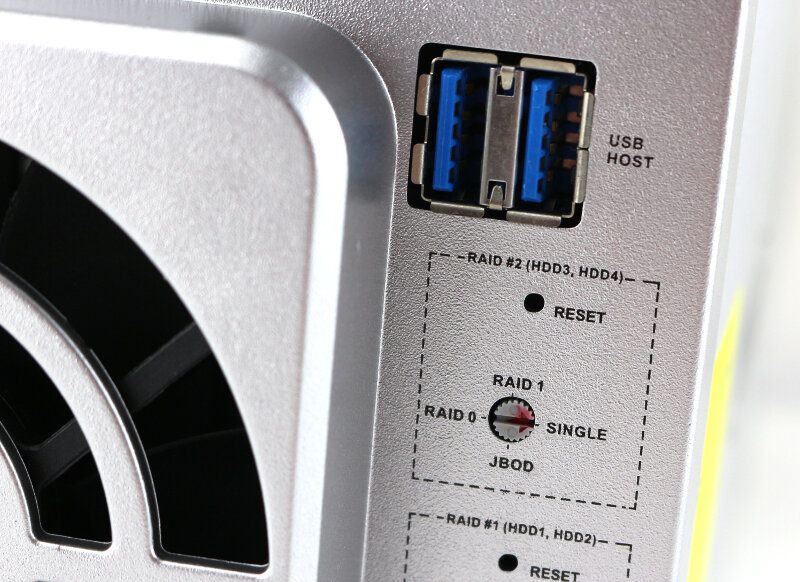
The four drives are divided into two categories that are configured individually. You have the choice between RAID 0, RAID 1, Single, and JBOD modes.
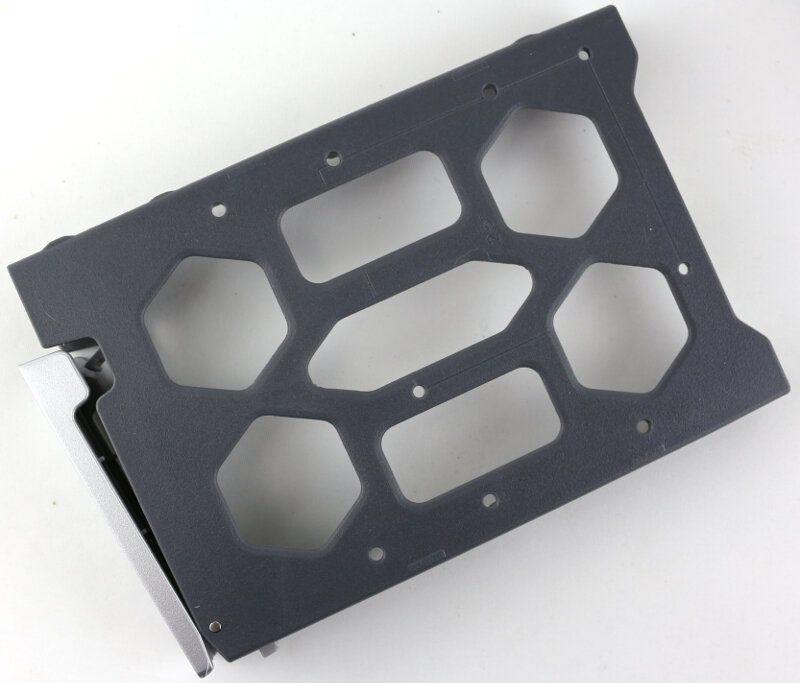
The drive trays themselves are of plastic, but they are very thick and sturdy. A general concept that goes through TerraMaster’s product: Attention to details and quality. Every drive tray is marked with numbers too for easy plugging and into the slot where you want it after a removal.
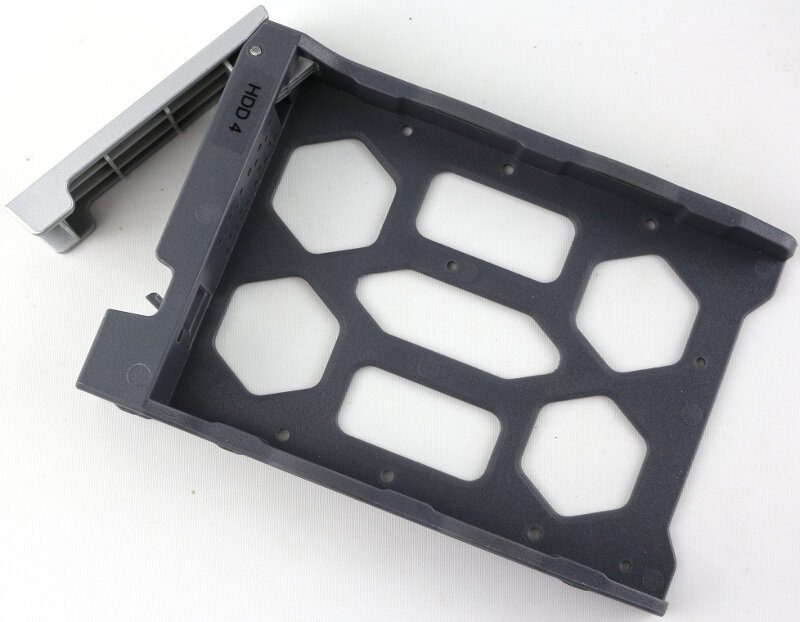
There are screw holes for both 3.5-inch and 2.5-inch drives, giving you the flexibility of installing the drives you please.
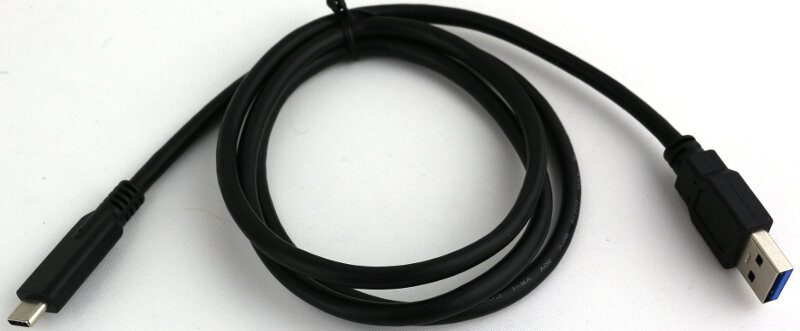
The included USB-C to USB-A cable is 1 meter long. That should be plenty for most setup locations.
The included PSU brick can deliver 12V at 7A which equals to about 84 watts. That’s more than enough for the 40-50 watts it will use during full usage.
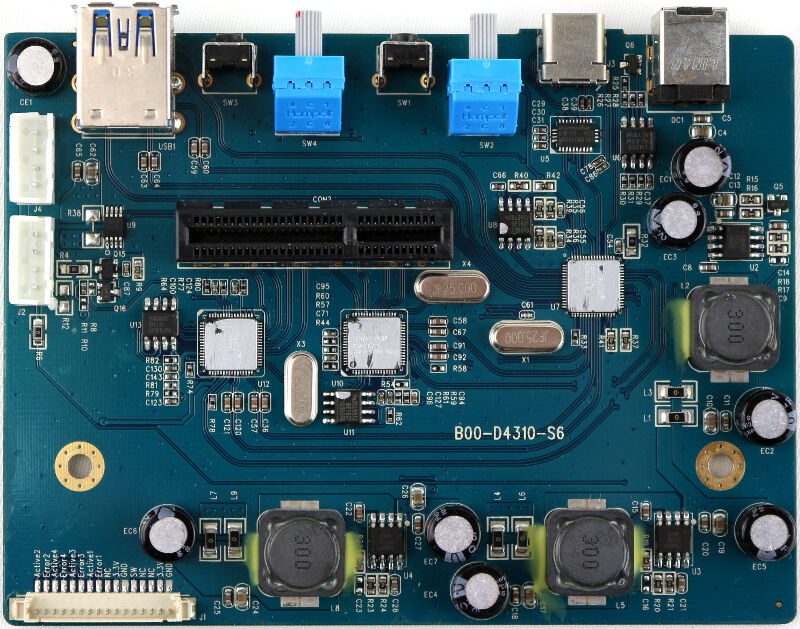
The insides of the DAS are pretty simple with a small motherboard with the main features and a daughter board for the SATA connectors. There are a couple of chips on here to take care of all the functions, such as the ASMedia ASM1074L, ASMedia ASM1156R, and a difficult to read ASM1367 or ASM1387 or something like that. They take care of the SATA to USB bridging as well as the RAID mode settings.
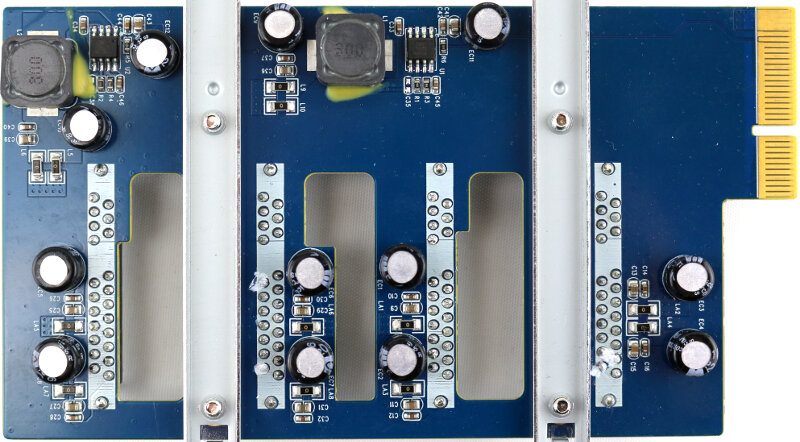
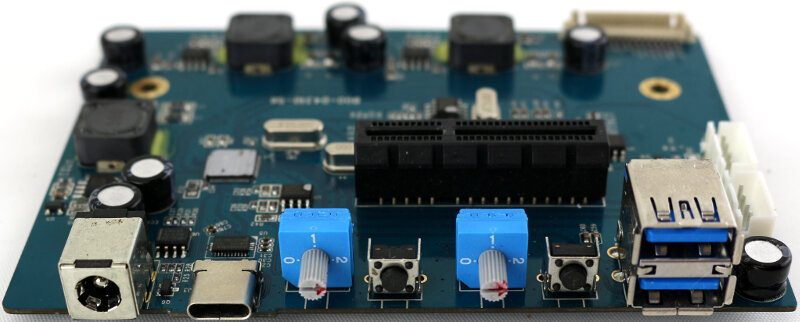
Having a look at the rear of the PCB shows how the connectors and switches are set up.
The bridge card is relatively straightforward on the front with just the four SATA connectors.
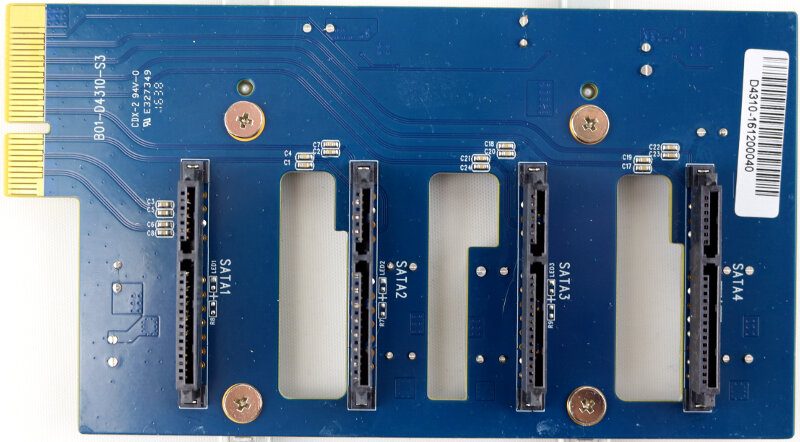
The bridge card also features a bunch of capacitors on the rear side that makes sure that your drives get a stable power supply.