NZXT H500i Tempered Glass RGB Mid-Tower Chassis Review
Peter Donnell / 6 years ago
A Closer Look – Interior
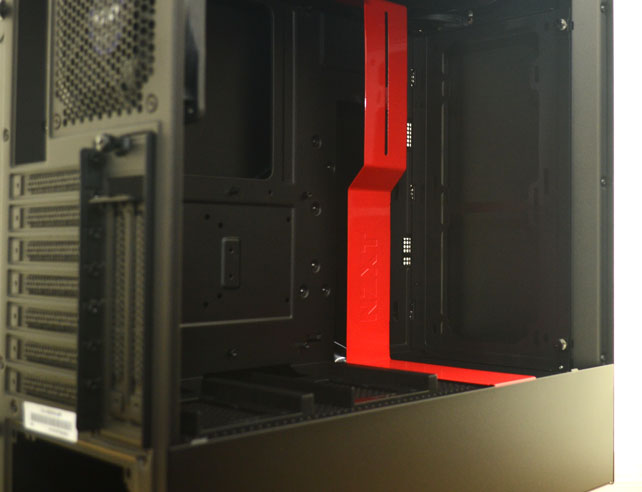
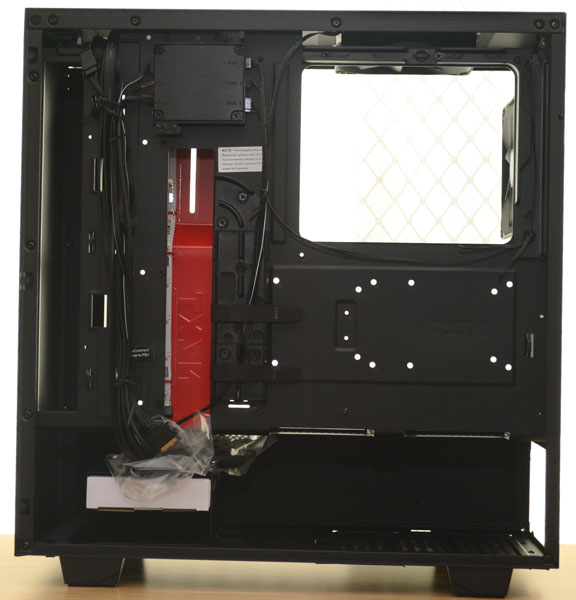
Lifting away the side panel, you can see that only three of the edges are blacked out. The bottom edge sits inside a groove on the PSU shroud, blending it into the side of the chassis perfectly.
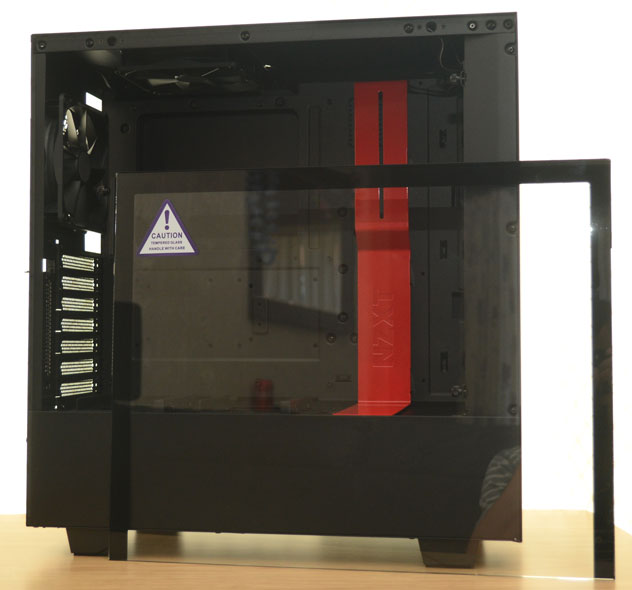
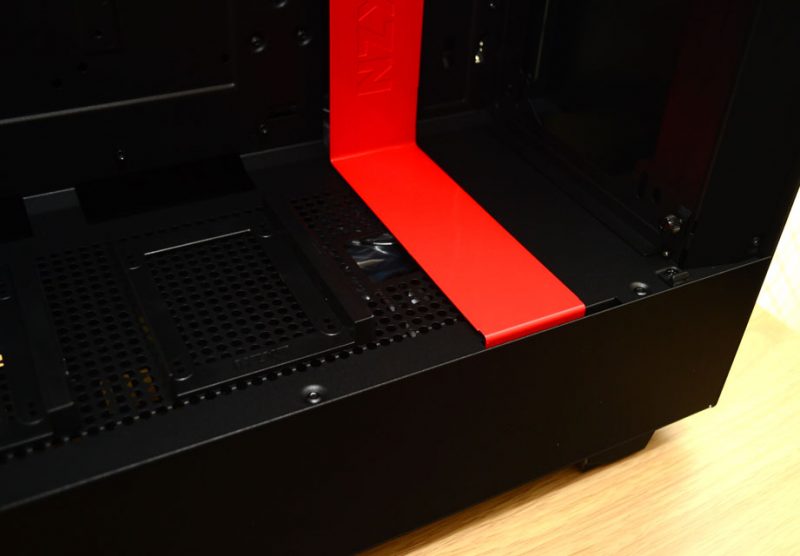
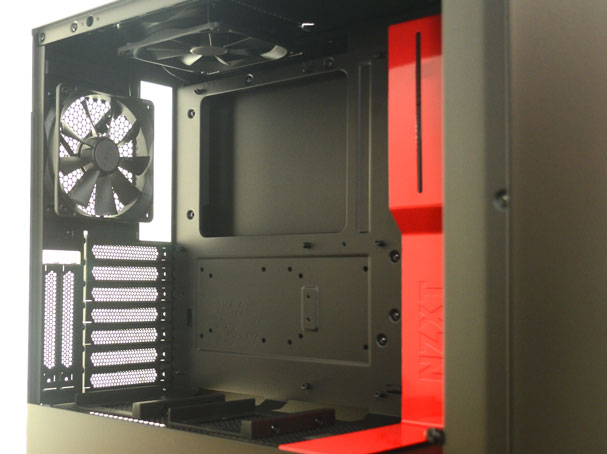
With the glass put to one side, you can see this gorgeous interior in all its glory. It’s super clean and tidy in here, and the matched black paint job with the sporty red highlight simply looks amazing. Don’t worry if black isn’t your colour, as it’ll come in white too, and you can have the black one with black, red or blue highlights.
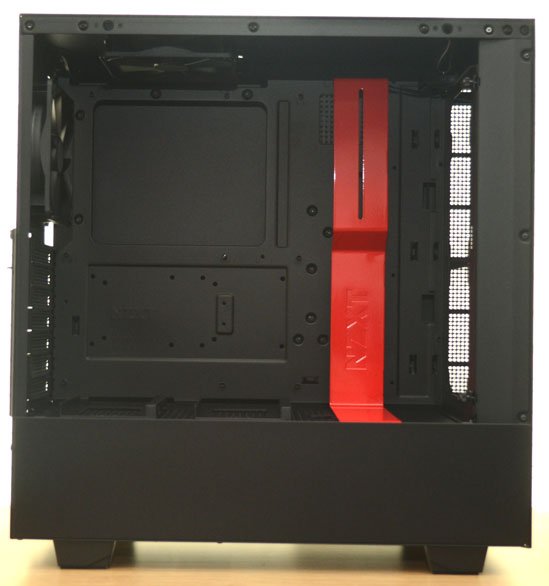
The PSU shroud is very nicely designed and provides a hidden area for your PSU, obviously, as well as 3.5″ drives, and excess cables. Furthermore, it features to removable 2.5″ drive mounts on top for your SSDs, which can be moved around the shroud mounting freely to suit your needs.
A Touch of Red
Up in the front, you’ll find both 120 and 140mm fan spacings, with ample room for a custom loop radiator or AIO cooler. There are no stock fans up front though, making it perfect place to put a 240mm radiator for your build.
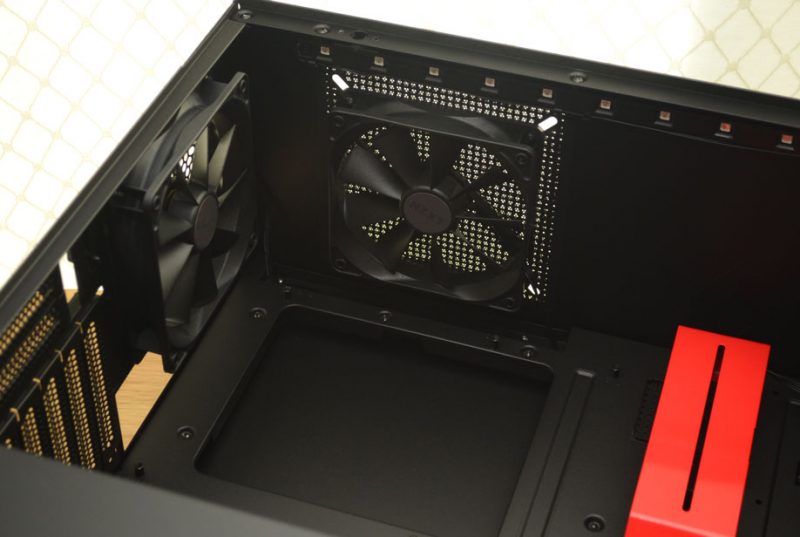
In the back, heat exhaust comes from two 120mm AER fans, ensuring heat doesn’t get trapped in here.
There’s room for an AIO or similar radiator on these mounts too should you need them.
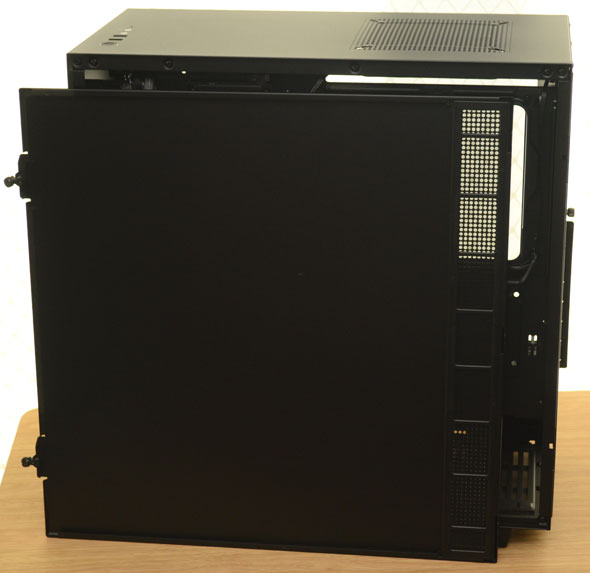
Around the back, the right side panel is easily removed. On the panel, you’ll find a slim vertical dust filter directly on the intake too, which is handy.
Cable Management
With the panel out of the way, we can see there’s a lot of room back here for cable routing. There’s a huge cut-out for mounting the CPU cooler, and plenty of well-placed cable routing options, and routing channels. Overall, even a first-time system builder will have no issues getting a clean looking build here. If you want more room up front, you can even move the 2.5″ mounts to behind the motherboard.
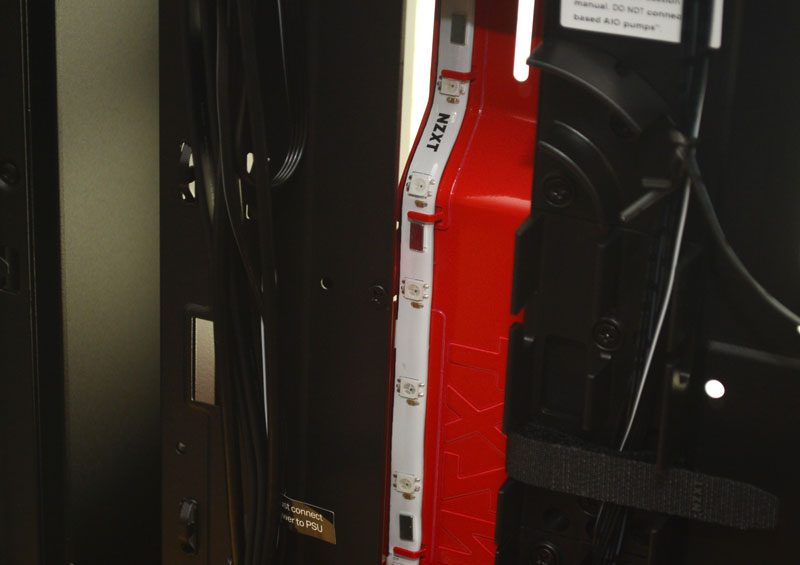
With one LED strip in the top of the chassis, you’ll find another tucked behind the cable routing cover. Funnily enough, this strip was not pre-installed on the H400i and H700i, but this is exactly where I put it each time; did you copy me NZXT?
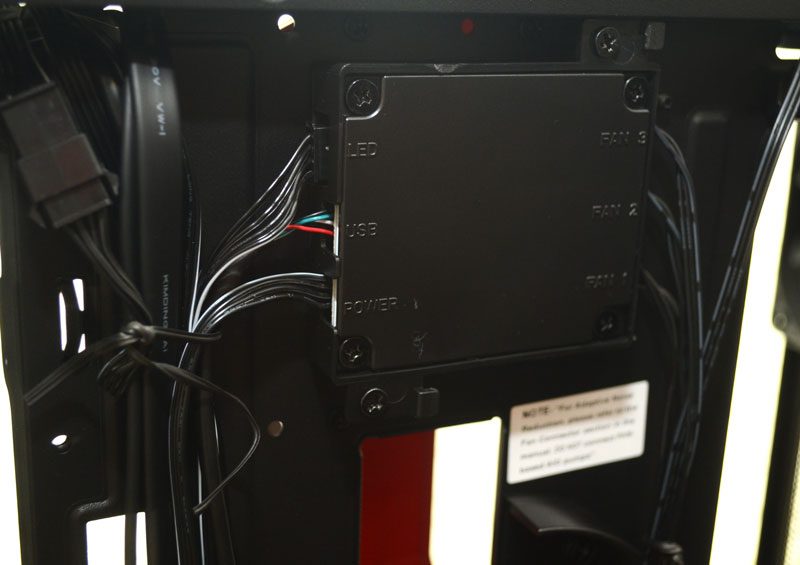
Also hiding behind here, you’ll find this lovely CAM control hub. It has all the fans pre-wired as well as the LED lighting strips. This will allow you to customise the lighting, fan speeds and monitor your system from within Windows. It even has a microphone that can monitor system fan noise and tailor it to improve acoustic performance and temperatures.
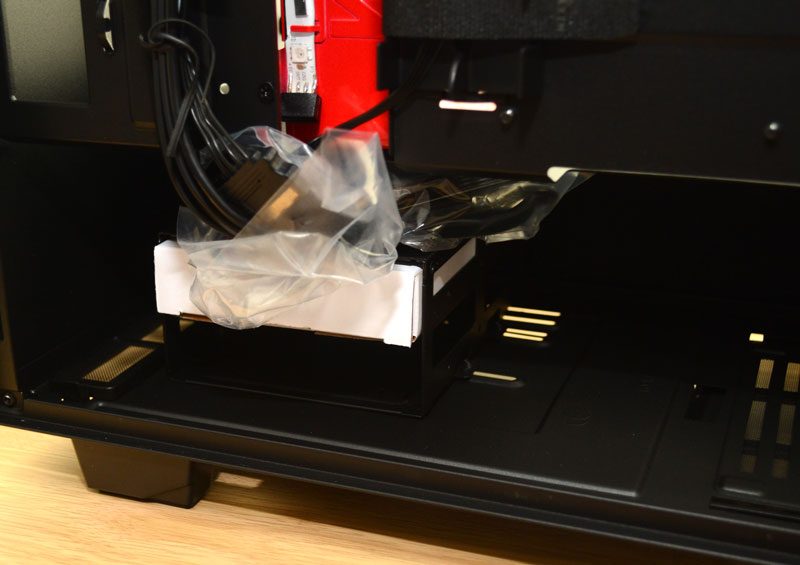
Finally, two tool-free HDD bays in the base, which can be fully removed should you wish to install water cooling pumps or other hardware down here.