Silverstone Raven RV01 ATX Chassis Review
Peter Donnell / 11 years ago
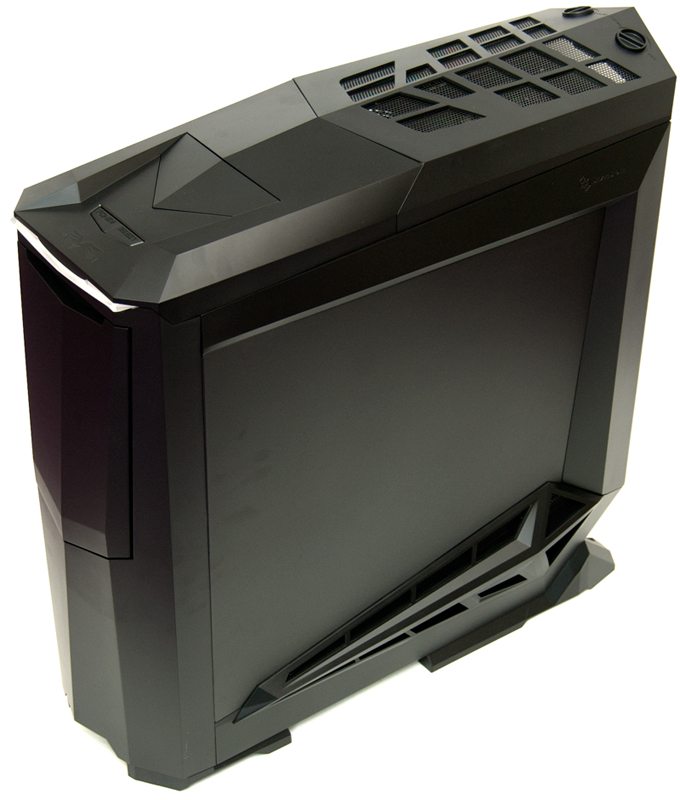
The left side of the RV01 is dominated by extreme angles and a very aggressive design. There is a large clear perspex window panel and a funky shaped air vent panel along the bottom.
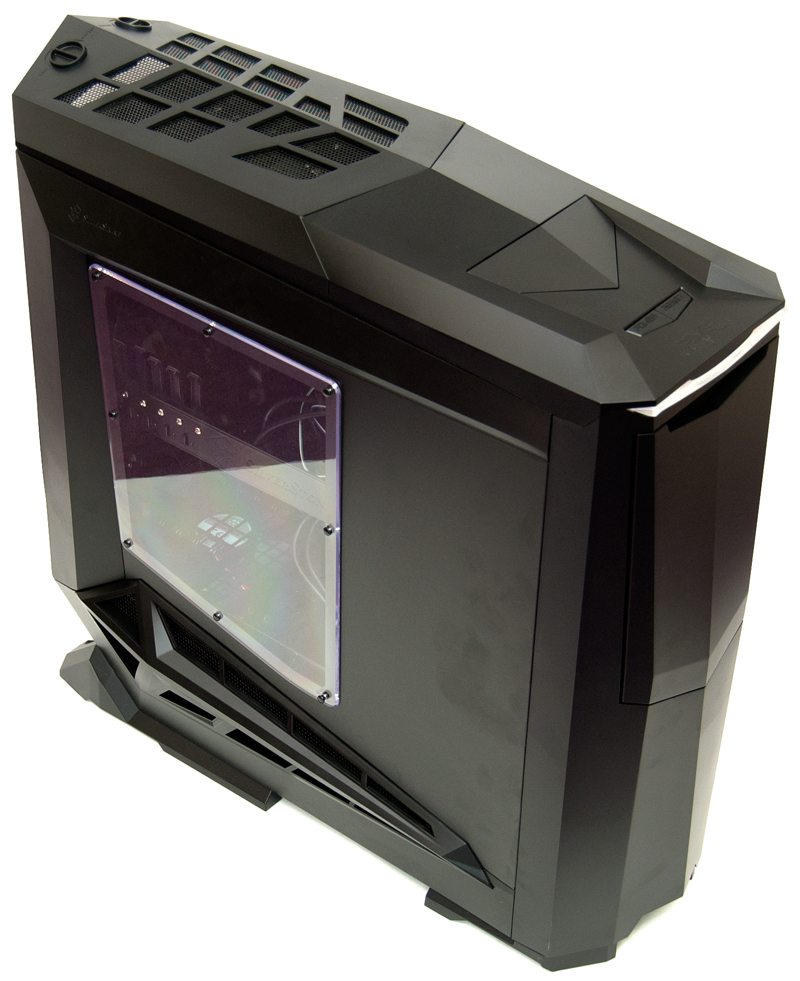
This vent is held in place with several screws on the rear side, which we’ve photographed on the next page. There are 10 vents here and while it may offer a few practical solutions to airflow it feels more like visual flair than anything.

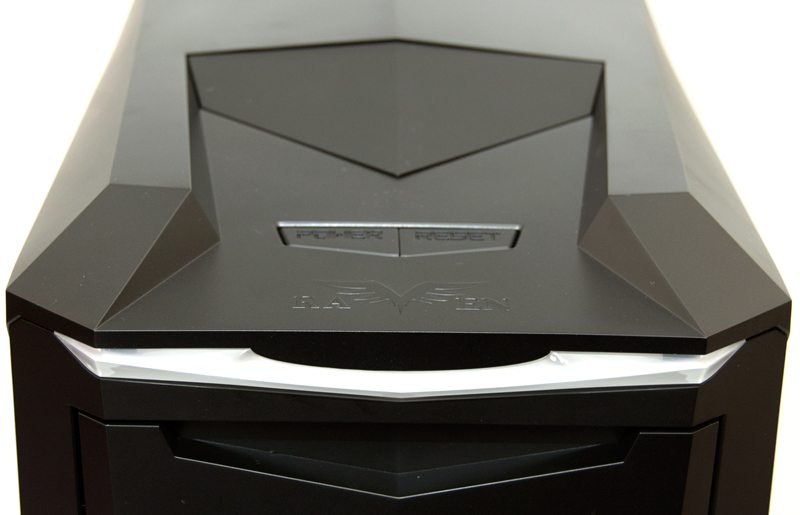
The top panel is split into two sections, the front features the main I/O panel, while the back features a removable cover.
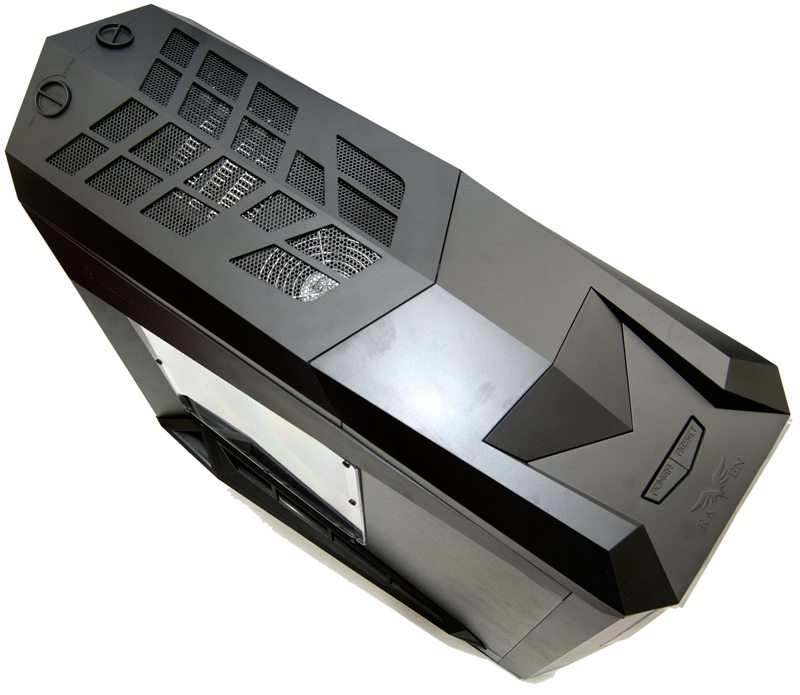
There are two twist lock mechanisms at the rear that hold this panel in place, turn them both and you can slide the panel backwards, then lift it from the top of the chassis.
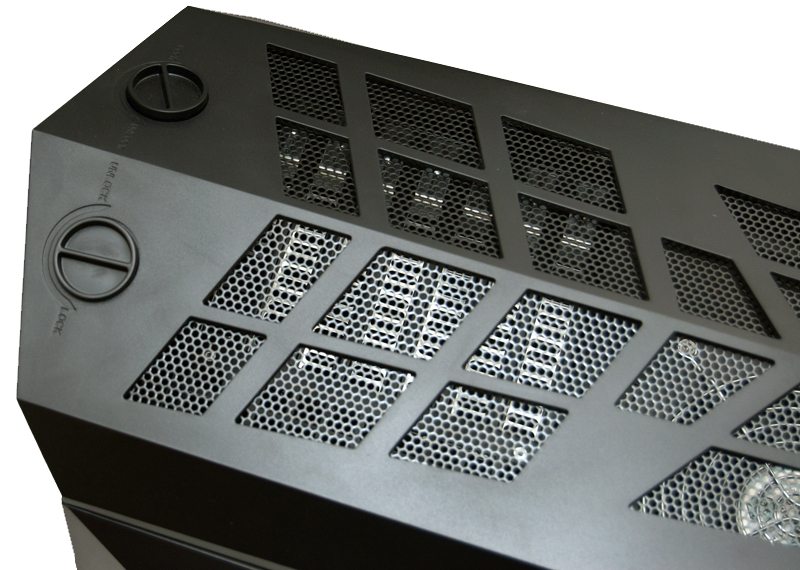
Behind this panel we find that there is a 120mm exhaust fan fitted with a metal guard, 7 expansion slots that are fitted with re-usable ventilated covers, some ventilation holes and two clips from removing the side panels.
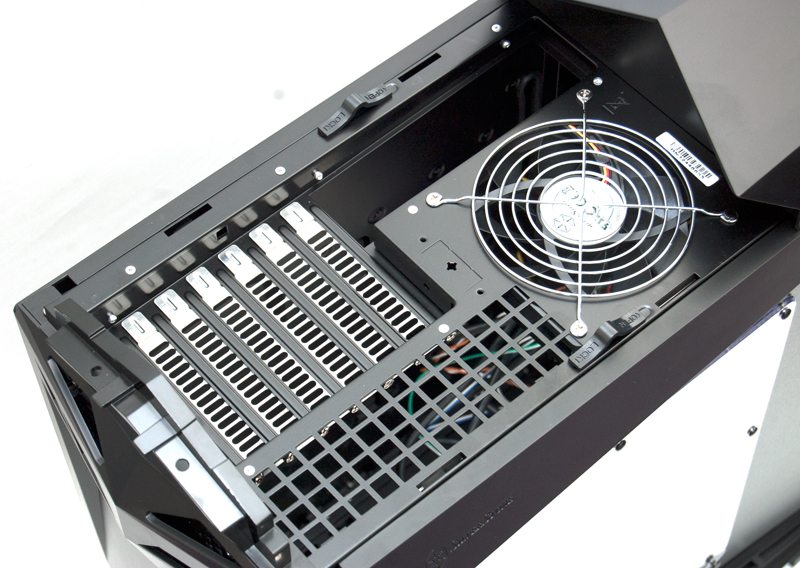
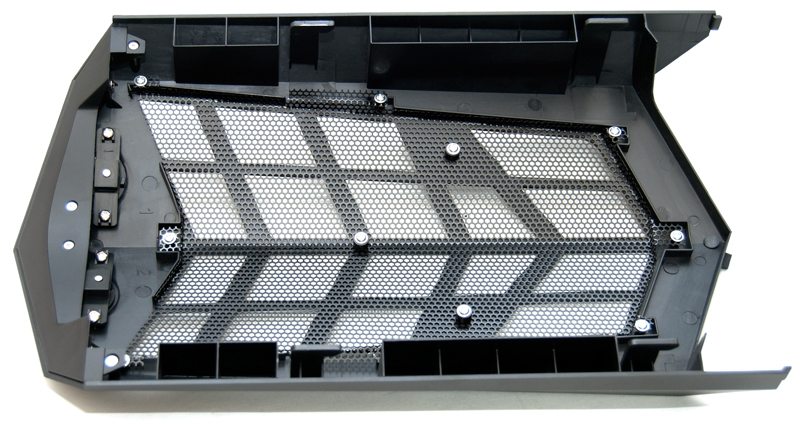
The cover that I removed can be seen here, it features some mesh that allows for easy airflow, but it is not to be confused for an air filter.
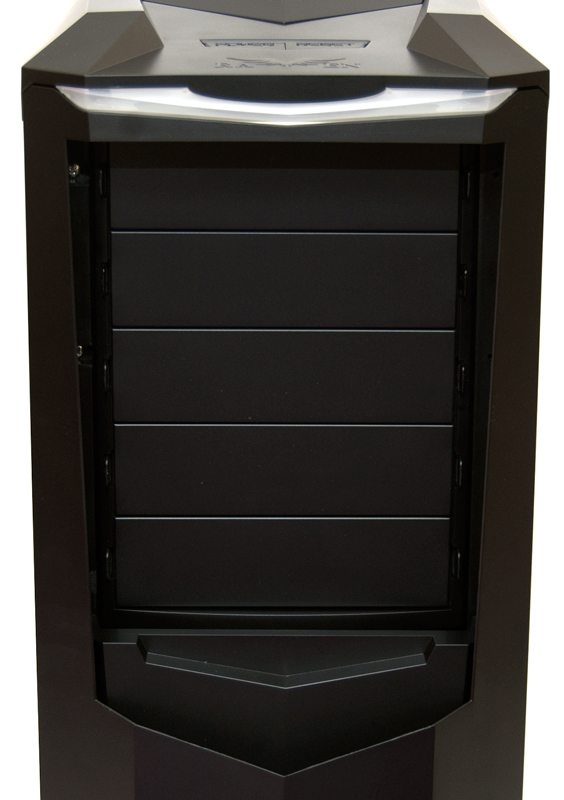
The front section features an embossed Raven logo, as well as a pair of engraved buttons for the power and reset switches.
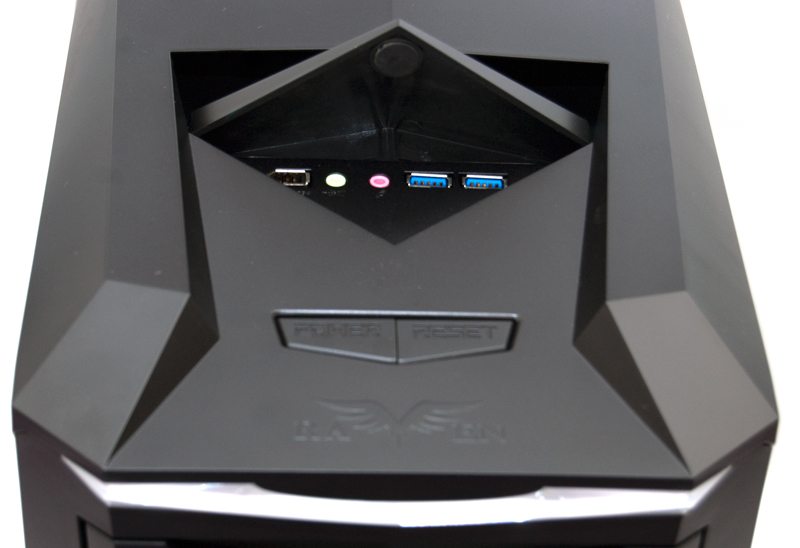
Press down on the rear of the triangle panel at the back and it pivots up to reveal the Firewire, audio and USB 3.0 ports.
The front panel of the chassis is immensely evil-looking and looks like some kind of extreme armor plating, While it does feature some strong angles it doesn’t actually have any standout features.
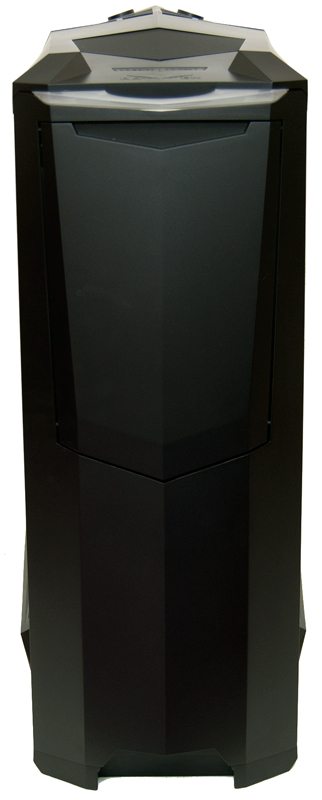
However, the front panel is spring-loaded and can be pulled down like a shutter, where it then clicks into place in an open position. Press it down a little and it slowly glides back to the top before locking neatly back into place, very cool indeed.

Behind this slick panel you will find 5 x 5.25″ drives with removable covers.
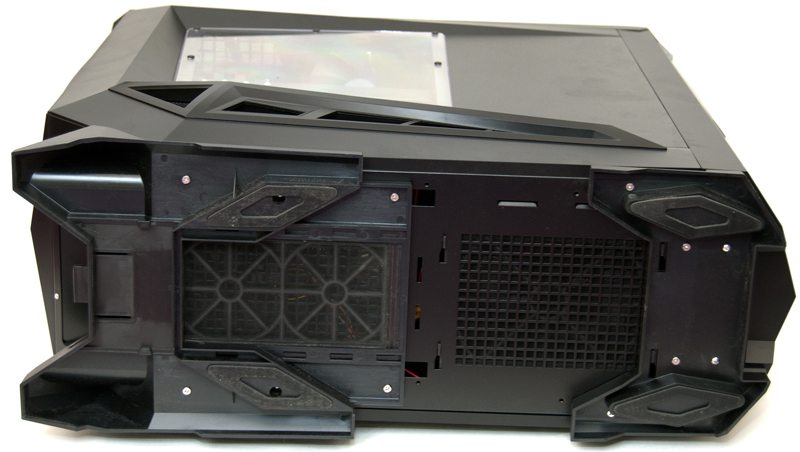
The right side panel features many of the same style points of the left, albeit without the side panel window to gaze through, but the matching air filter and angles give the chassis a nice uniform look from any angle.
The rear panel of the chassis is just as bold as the front and offers little in the way of features. It’s certainly strange to not see more going on here, but should you wish you can actually remove this panel and hand an external radiator on the back of the chassis, although personally I don’t think that would look too great.
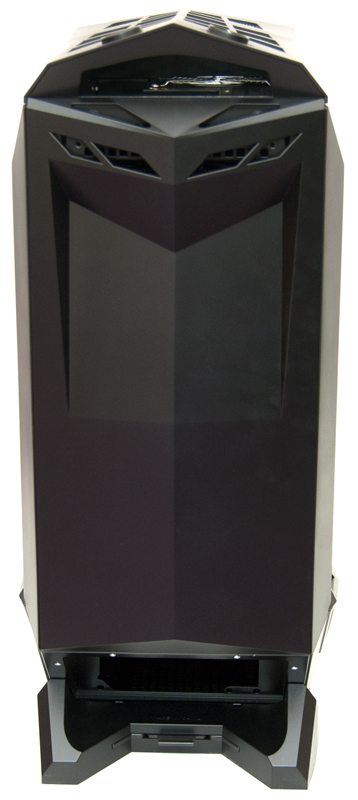
As the base of the rear of the chassis is the PSU mount, it’s recessed into the chassis a few inches but you can just about see the mounting frame inside the case.

Also at the back is a large 240mm dust filter, perfect for providing your PSU with clean air, but also long enough to handle some of the largest PSU’s on the market. There is an extra filtered air intake at the front and four huge rubber coated feet help keep everything stable.