Synology DiskStation DS116 1-Bay Value NAS Review
Bohs Hansen / 8 years ago
Setup – Initialization, User Settings, and Storage
Initialization
The initialization of a Synology NAS is as easy as it could be. You barely have to do a thing but power it up and select a few basic settings.
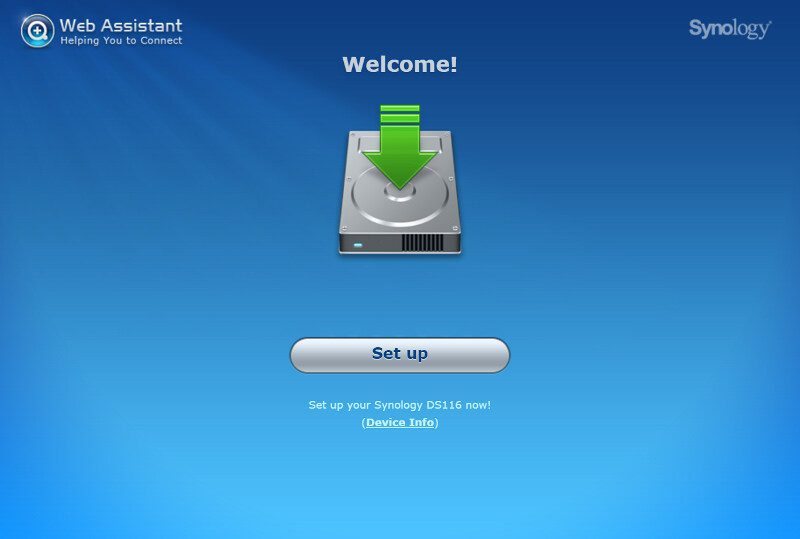
The easiest way to get started is by using the Synology Assistant software. It will quickly discover any Synology device connected to your network. It also offers more features than that, so it is well worth installing.

When the Synology Assistant discovers a Not-Installed device, it will launch the Web Assistant for the device automatically. From here on it’s just a few steps to complete the initialization.
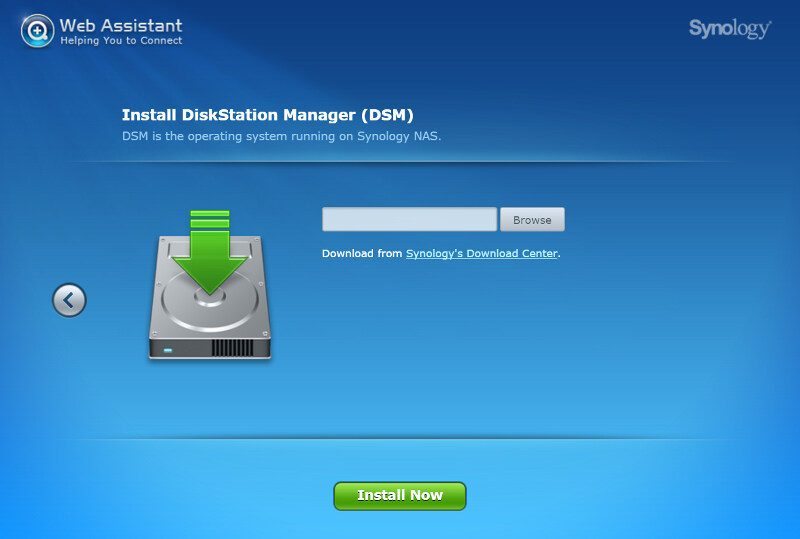
The first thing to do is to install the latest version of DSM. Download link and features will be available here, so you just need to click to download and then select it once it has finished.
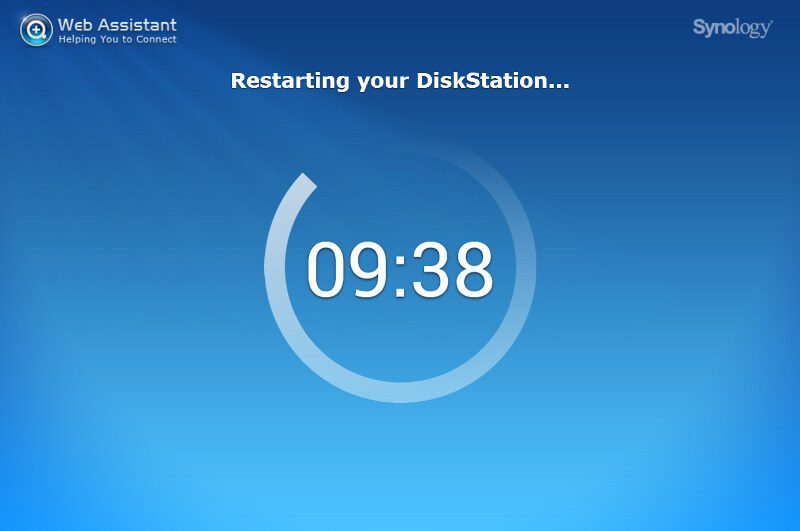
The installation won’t take long at all and you can follow the entire process on the screen.
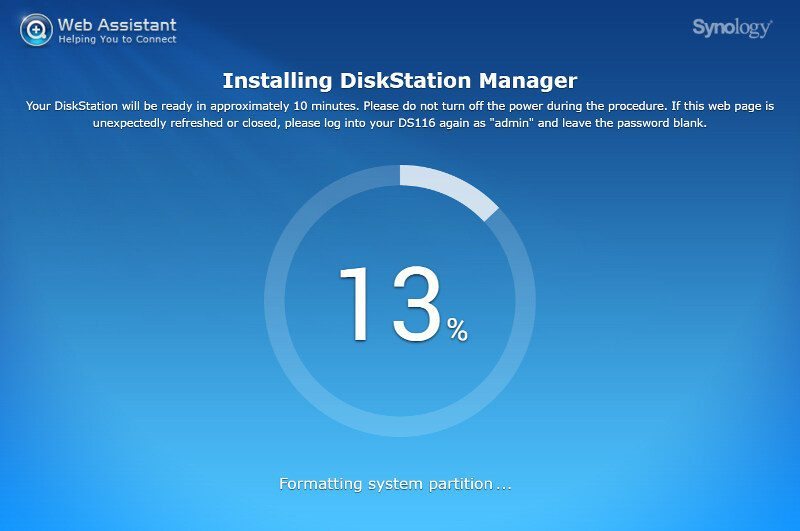
Once the NAS is done with the installation and formatting your installed drive, it will reboot one last time before it is ready.
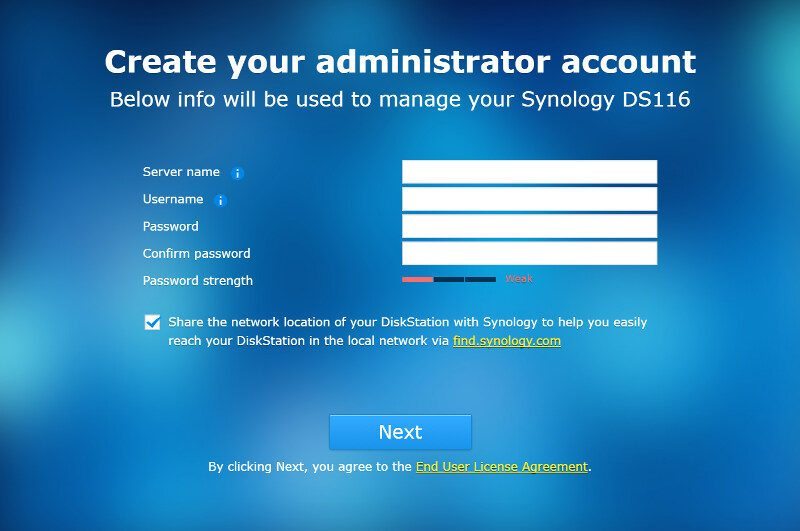
Upon rebooting, the setup will refresh and you can now give your new DS16 NAS a name so you can recognize it in your network environment. You also have to provide a username and password for the administrator account.
And that’s it. The system is ready to be used.
While we’re technically done, the initialization wizard still offers a few more settings for us right up front, such as the update schedule and install configuration.

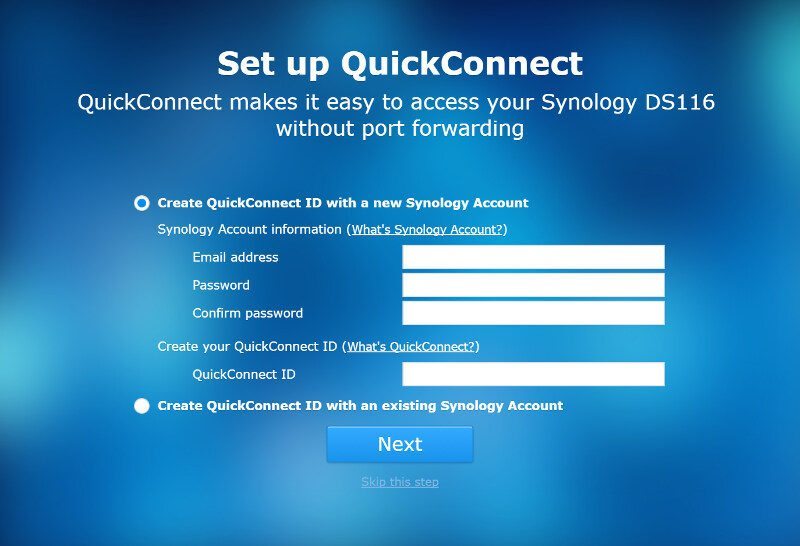
We can also connect the NAS with our QuickConnect account right away or create a new one. This is by far the easiest way to reach your NAS over the internet and when you’re on the go. It is also completely free, so there really isn’t a reason not to do so.
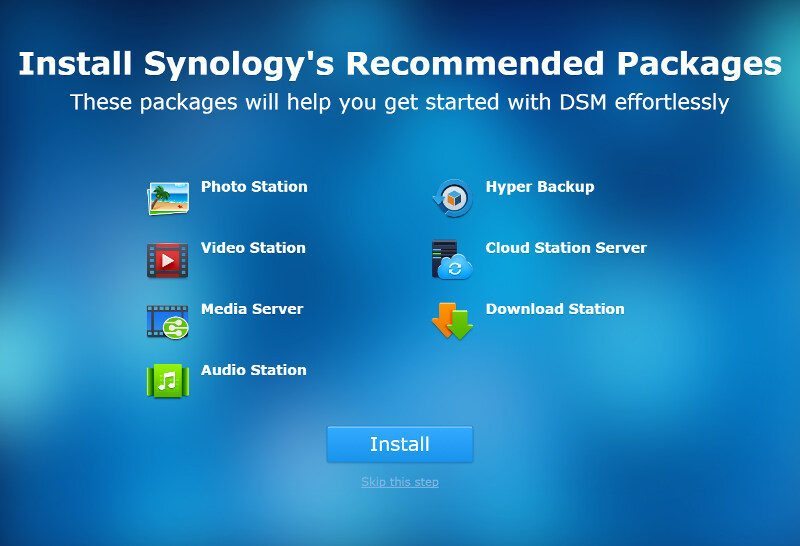
Last but not least, Synology offers us to install some of the most used apps right away. You can either install them or simply skip this step.
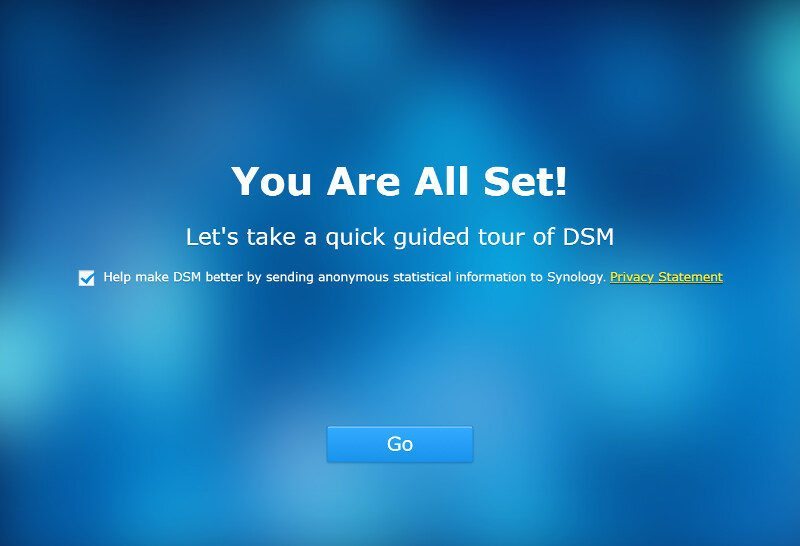
And that’s it folks, the DS116 is ready to serve your files.
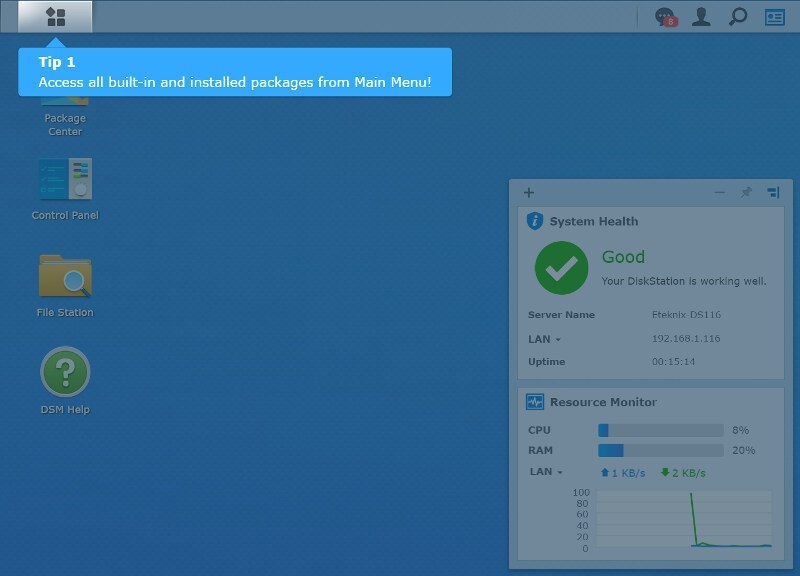
The first time you enter the user interface after the initialization, you’re greeted with a small welcome tutorial explaining the basic parts of the interface.
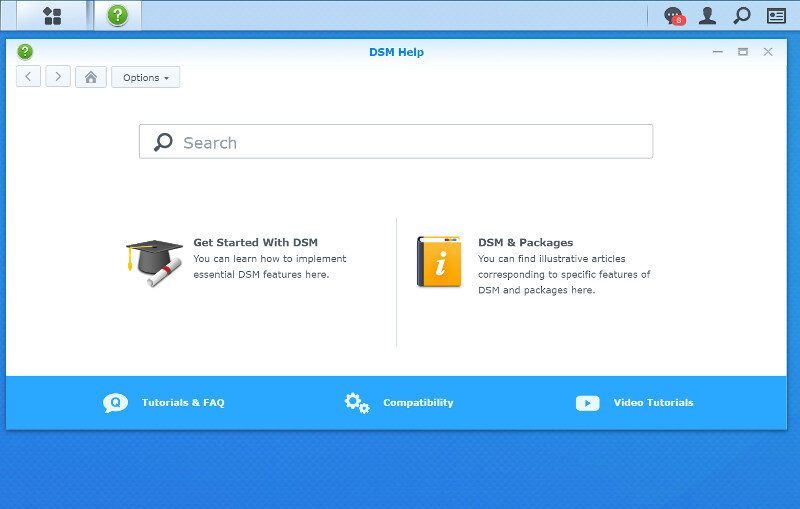
The small 5-step guide is followed by the DSM Help file, a very comprehensive help solution that can answer most questions you might have on features and usage.
User Settings
Every DSM user has a row of settings available of which depend a little on their access level. It starts out with the basic details, 2-step verification options, and account activity.
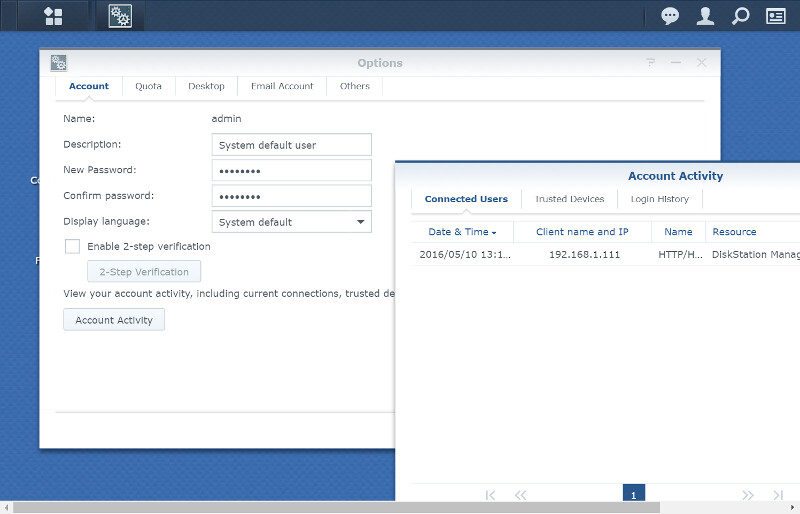
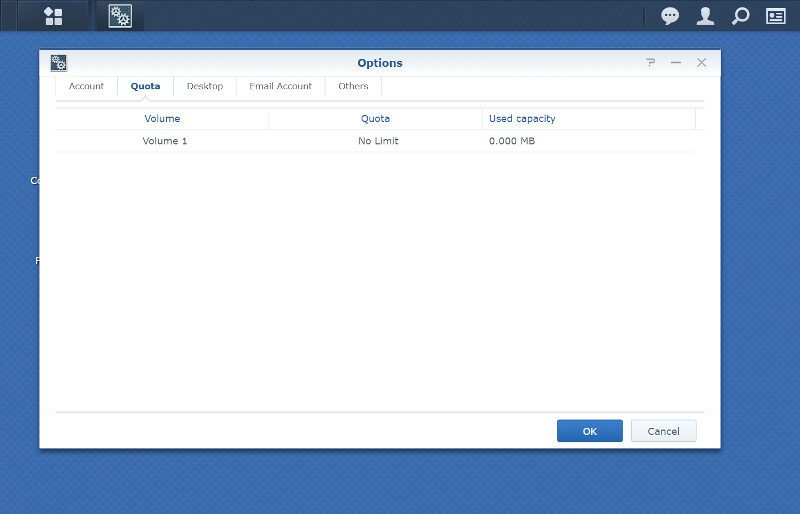
As an admin user, I don’t have any drive quota, but that might be different for a lot of your users. Here you can keep a close eye on how much of your allowed space that you’re using.
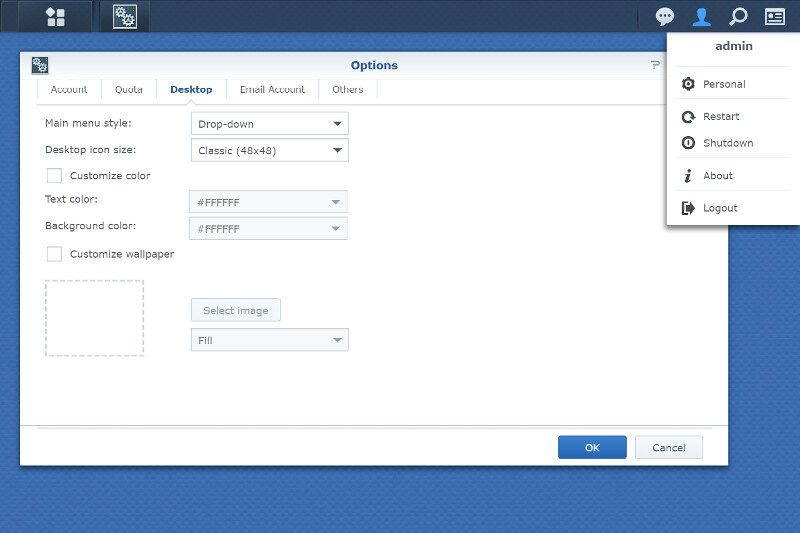
You can also change a good deal of Desktop options from background to menu style.
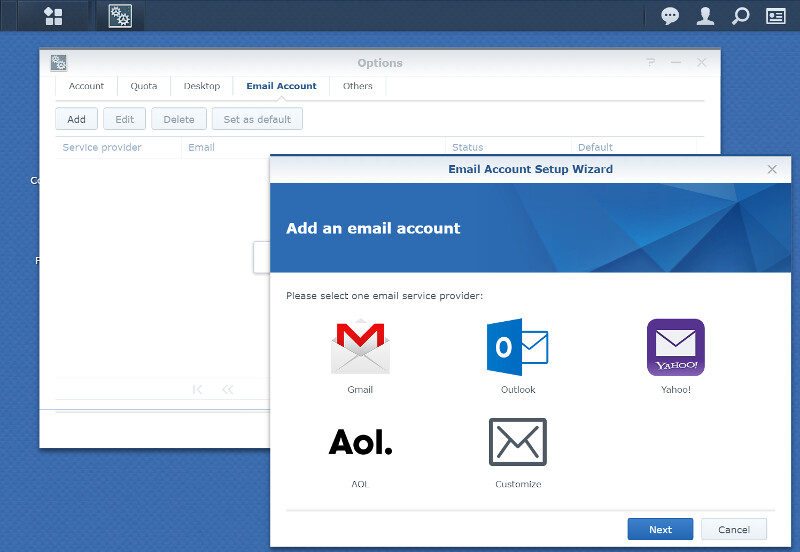
Email accounts are easily connected, especially when you’re using one of the big services such as Gmail and Outlook. But you can also configure custom providers to match whatever setup you have.
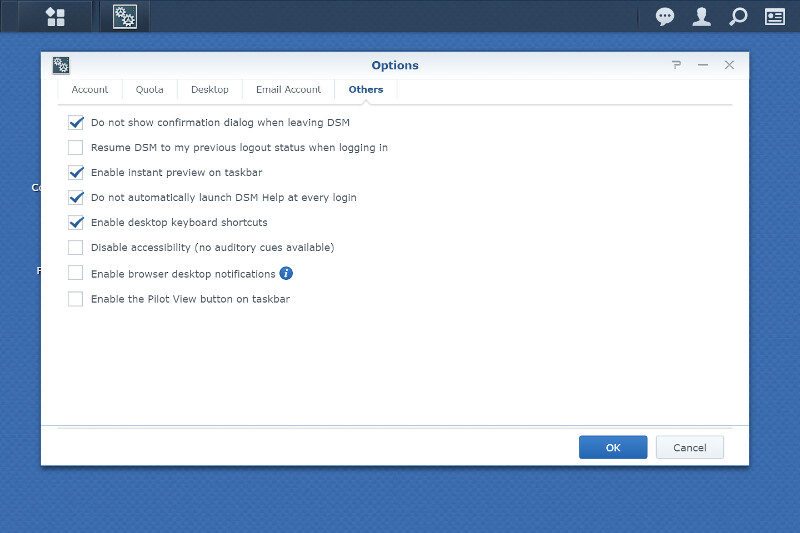
The final user page has a few general options such as preview on the taskbar, keyboard shortcuts, and notifications.
Storage Options
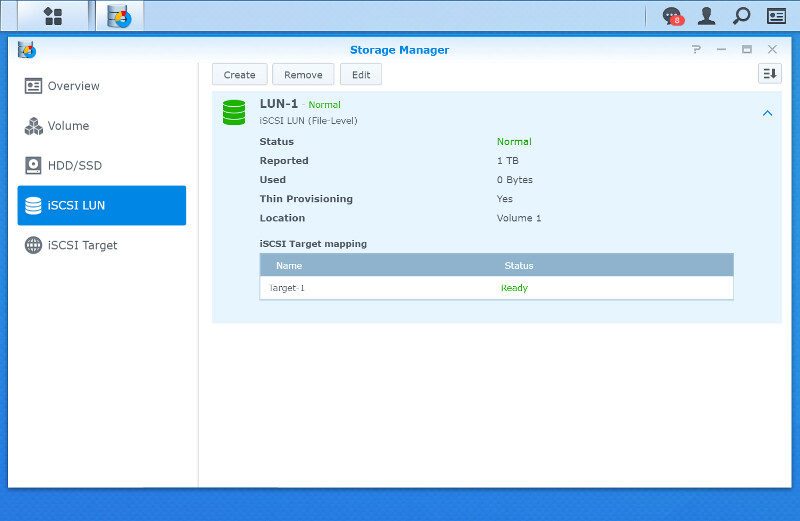
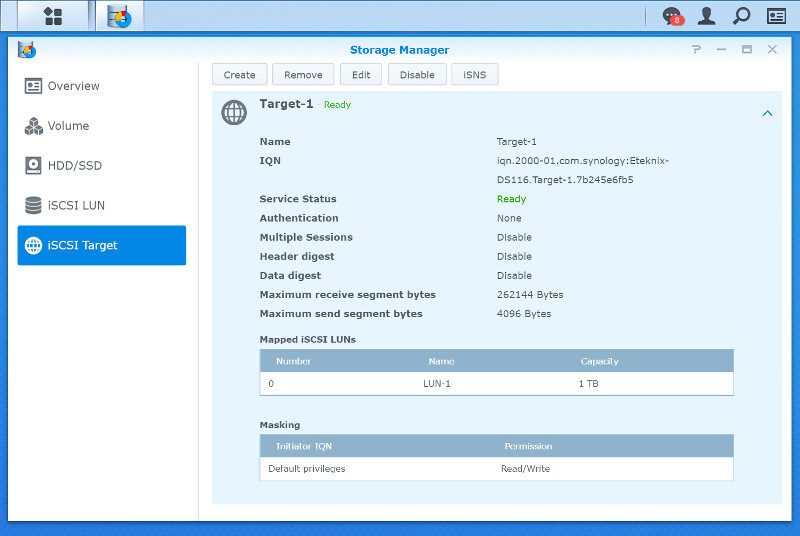
The NAS created the basic volume during the initialization and with a 1-bay unit, we don’t have much choice towards other types of setups. That doesn’t mean that the Storage Manager is unnecessary, especially since this NAS supports iSCSI despite being a value NAS.
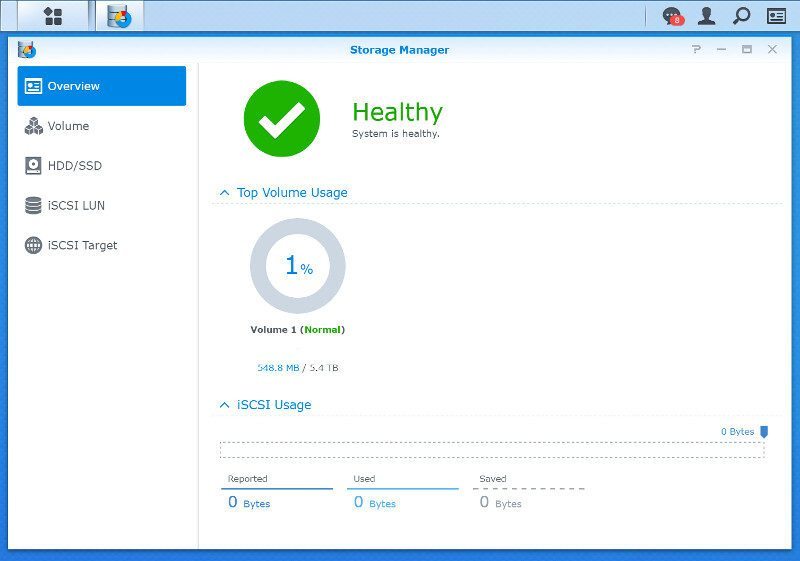
The state of the volume and its usage can be viewed here and you can both remove and edit the existing setup.

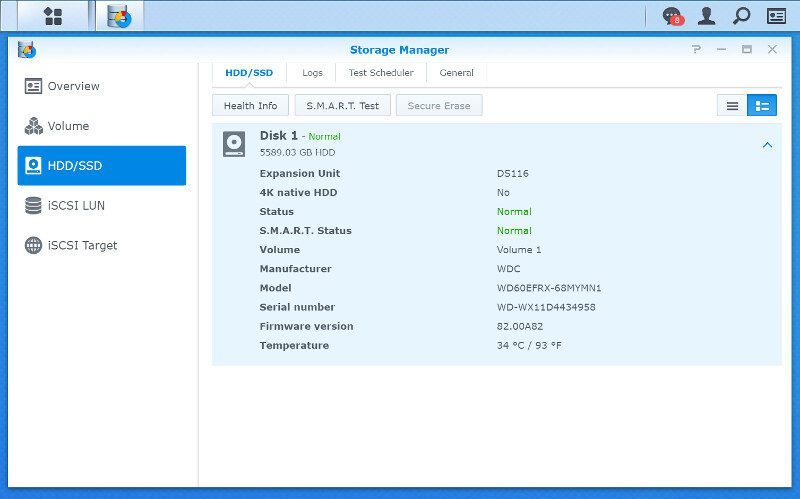
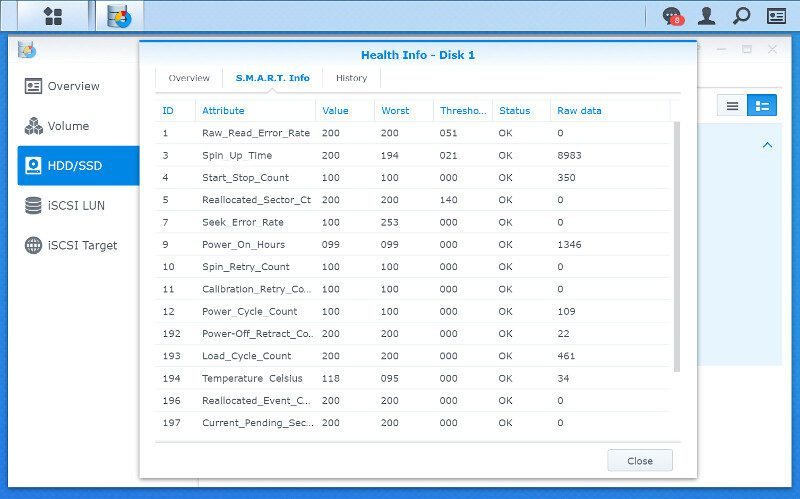
Health and SMART information are available for the installed disks, in this case just the one. You can view logs for the specific drive, and schedule tasks and tests.
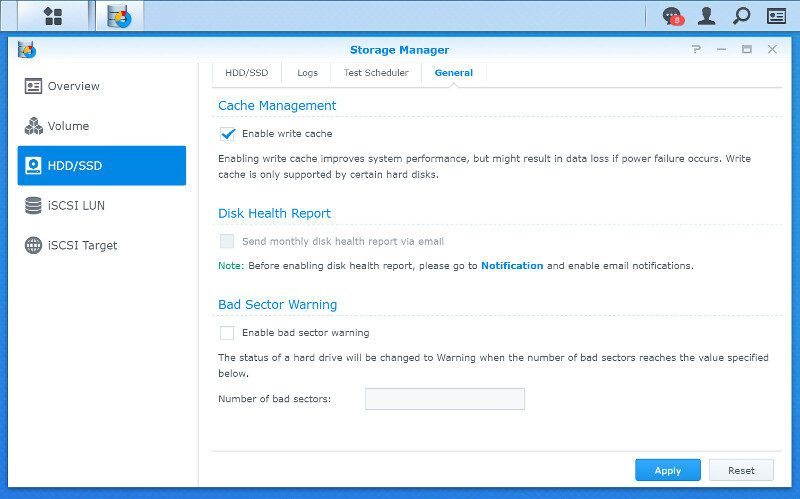
The write cache is another function that you might or might not want to have a look at, just as the bad sector warning feature. Both can be very useful features.
We can also view the installed drive in details within the Health Info function. From this overview.

To all the details.
I was surprised to find the iSCSI feature in the DS116 as that’s usually a feature reserved for SMB and better systems. However, it is a positive surprise and I will naturally also be testing this performance later on.
There are many benefits to an iSCSI setup and it is quick and easy to do. It is also supported on basically any modern operating system such as Windows 7 and newer. Just search for iSCSI through your start menu and you’ll find the initiator.
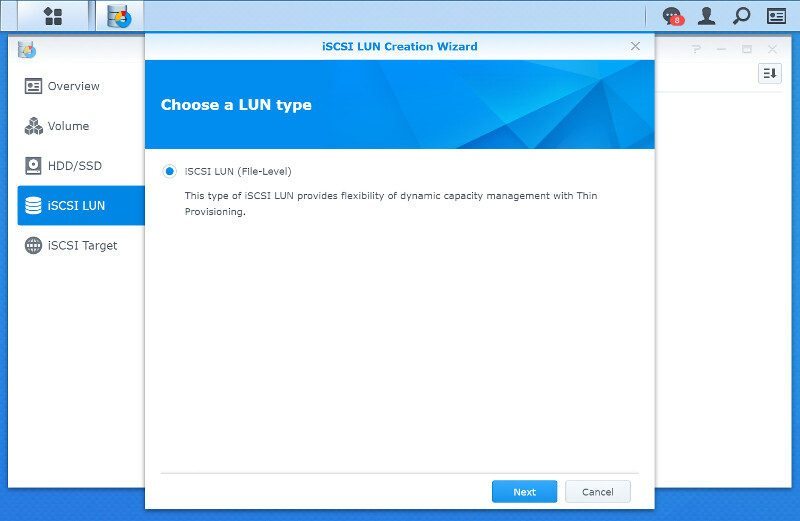
Set the type and capacity, enter a name and select the target volume to be used – and that’s it.
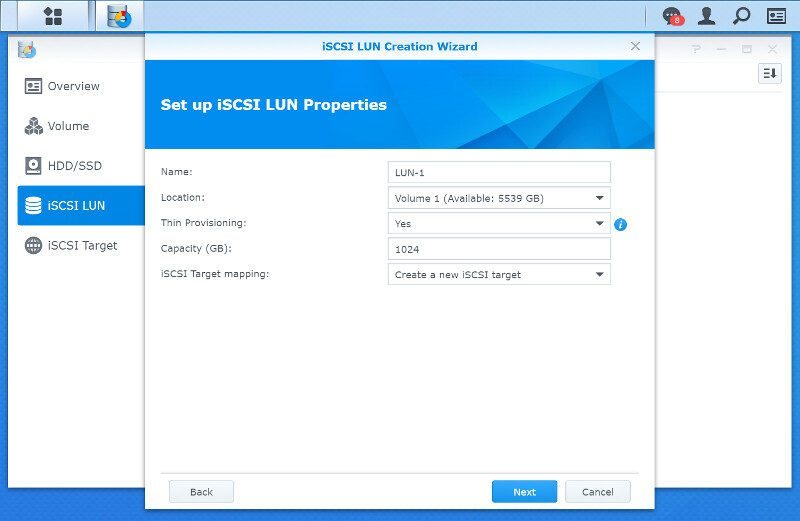
You can optionally enable CHAP and use password protection for the iSCSI target.

And that’s it, the setup is ready for your connection.
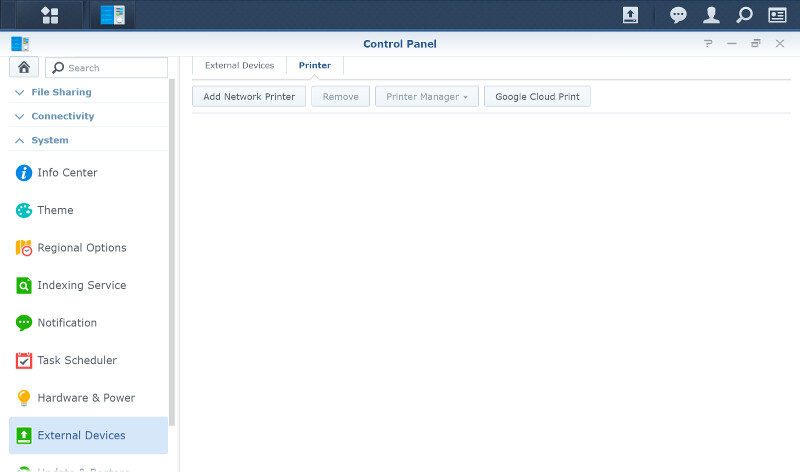
External Devices
The main function for the USB ports will most likely be for storage as seen here, but that isn’t the only thing that the DS116 supports in its ports.
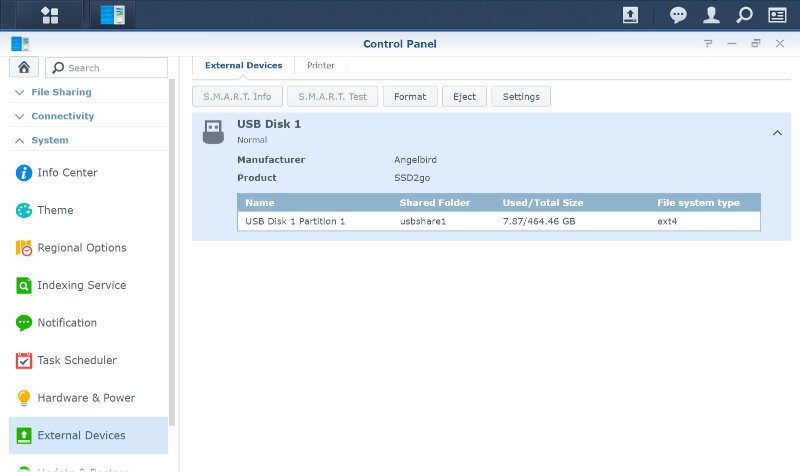
You can also connect USB printers through the NAS and turn ordinary devices into network capable ones. Wireless and Bluetooth dongles are also supported, but we’ll take a look at that in a little bit.