Thecus W2810PRO 2-Bay WSS SMB NAS Review
Bohs Hansen / 8 years ago
Setup – Basic Initialization
Initialization
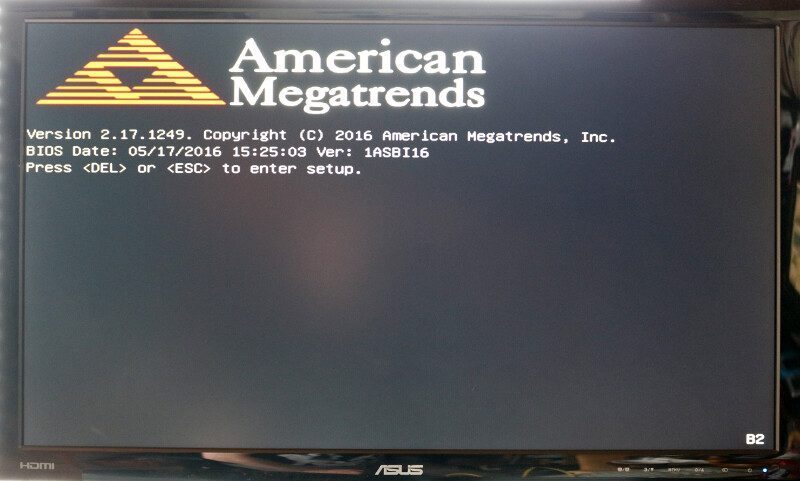
The initialization of a Windows-based NAS is somewhat different than a Linux one, most noticeable is that we do it directly on the NAS itself rather than through a network connection. Connect a mouse, keyboard, and monitor to the NAS and power it on. A network connection would also be a good idea, but then again, you probably guessed that from its main function.
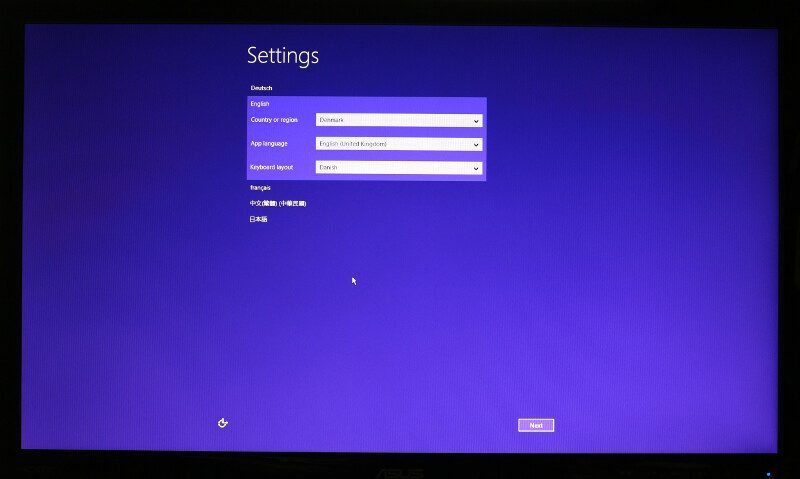
The basic operating system is already installed, but it still needs to be initialized with a few settings such as the language, keyboard layout, and similar settings – much like what you might know from your Windows 7, 8, or 10 installation after the first reboot.
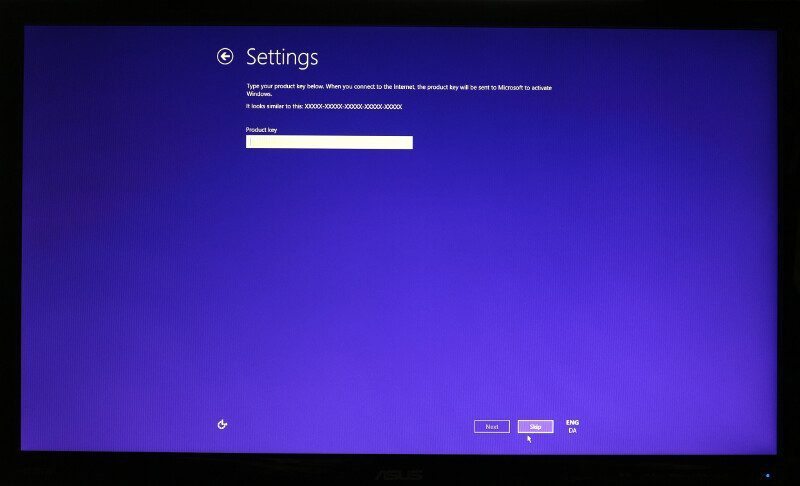
The Windows key is also required, which you’ll find on the label placed on the NAS itself.
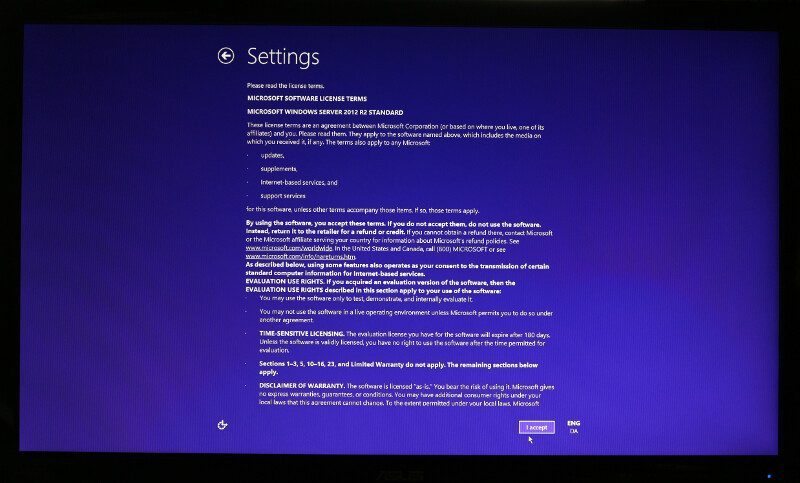
After that, you only need to confirm the license agreement and the system will be ready for you.
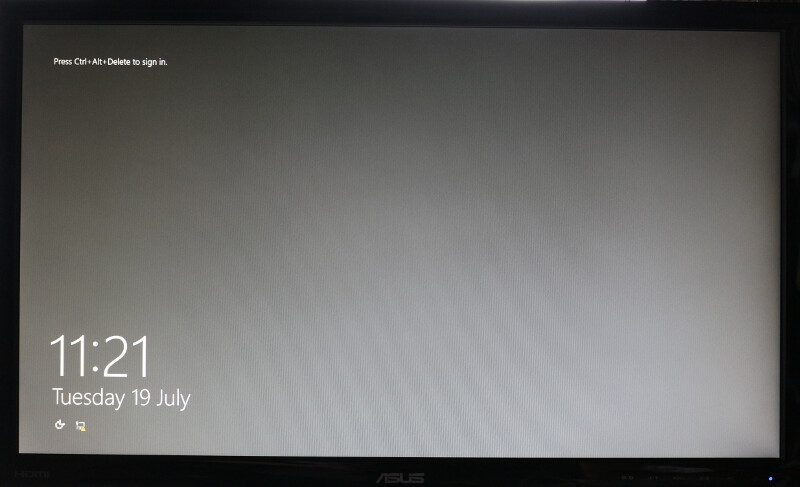
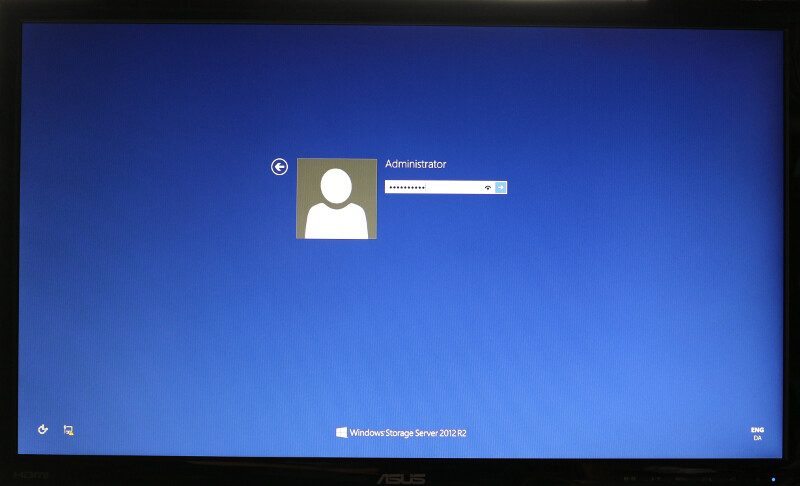
Logging into the system is the same method you might know from other Windows server operating systems, hit the control, alt, and delete key combination and enter the password previously set during the initialization.
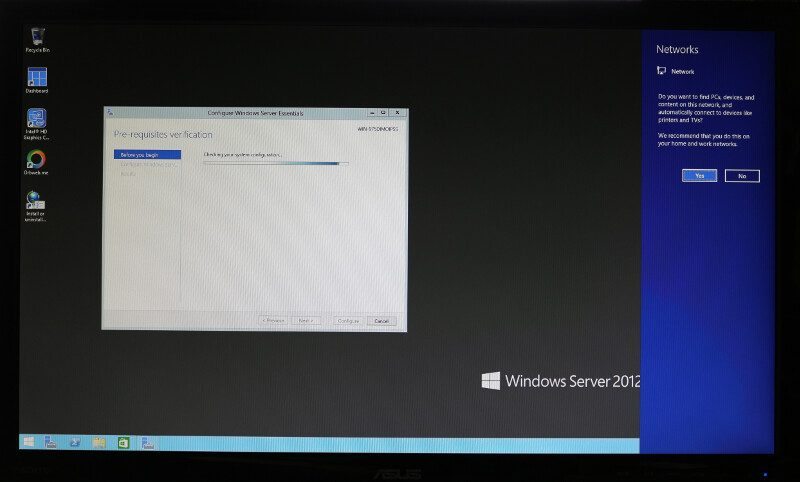
And that’s it for the basic installation. Now that we’re into Windows itself, we can start with screenshot rather than photos of the monitor.
Configure Basic Windows Server Essentials Features
At this point, I’ll start to consider that you as the reader are familiar with Windows itself from a client point of view, or in other words, that you are familiar with the way Windows works and rather show the differences between server and let’s say Windows 7 or 10.
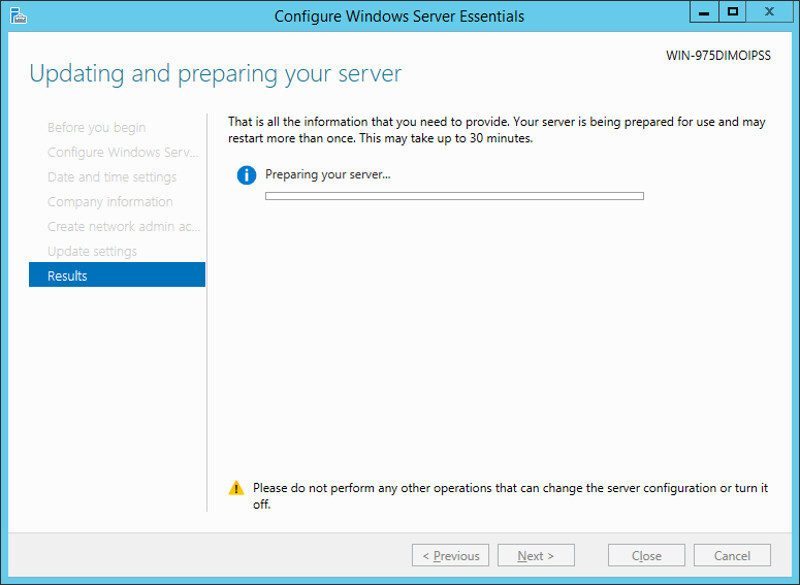
We have initialized the system in itself, but we still need to configure some basic features. But not to worry, the Thecus W2810PRO will guide us through the whole thing.
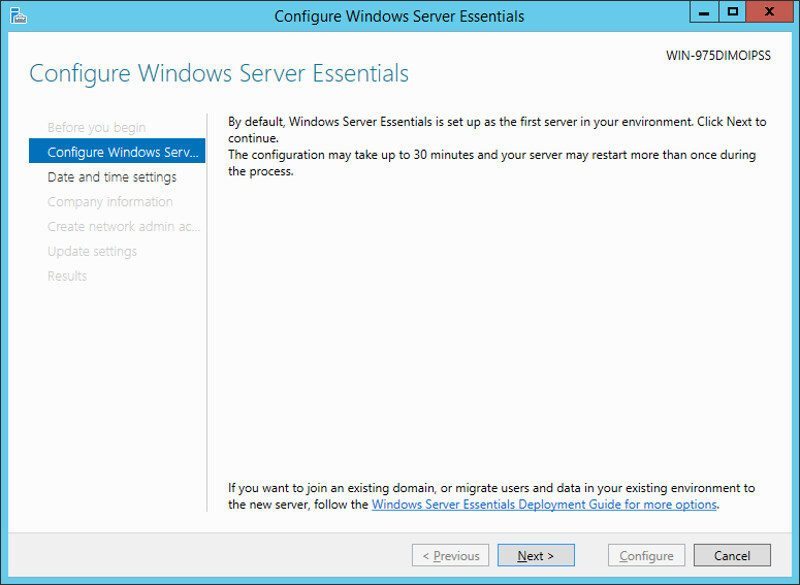
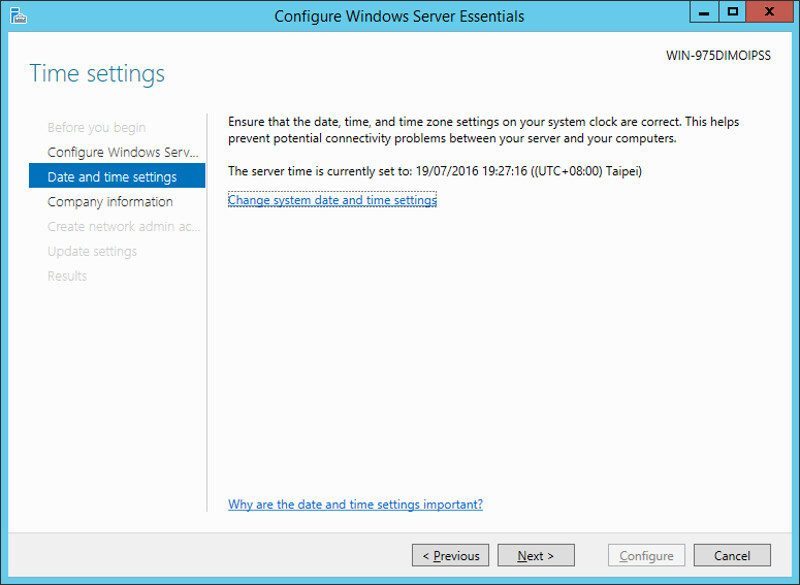
While everything looks a bit different than we’re used to from other NAS devices, it is basically the same things we need to set starting with the time and timezone settings.
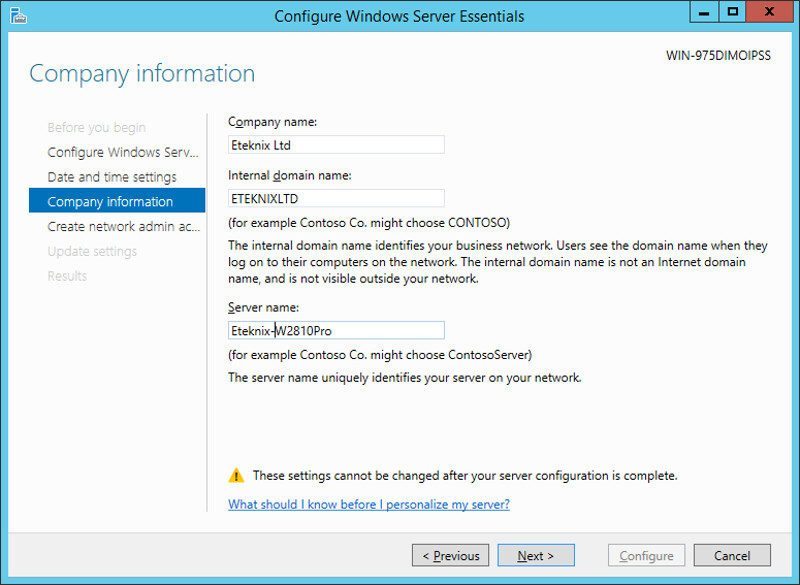
Next up are the personal information, or in this case, the company information.
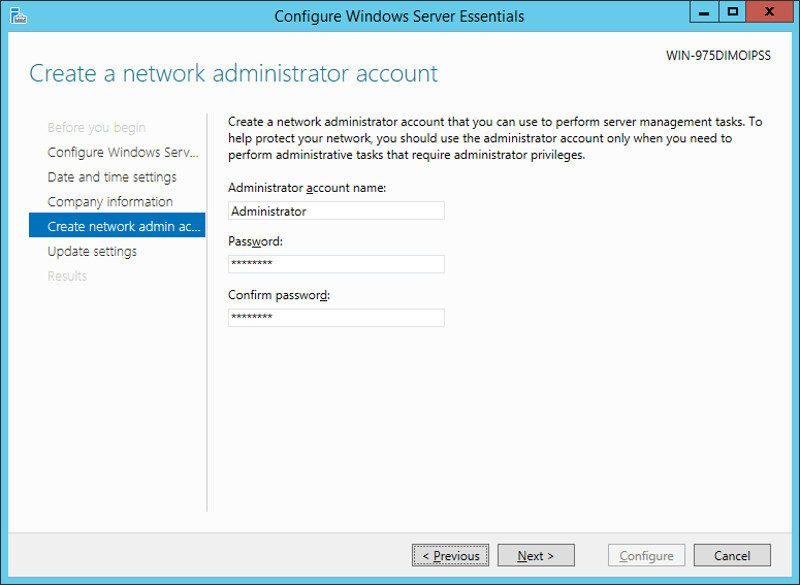
We also need to create an administrator user for maintenance tasks, but we can’t pick administrator as shown below – that one already exists in itself as the basic main account.
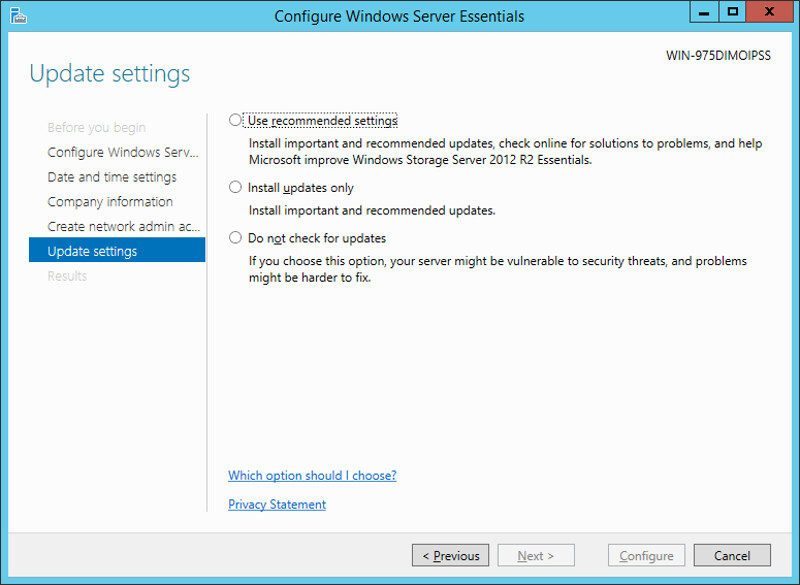
I always recommend to turn on automatic updates to keep your headless unit in the best possible security state. Bugs happen in all systems and we might not notice intruders as quickly on a headless unit as one we work directly on every day. It is however completely up to you what you pick here.
And that is it. Now the system will configure what we just did and be fully ready shortly.