Thecus W2810PRO 2-Bay WSS SMB NAS Review
Bohs Hansen / 8 years ago
Setup – Continued Setup Trough Dashboard
Basic Server Setup
The WSS Dashboard will help ups set up our basic server functionality as well as advanced configurations. This is basically where you want to go to change rules, features, and most other things that aren’t third-party based.
If you used hard disks that are brand new or otherwise have been NTFS formatted prior to setup, then you should have a drive setup already. In my case, the drives installed were previously either BTRFS or EXT4 formatted and if that’s the case for you too, then you might want to skip into the storage settings first and create those for the full setting options.
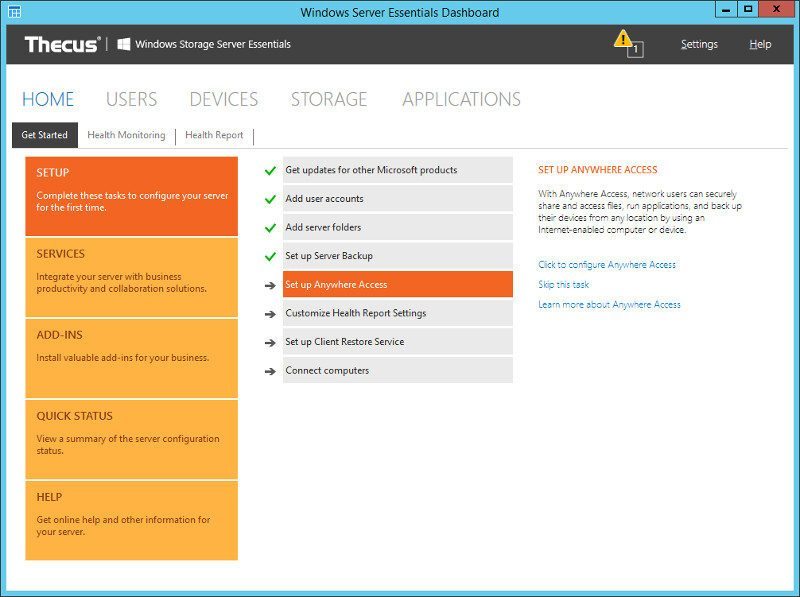
The first three steps of this page have already been done through the previously shown steps and we can see that they’re checked off with the green marker. This way we can easily keep track of how far we’ve gotten in our setup.
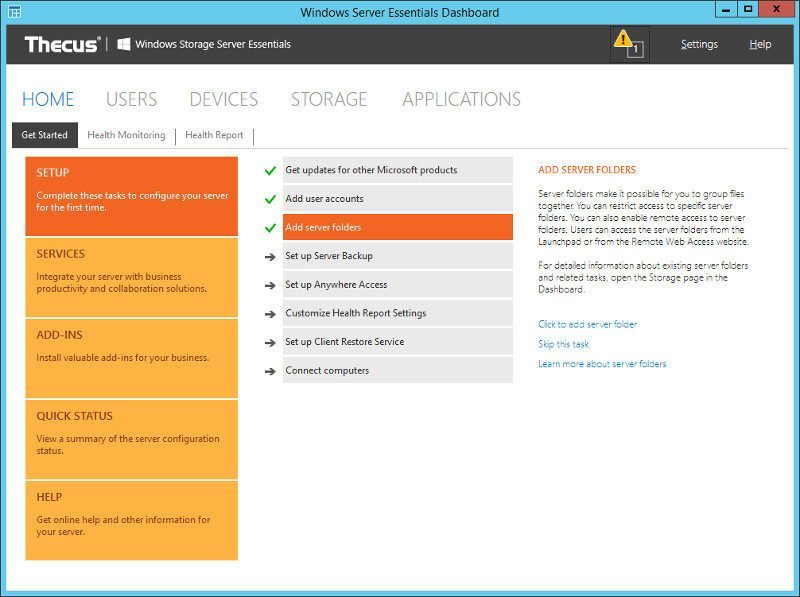
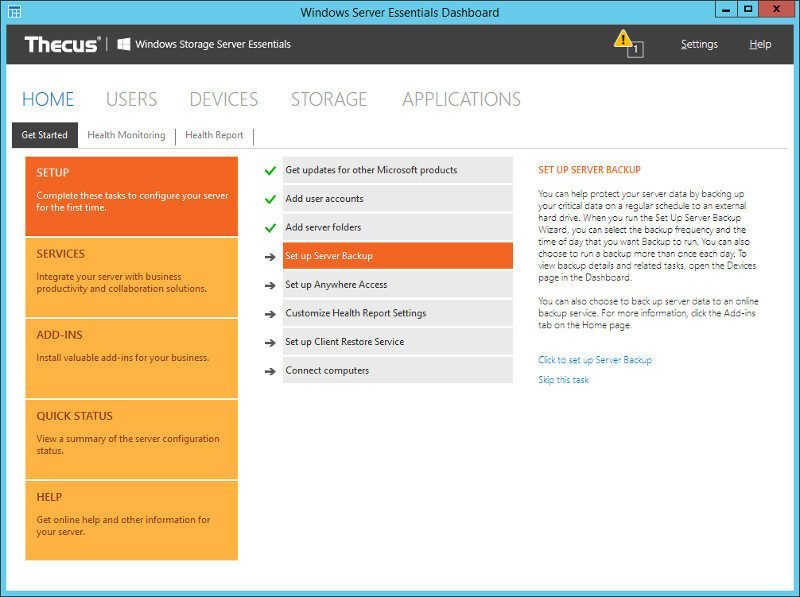
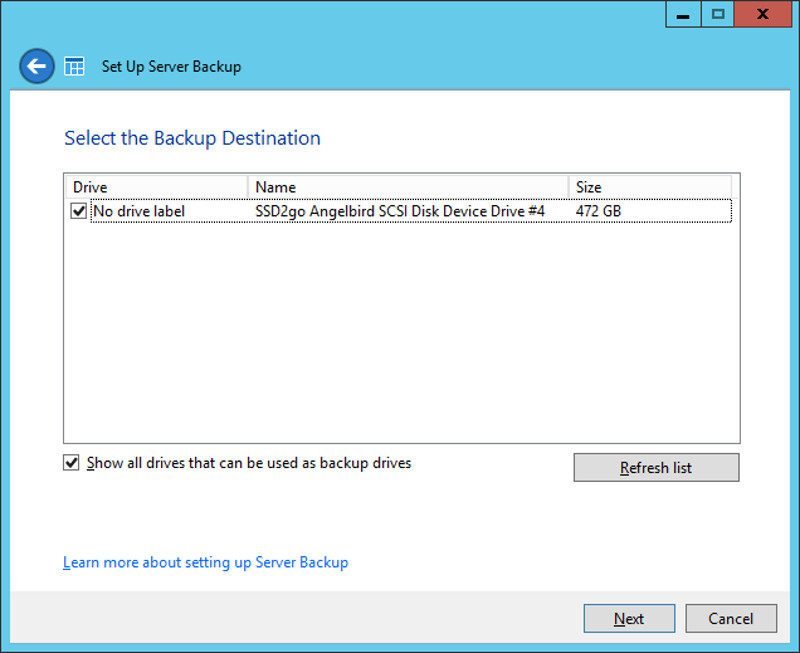
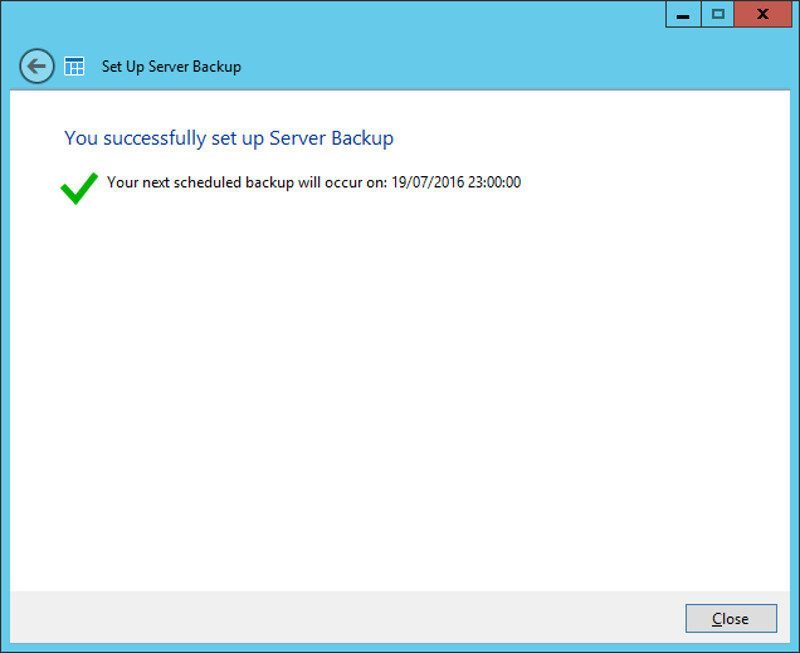
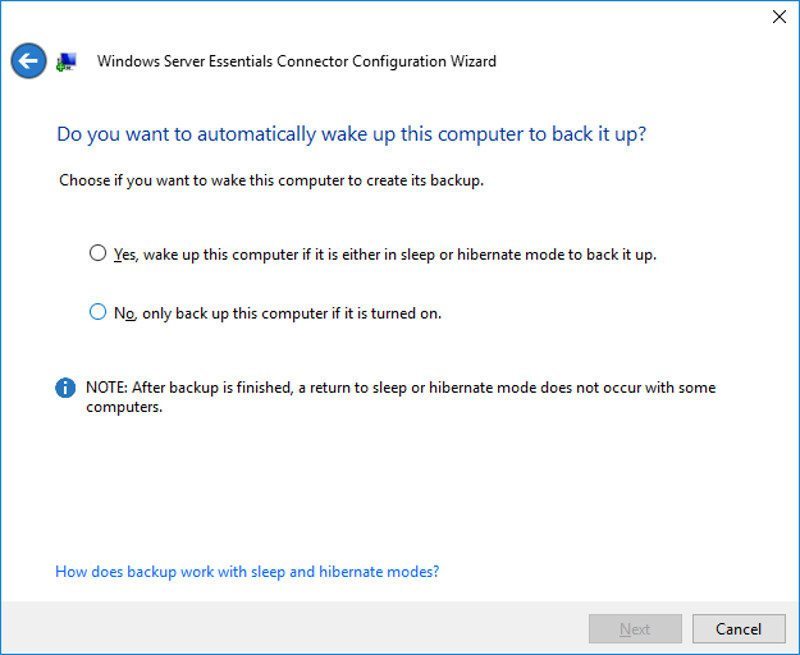
The next part of the basic setup is the server backup which is a great idea to set up, but it does require additional drives.
It only takes a few steps to set this feature up and you’ll be done with it quickly.
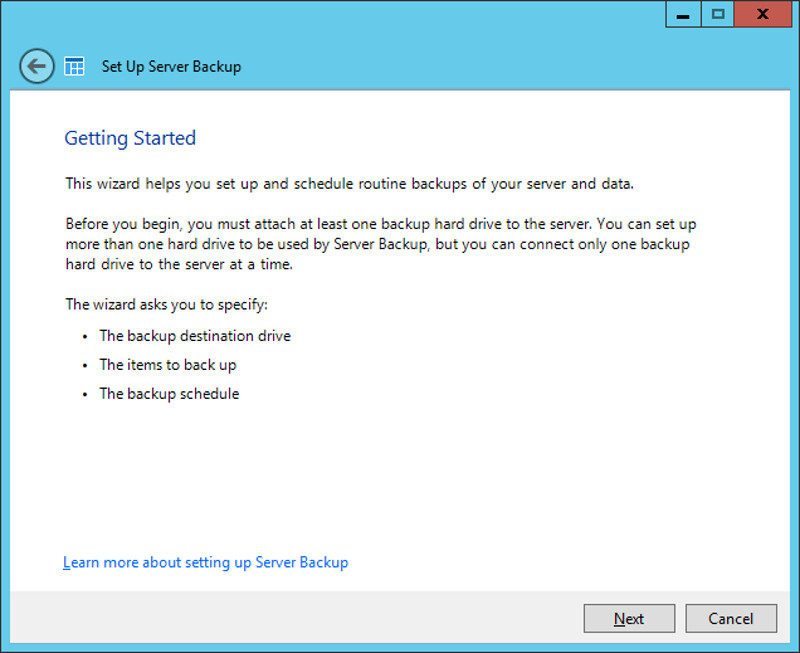
First, you set the destination.
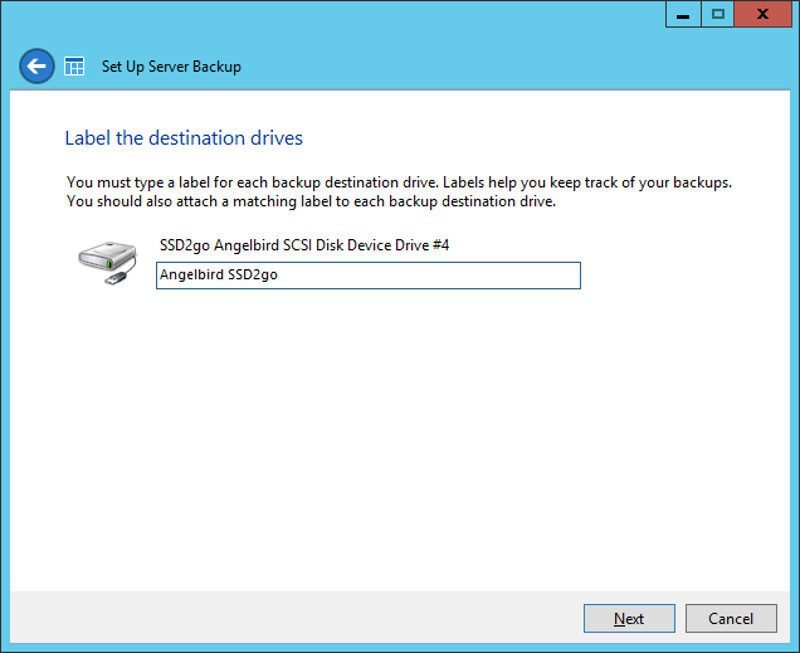
Give it a label that you can recognize easily.
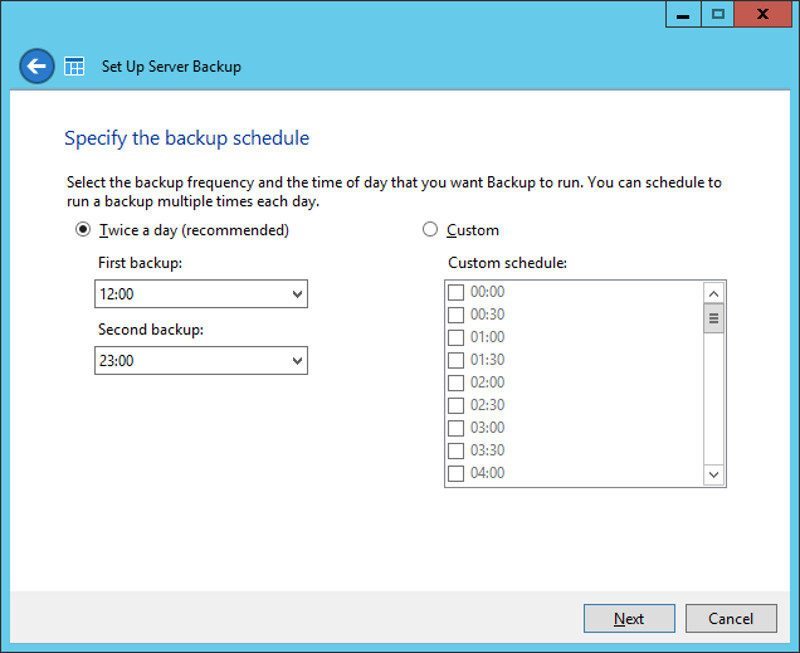
Specify a time where the backup should happen.
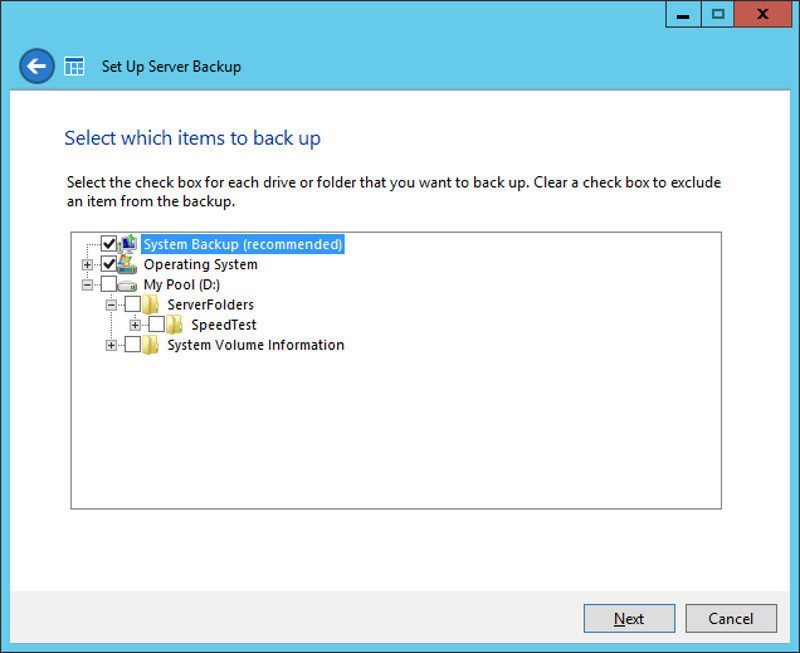
Last but not least, what parts you want to backup.
And that’s it, we’re done with this part and can move on to the next.
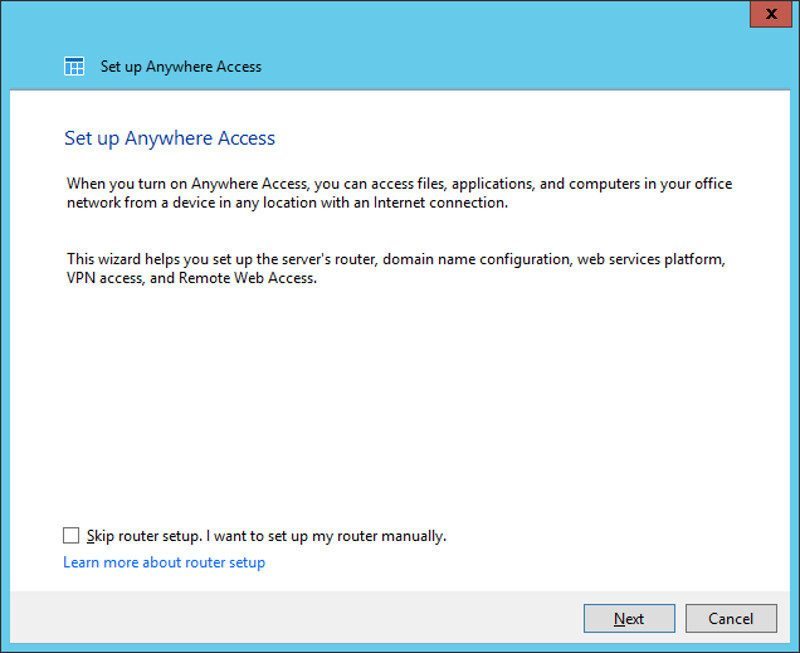
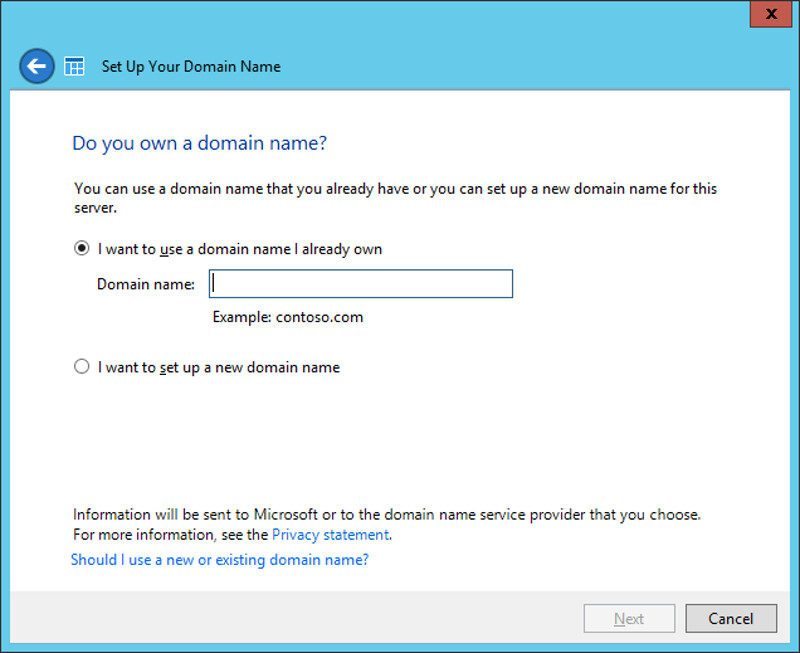
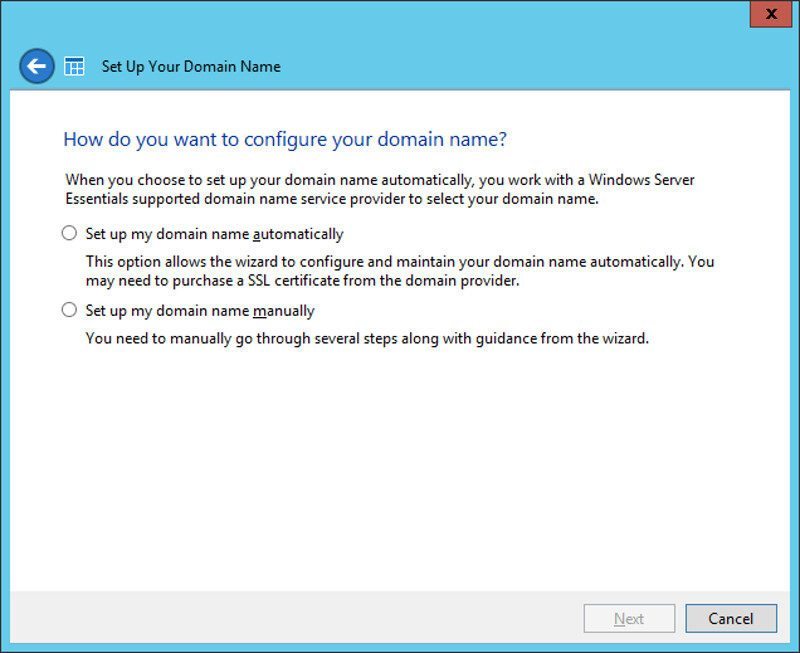
Anywhere Access
Microsoft Anywhere Access is a great tool for network users to securely access and share files, run applications, and back up their devices from any location – but it does require you to have an SSL certificate available. I don’t have that, but I can still show the first steps of this. This, like all the features shown on this page, isn’t a required setup, but it’s a valuable one to have for your company.
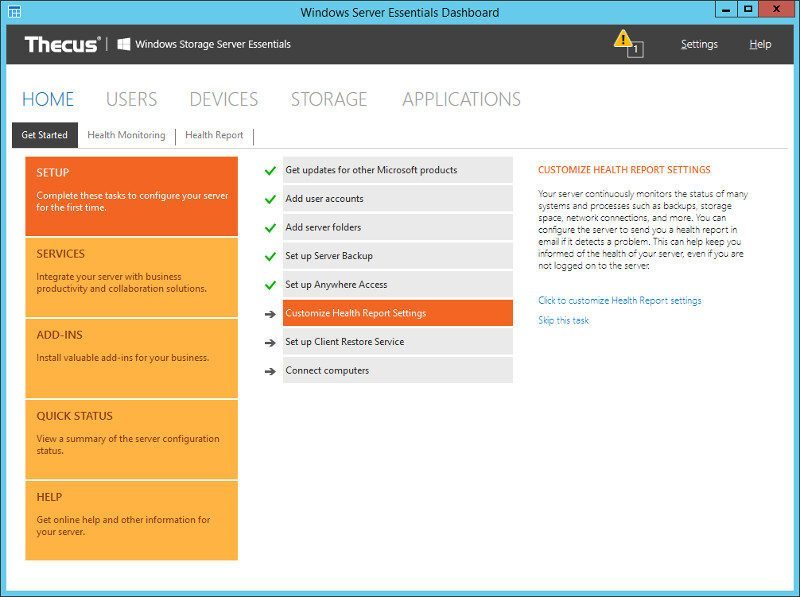
Health Report
The health report system is a great way to keep track of your NAS’ health and functionality as well as inform you in case something should go wrong. The setup of this feature only takes a few steps and it is one of the things here that I really recommend that you do.
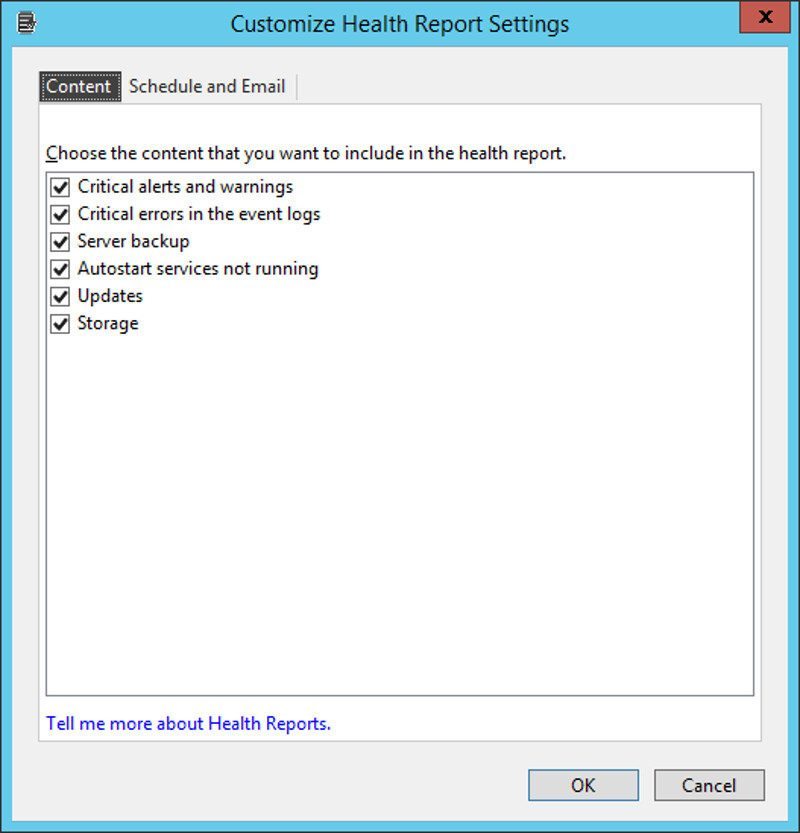
You can define what parts should be included in the report from available features.
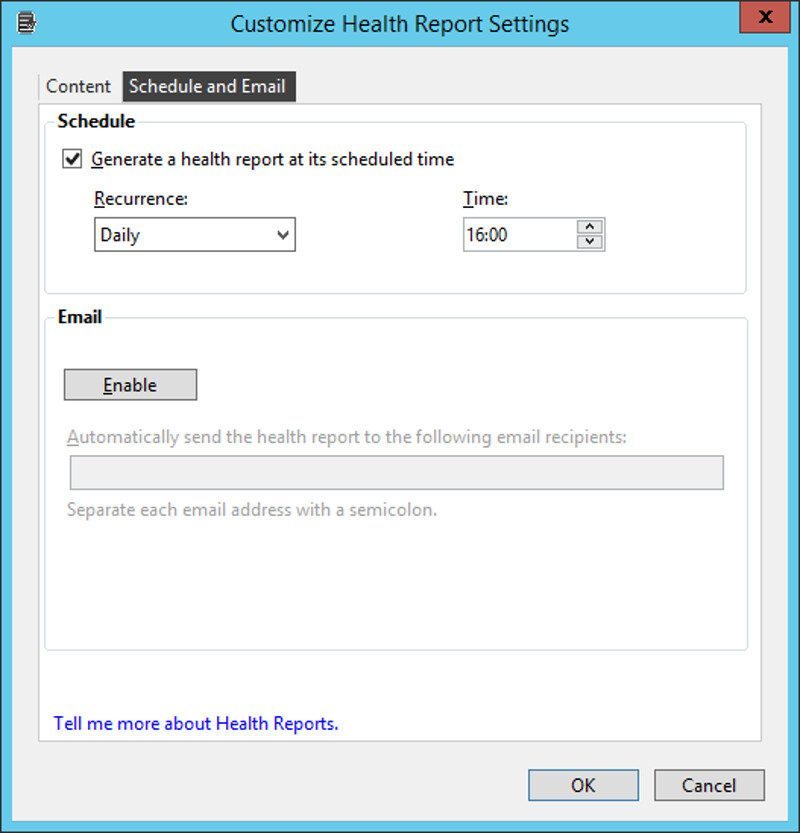
And you can define when the health report should be performed. This is also where you can enter email addresses that should receive the report on top of them being available on the server directly.
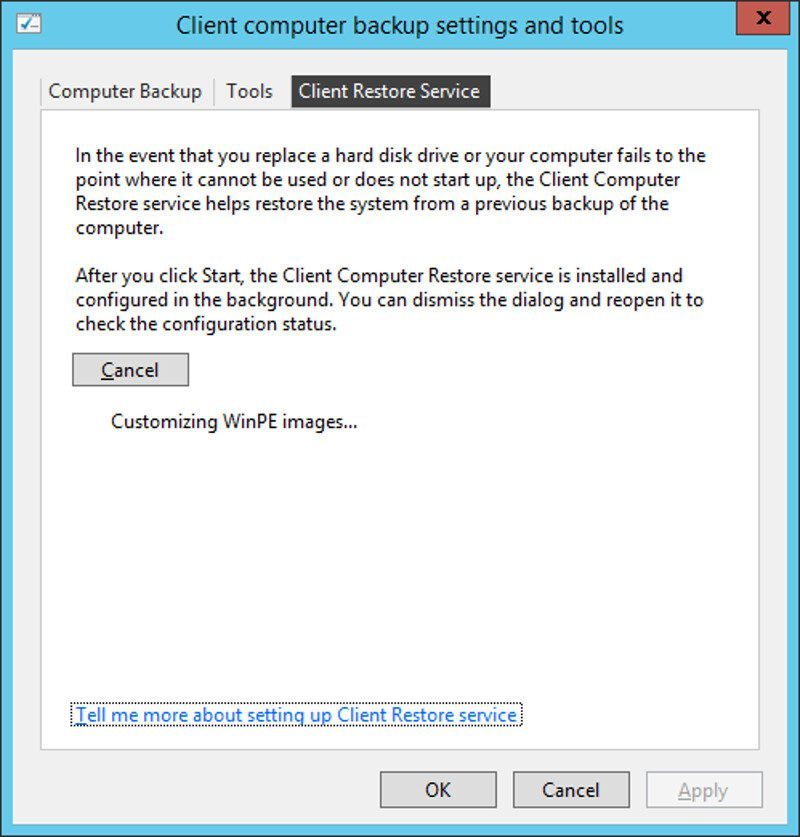
Client Restore Feature – Server Side
The client restore feature is an amazing one, should your system ever get corrupted or stop working the way it should. This is much like the normal windows backup and restore functions except that it does the backup to the server rather than locally. This could be particularly useful should your client drive fail, for example in your notebook which is a type of drive that fails a lot due to the mobility and extra knocks and bumps it gets while you’re out and about.
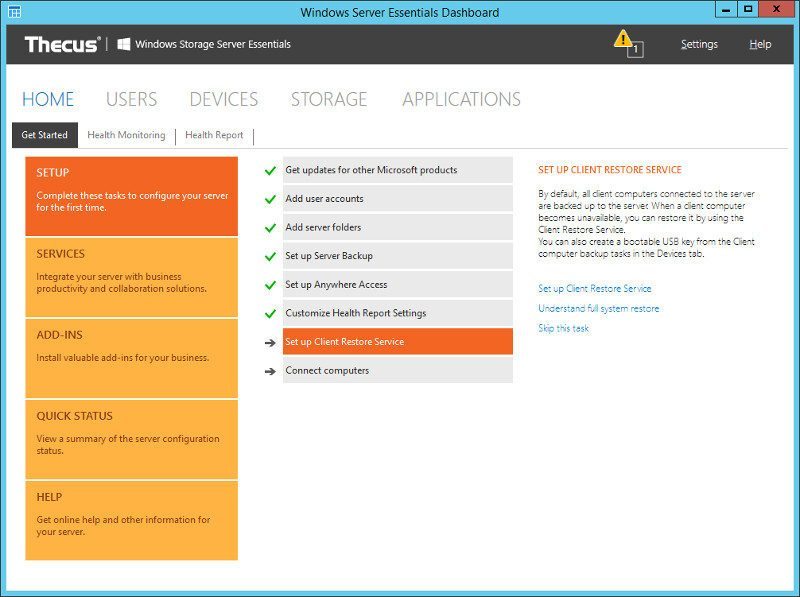
You need to install a bit extra to get this feature to work, but all is automated. You only need to select that you wish to do so and it will install in the background.
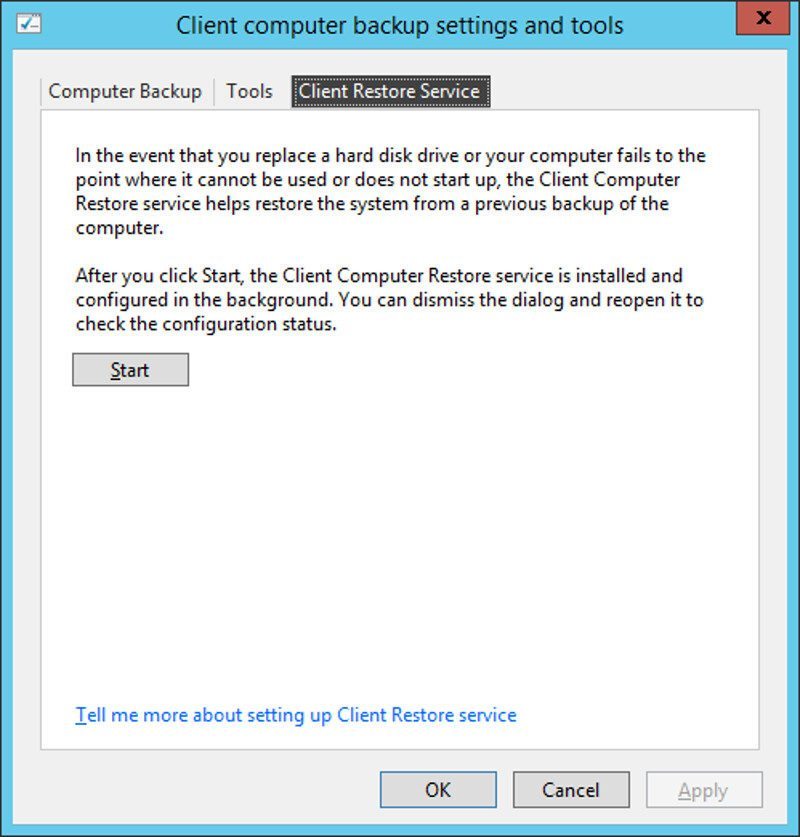
While it installs, you can either watch it do so and wait for it, or just close the dialog and come back later to check on the progress.
Client Restore Feature – Client Side
One of the big advantages of running a Windows server is that you easily can connect it to your existing Windows-based systems, both workstations and servers, but also Mac OS X based systems.
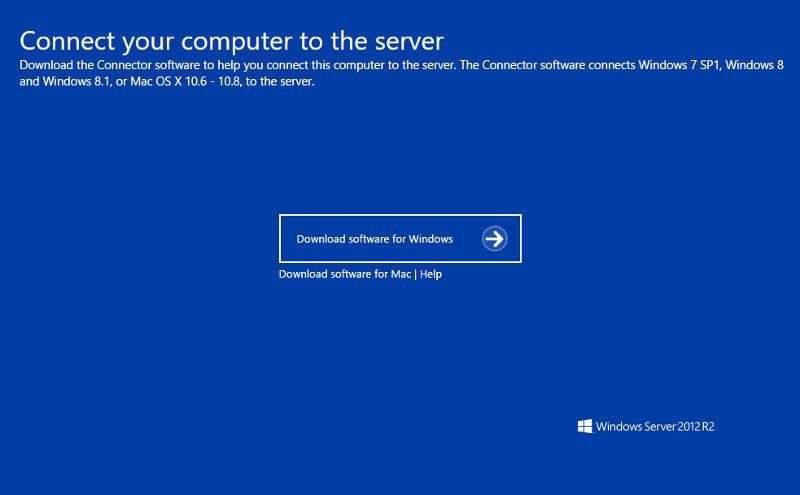
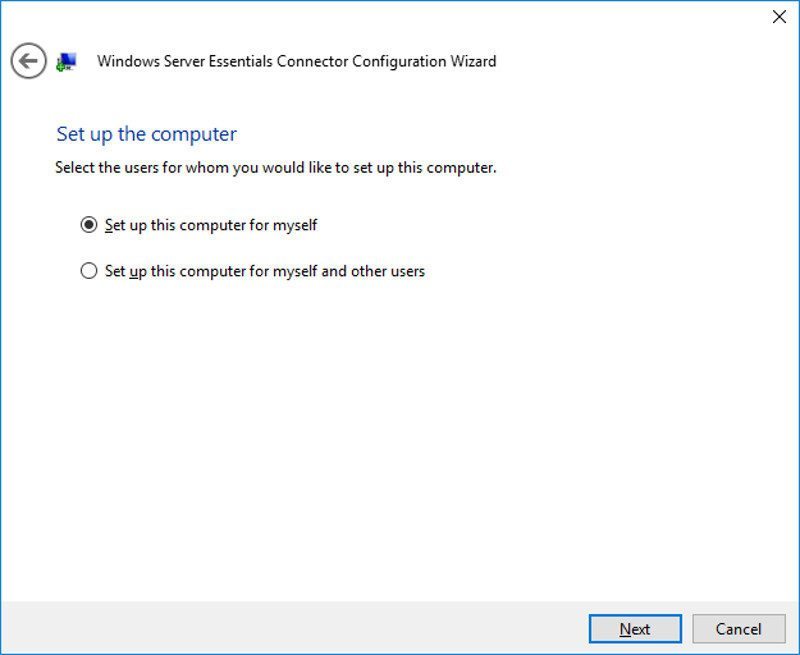
Connecting it is as easy as everything else that we’ve seen up until now.
Provide a name for the system and set the backup rules.
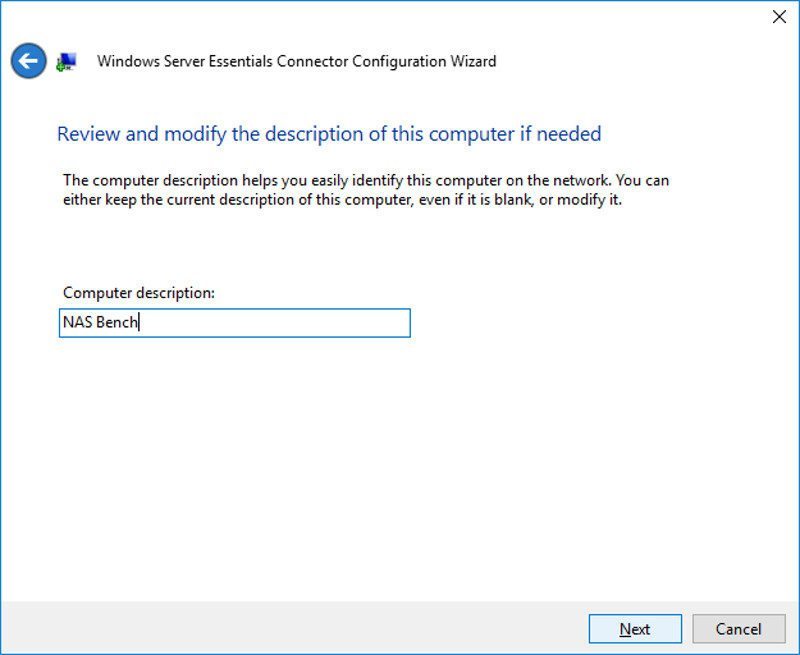
And we’re done. That was easy, wasn’t it?