Thecus W4000 4-Bay WSS 2012 R2 NAS Review
Bohs Hansen / 9 years ago
Setup – Initialization & Storage
Initialise
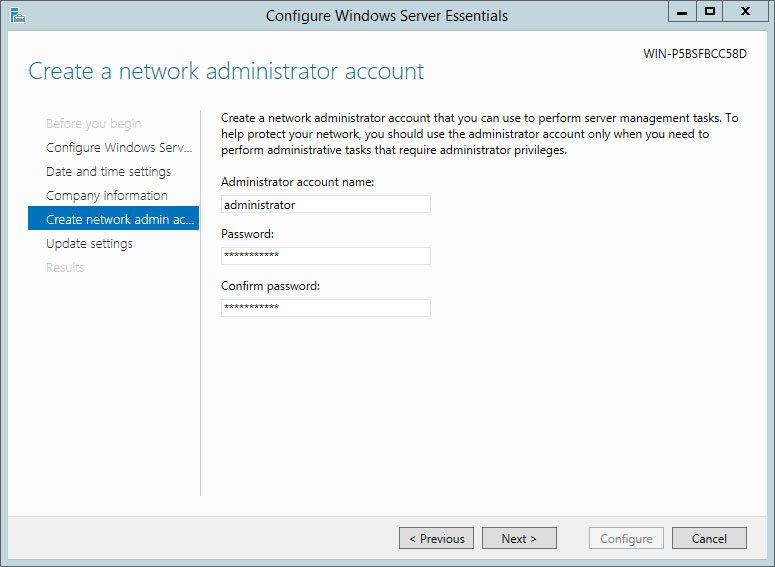
The Thecus W4000 NAS is a little different to initialize then you might be used to from the Unix and Linux-based devices. You’ll have to connect your input devices and a monitor the NAS itself and install it pretty much the same way you would with any normal Windows installation. The files are already copied to the drive and all you have to do is the final part of the setup, create admin username and password as well as setting language and country codes.
It will reboot and you can log in – just like with any other Windows installation. It really couldn’t be simpler. Once logged in, it will detect your network settings and start the initialization. just sit back and relax for a while before you’ll need to provide a couple more information.
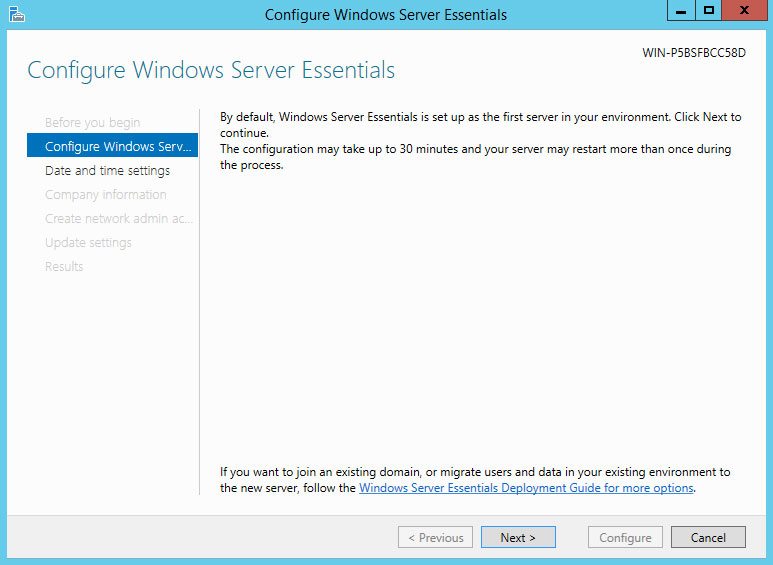
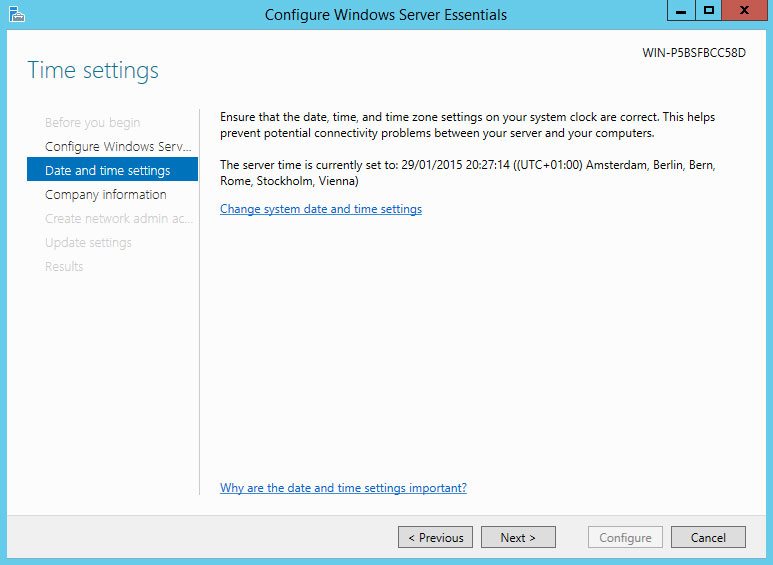
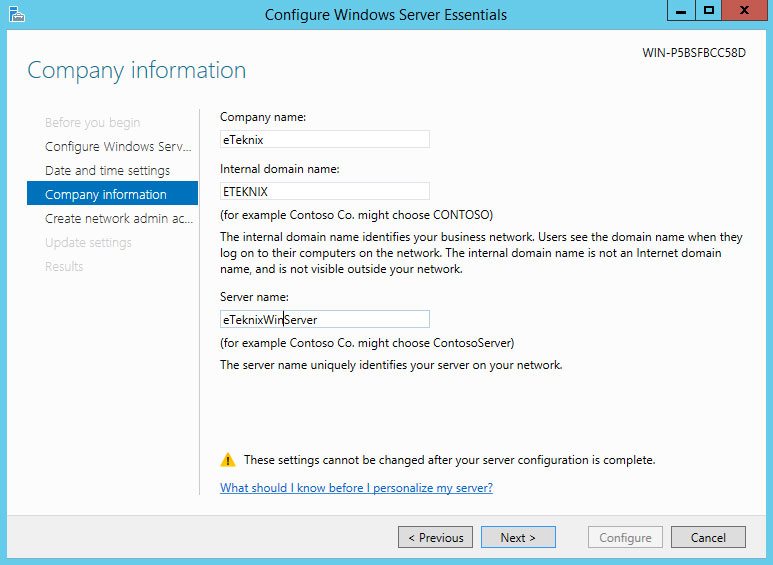
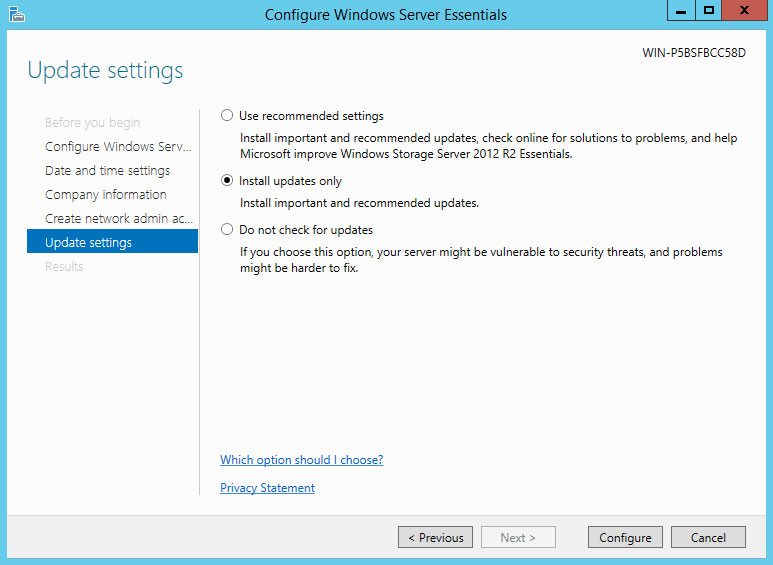
Update settings is a vital part of any server unit – but whether it should be enabled or not really depends on the usage scenario. My rule of thumb is, enable automatic updates whenever possible.
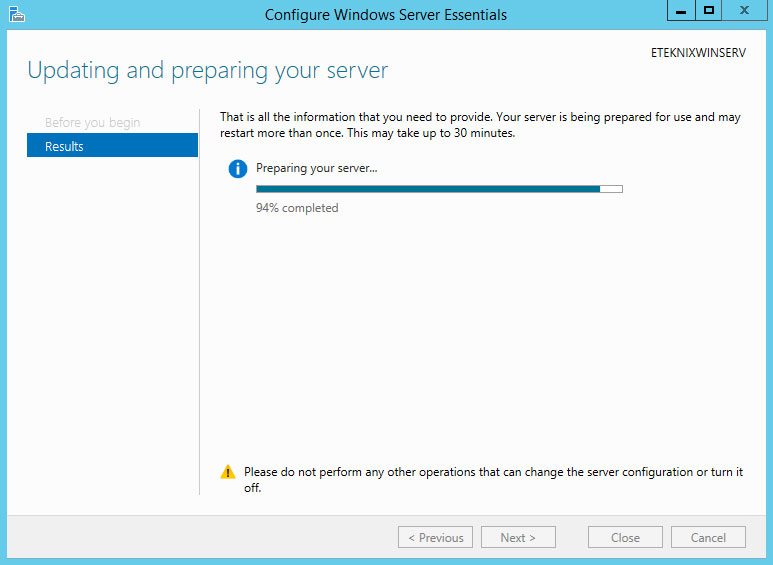
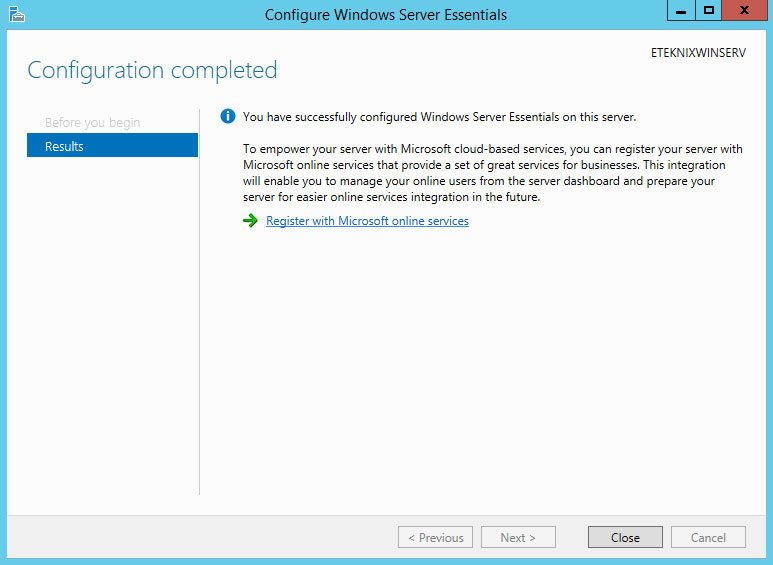
After a quick reboot, the server will finalize the setup.
Storage setup
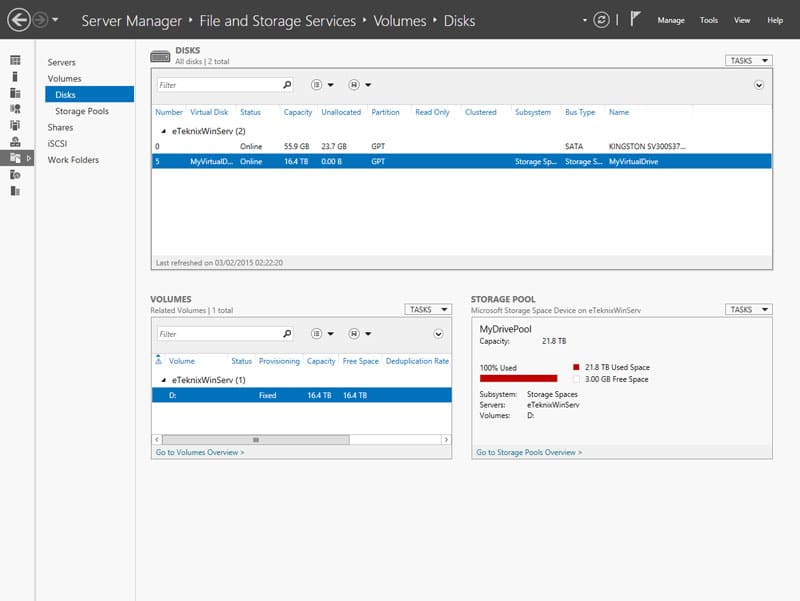
At this point, you should break out of the configuration guide for a little while, and have a look at the storage pool settings. There is a good chance that the automatic drive setup isn’t the one you would prefer, and you might be like me that you just like to do it step by step to make sure it’s done right. There is no need to close any open wizards, but minimize them instead. We’ll return to them once the storage is configured.
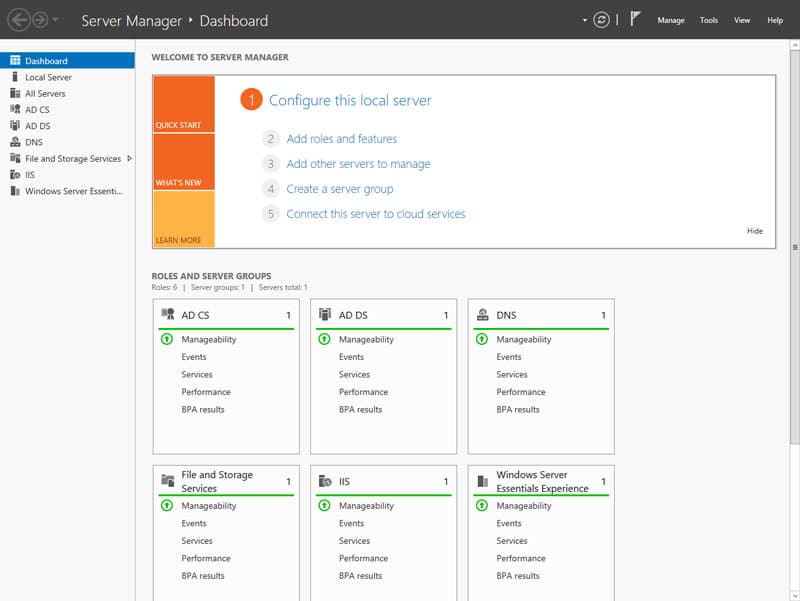
The interface looks a little different than the one you’re used to from Windows 7 or 8 and is called Server Manager instead of Computer Management, but it essentially works in the same way.
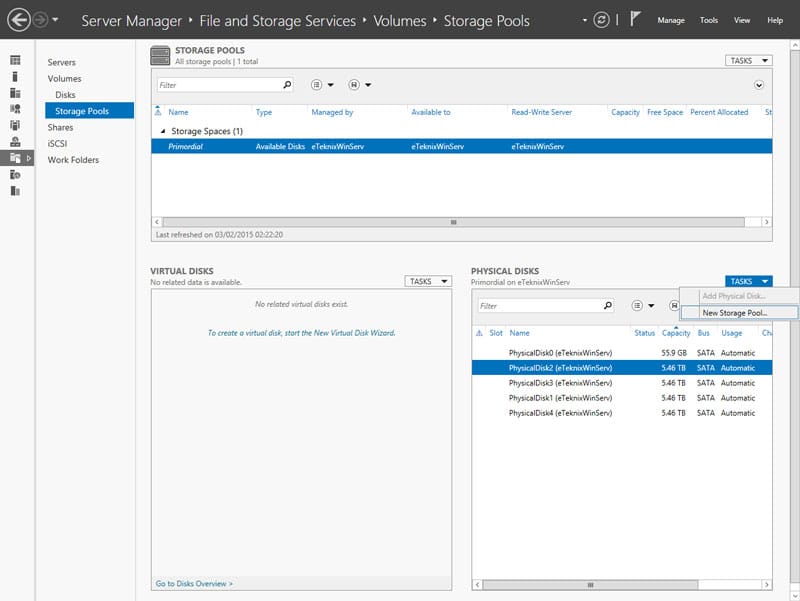
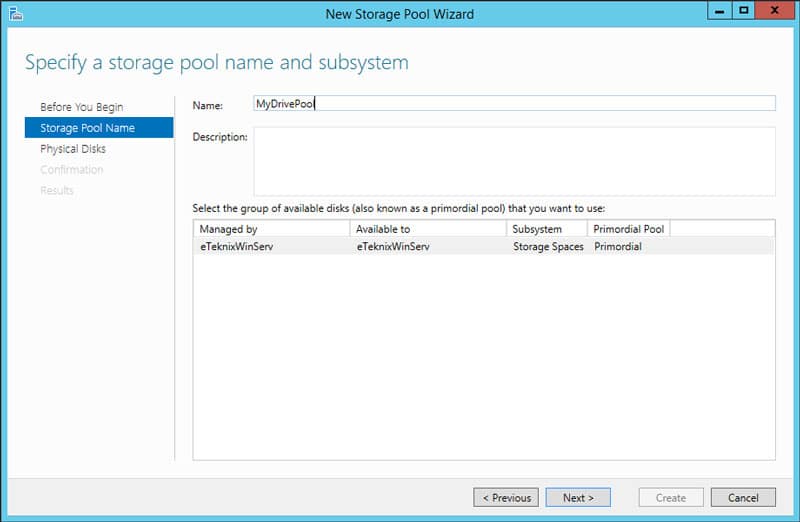
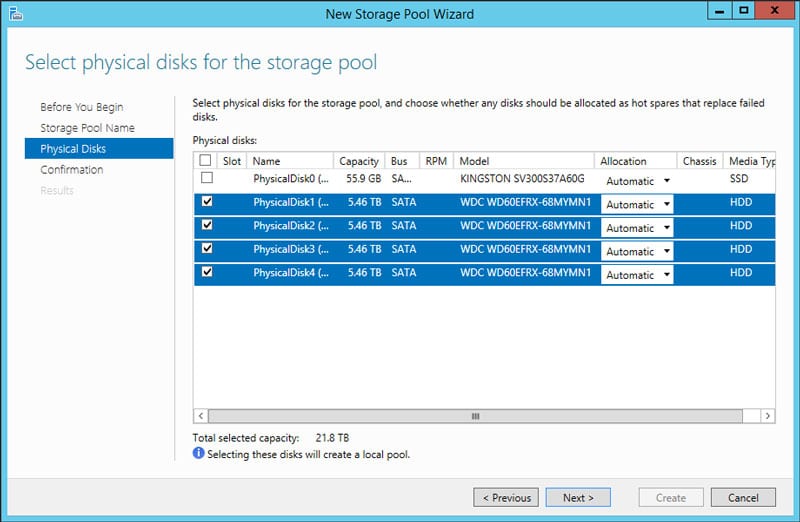
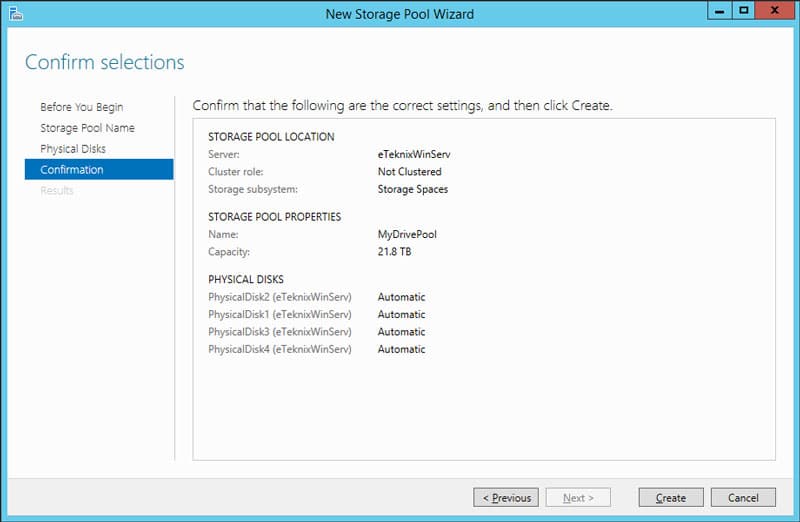
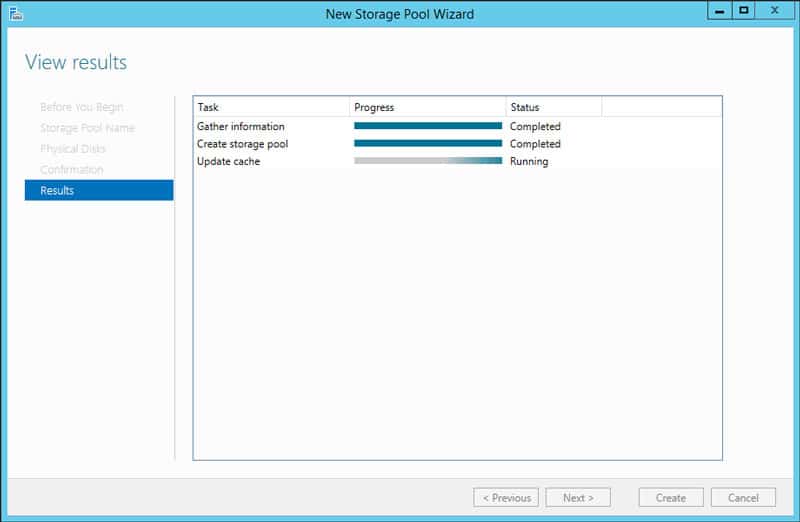
It looks like there are a lot of steps here to set up the drive system this way, but it’s only due to the user-friendliness that comes along with this setup. The whole procedure is a step-by-step guide where minimal interaction is needed. Start by selecting the File and Storage Services and create a new Storage Pool with the hard drives of your choice.
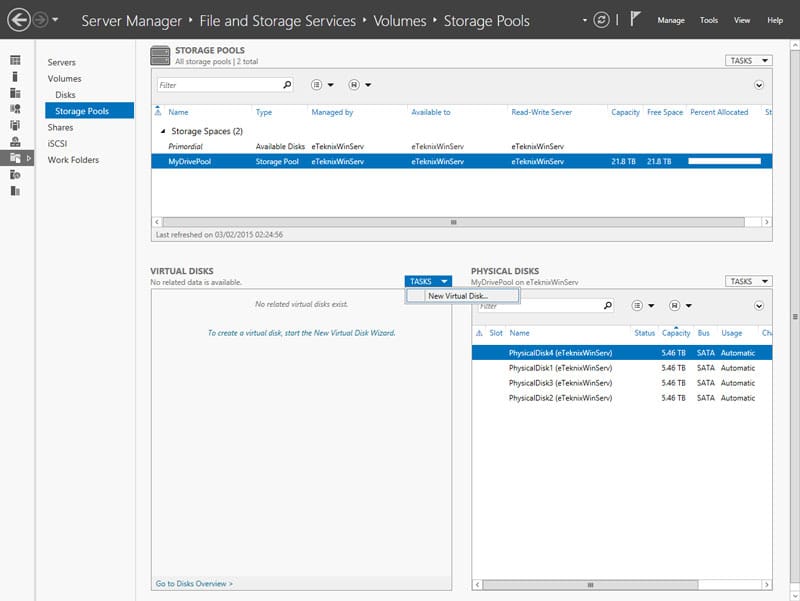
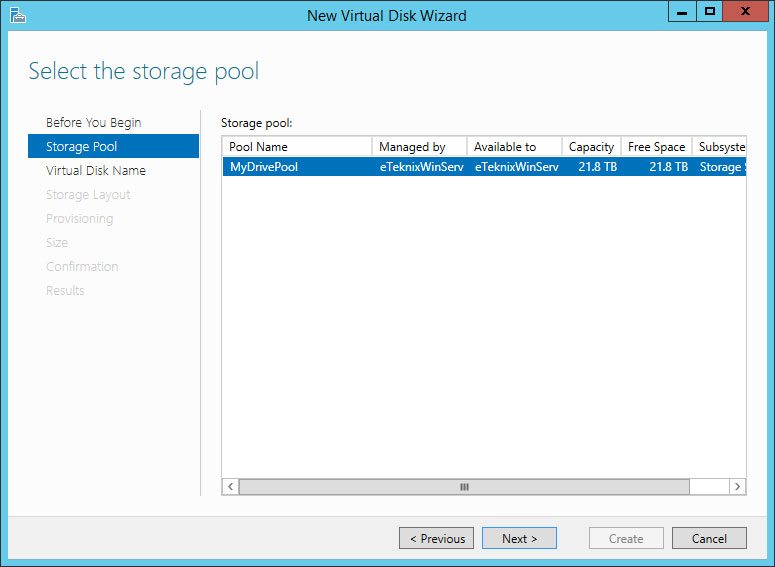
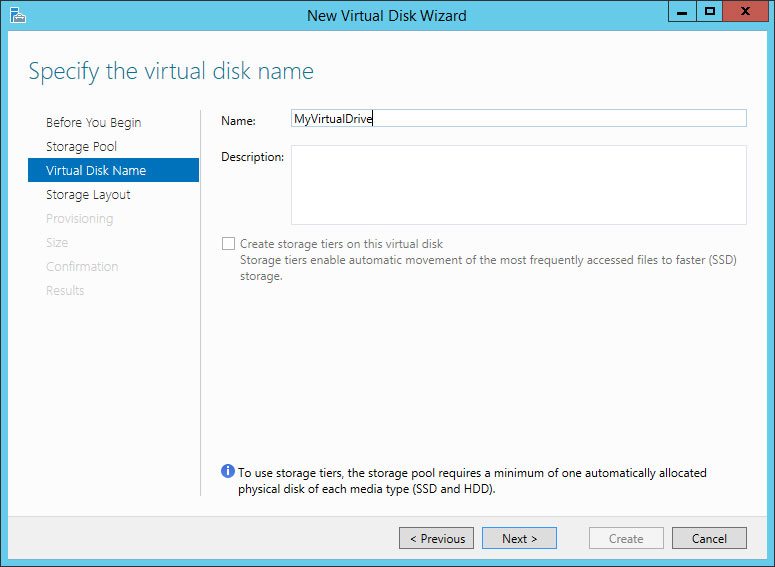
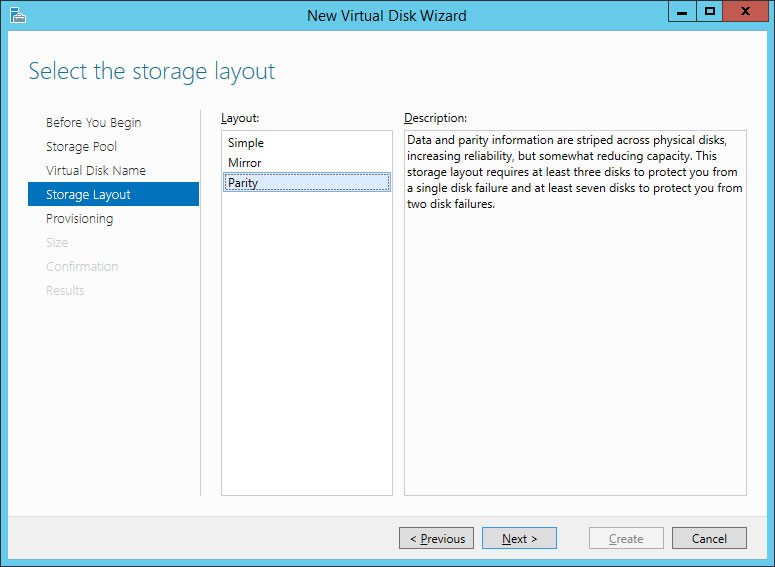
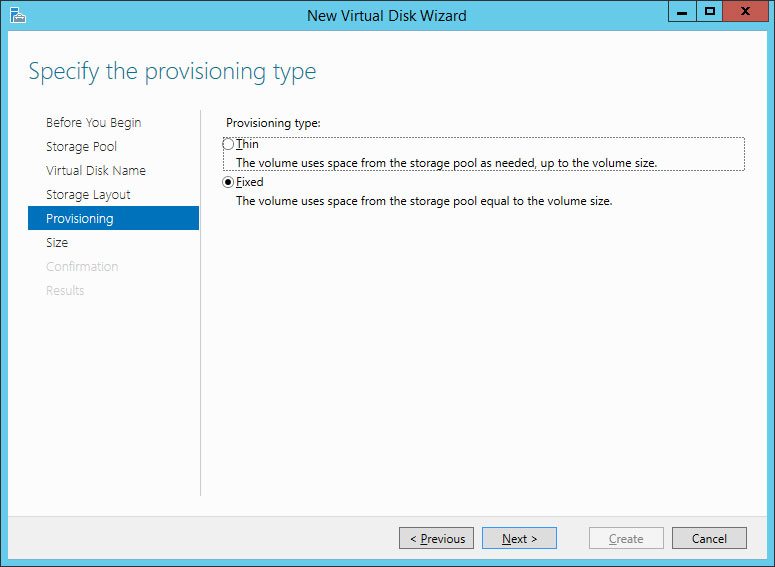
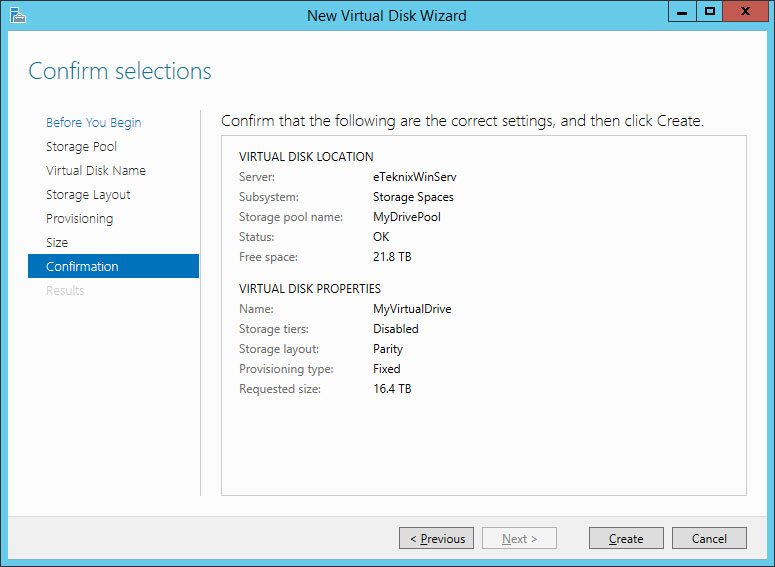
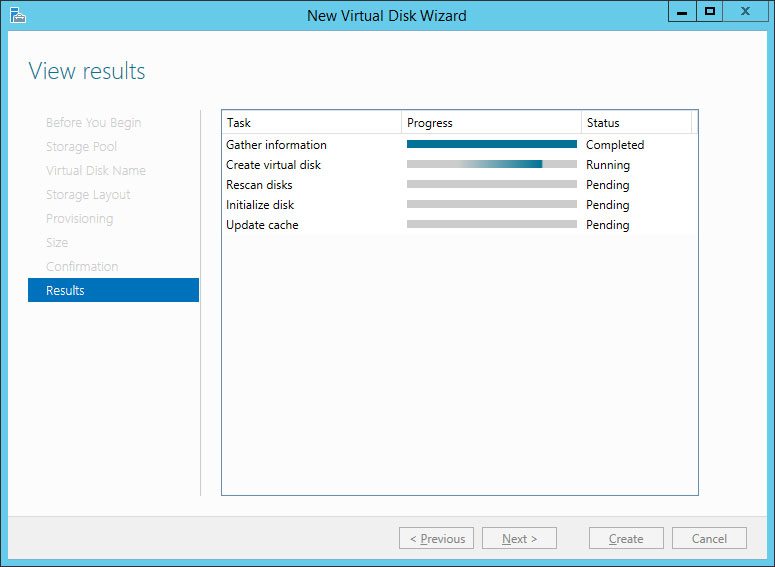
The second step is to create a new Virtual Disk on our drive pool. All you really have to do here is give it a name and select the RAID mode.
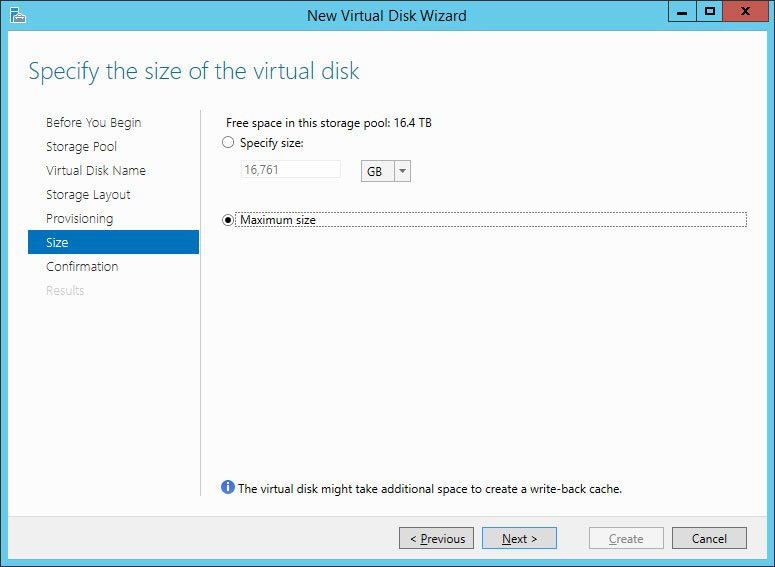
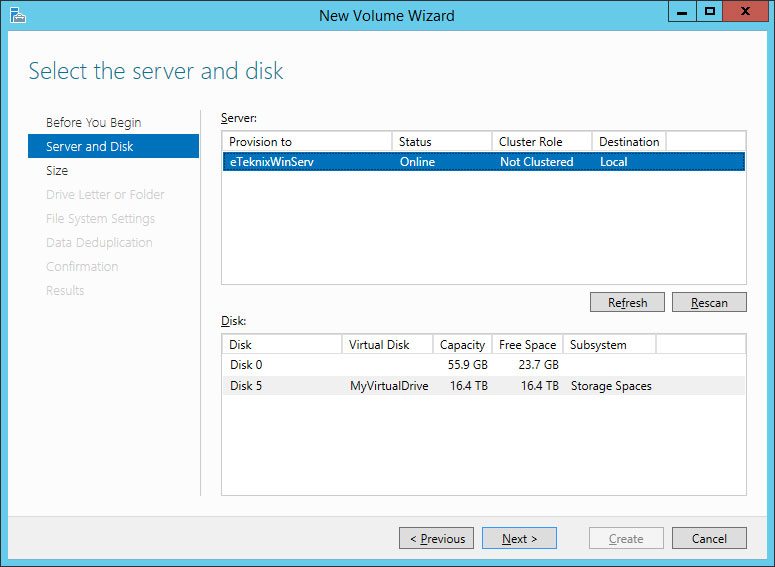
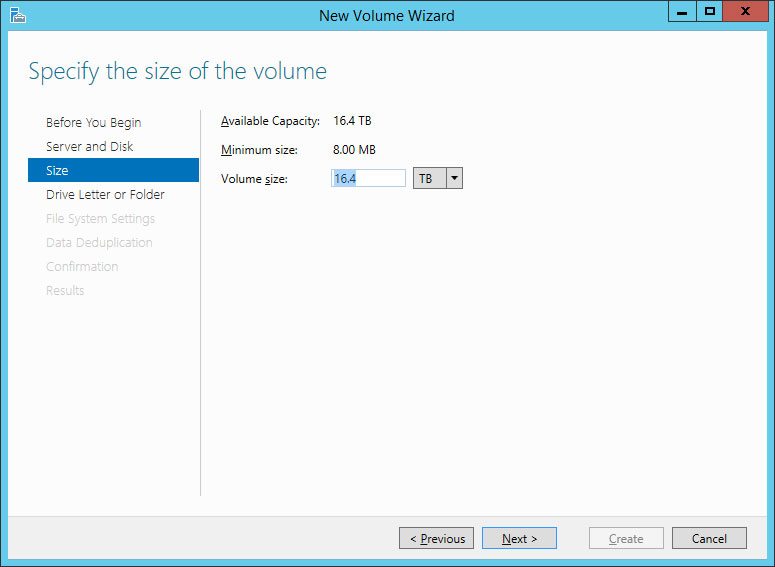
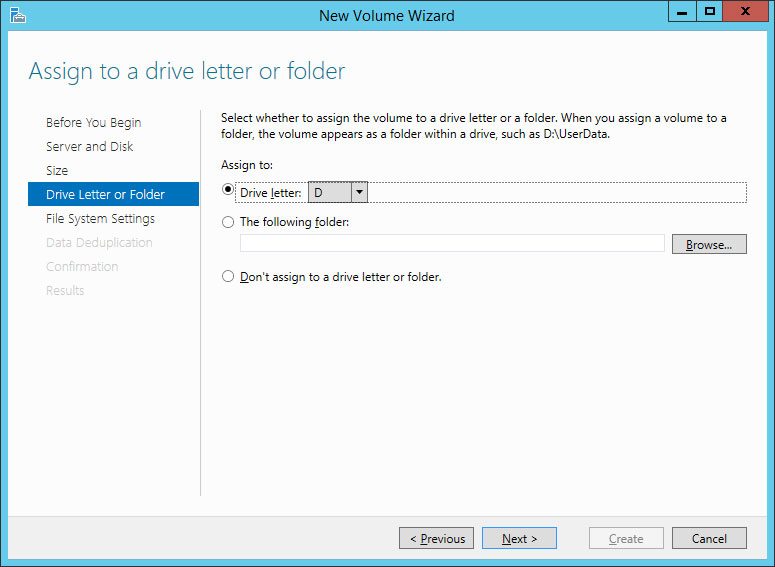
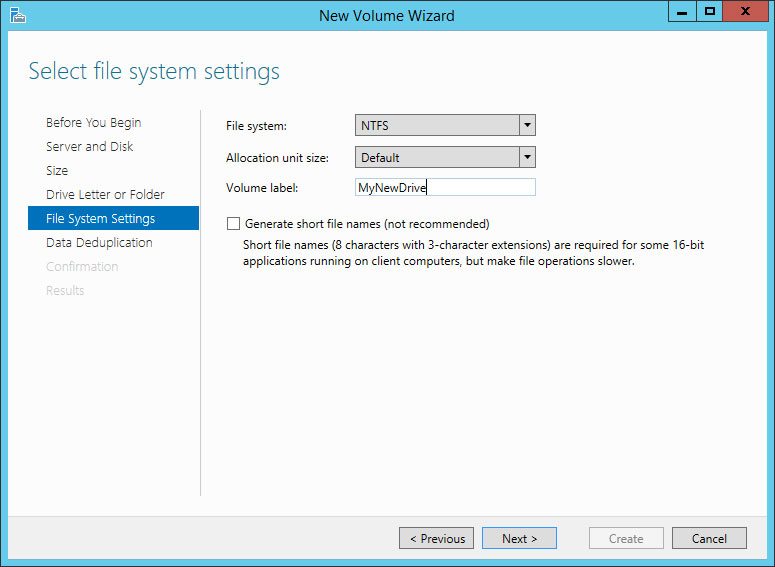
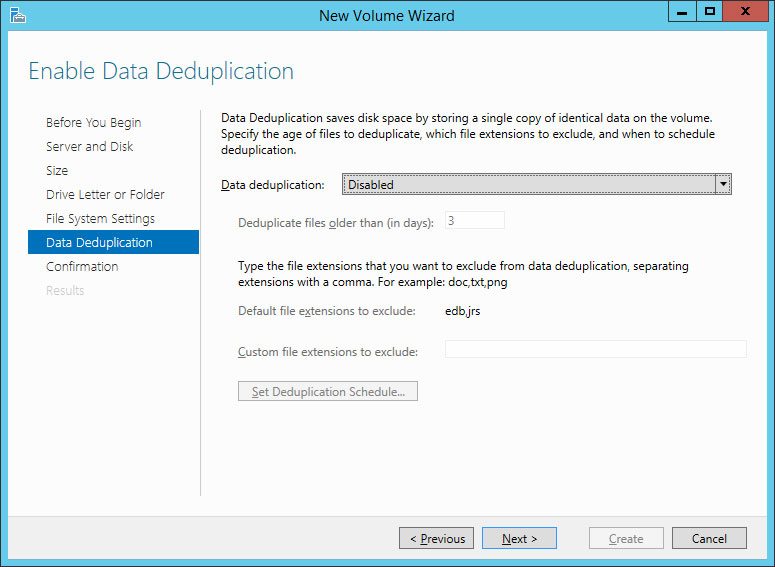
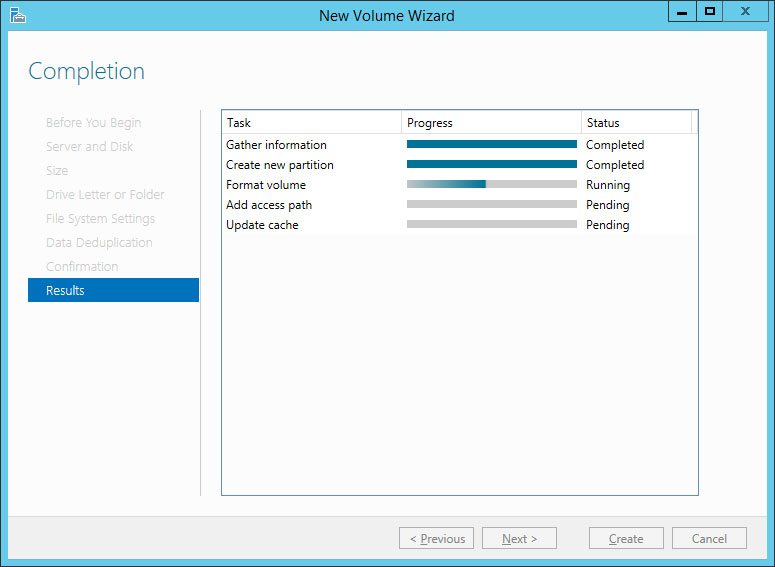
The last step is the Volume creation and it will start automatically upon completion of the virtual disk wizard. Select capacity, format and assign the drive letter of your choice, just like on your regular Windows PC.
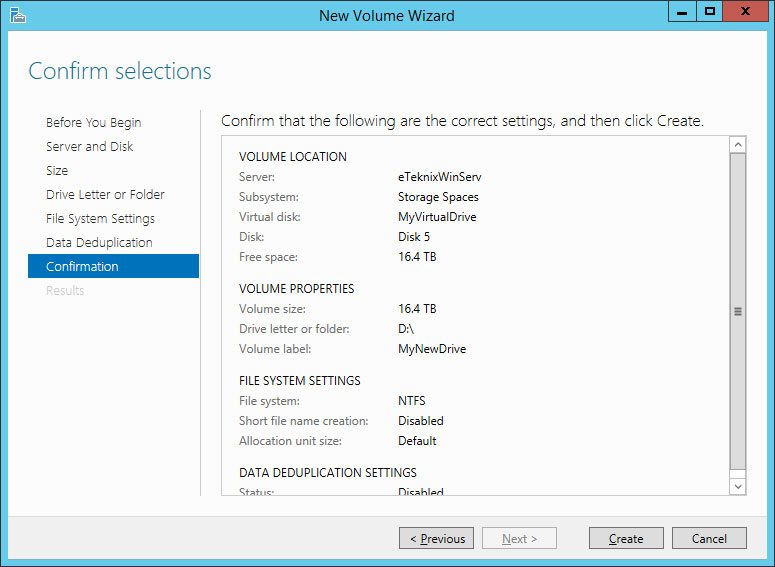
That is everything you have to do to create your RAID setup and drive volume; you have it configured just to your usage needs and preferences.