Thermaltake Core P90 TG Edition Mid-Tower Chassis Review
Peter Donnell / 6 years ago
A Closer Look – Putting it all Together
Honestly, it’s a slow process putting this together, as the instructions are absolutely pants. Seriously Thermaltake, make the pictures bigger, the labels clearer, the instructions should not be worse than a knock-off Lego set. However, I’m a pro, I can get through this without a destruction manual, right? Right!
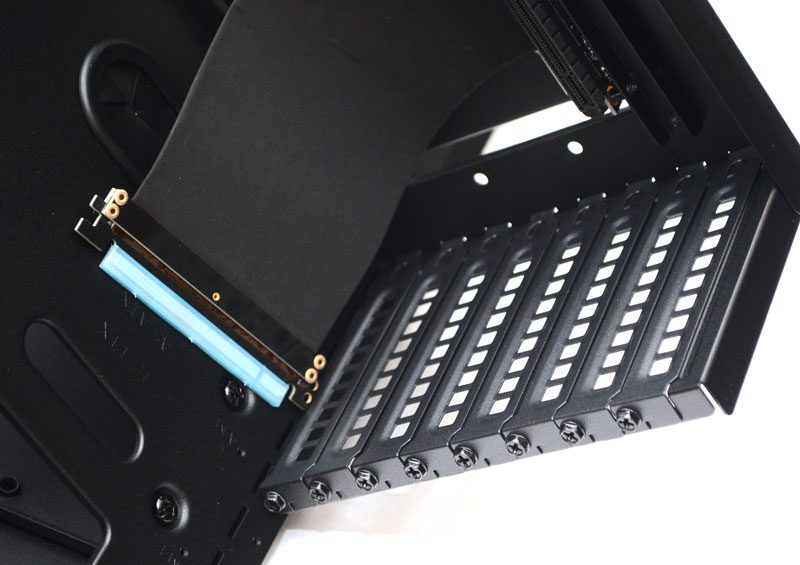
The first few bits are apparent enough, with the expansion card panel and the optional horizontal GPU mounting hardware. Of course, we want that, so in it goes along with the PSU mounting brackets.

The riser cable is very nice quality and supports mounting at different spacings to suit your hardware needs.
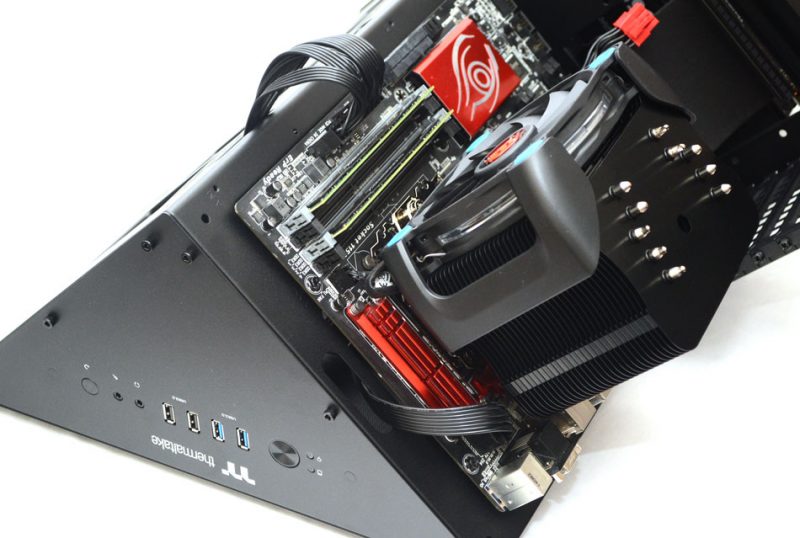
Installing the Motherboard
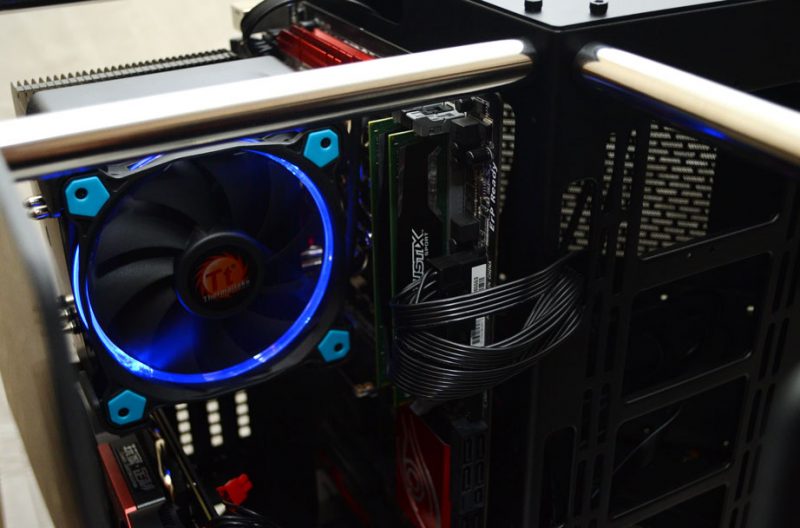
With that installed, the motherboard and CPU cooler drop into place easily enough. Just remember you’ll need to install the included stand-offs for the motherboard yourself also.
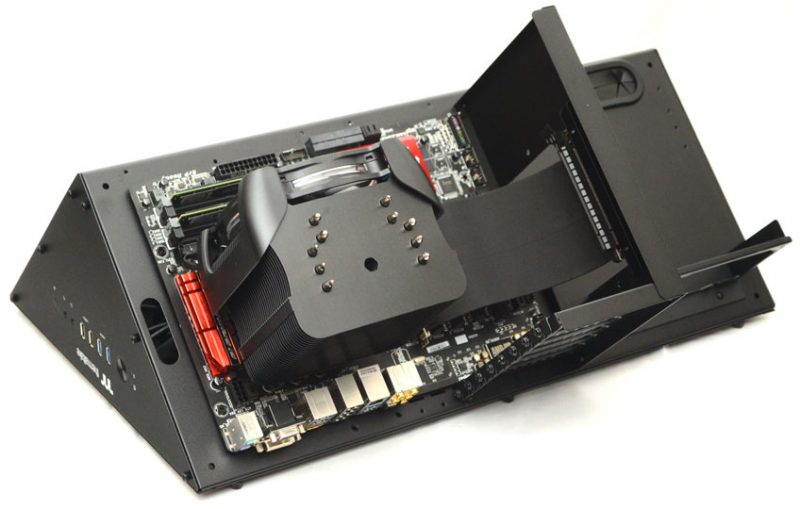
I don’t think GPU clearance is going to be an issue here; there’s unlimited space with an open-air design like this.
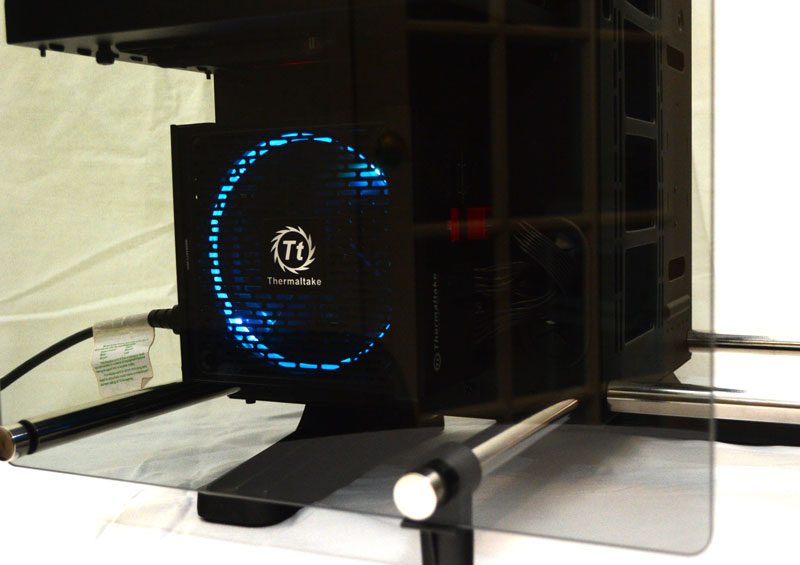
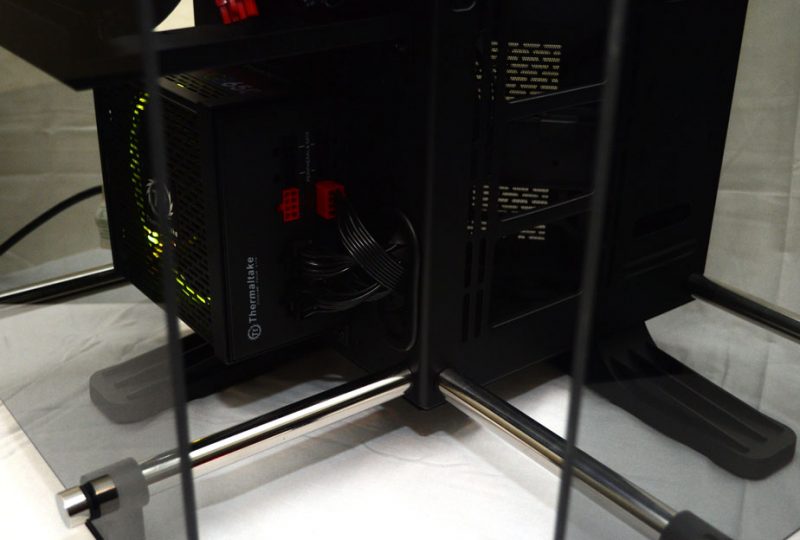
PSU
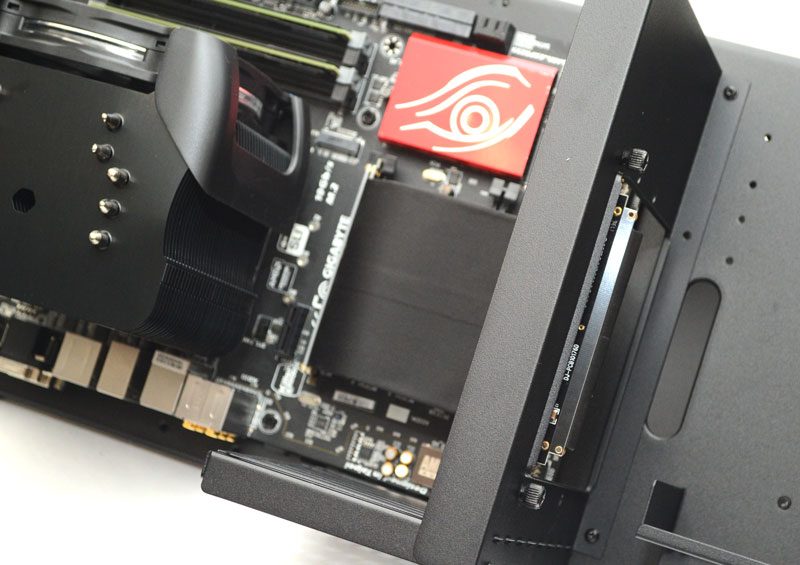
The PSU was easy to mount, and as you can see, we’ve got the rear bracket on now too to keep that in place. The rear cable grommet took all the cables out of sight too, keeping things nice and tidy.
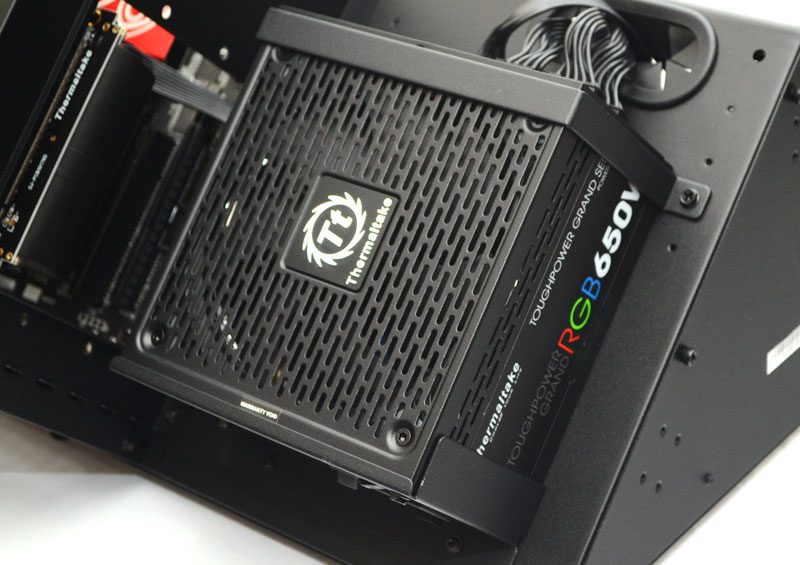
You can then route the cables through the main body of the chassis to where you need them.
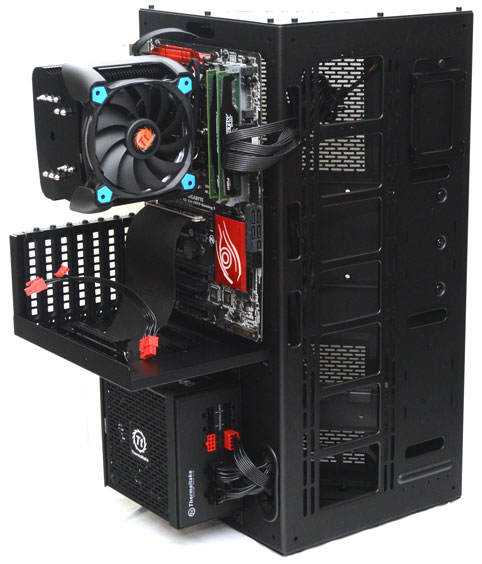
As you can see, this does work pretty much like any other ATX chassis; it’s just bent into a triangle layout. That being said, it’s still bloody massive, and there’s a terrific amount of space for water cooling hardware on the right side. Furthermore, I do have some water cooling reviews soon; perhaps I should use this chassis, we shall see.
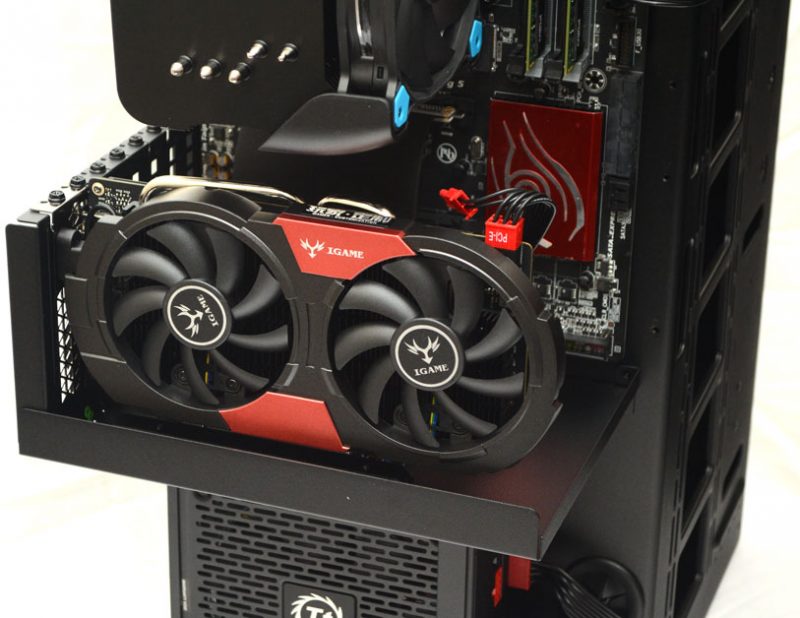
GPU
Installing the GPU was easy enough, and it looks fantastic on its side to show off the cooler design.
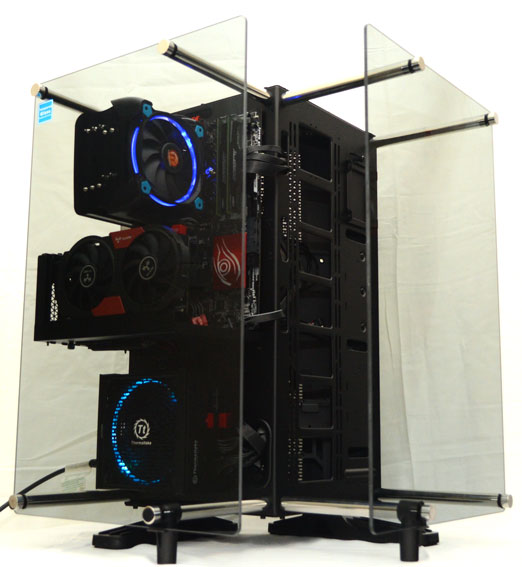
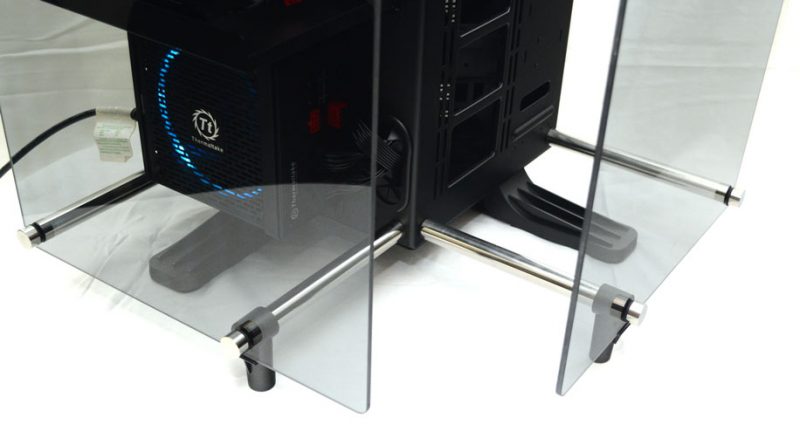
Mounting the glass panels was a tough job and one that I honestly think you should do with an extra set of hands. Fitting the poles is hard enough, but holding the glass while screwing it onto the poles can be tricky. I did it though, and I didn’t break anything either. Overall, this is one freaking big chassis made three times bigger by the glasswork.
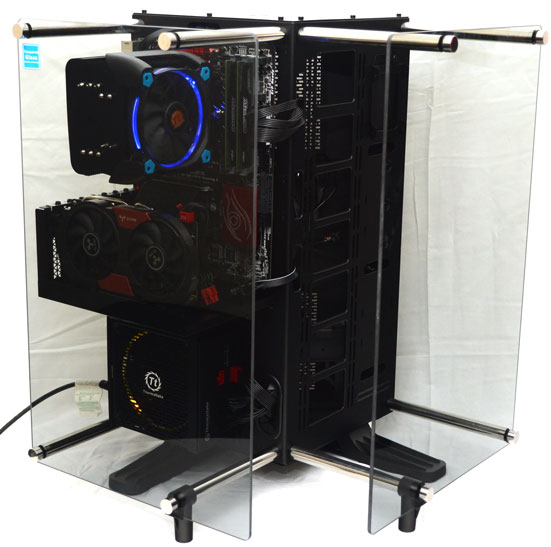
For showing off your hardware, there’s nothing else like it either. Of course, since you can wall mount it, put it on or under your desk, or even tuck it into a corner thanks to its corner friendly design, it’s really up to you how you display it.
This is a bit impractical for a daily gaming rig, I mean, just think of the dust! However, think how easy it’ll be to clean that dust with it being so open. Jeez, I’m so conflicted on that one.
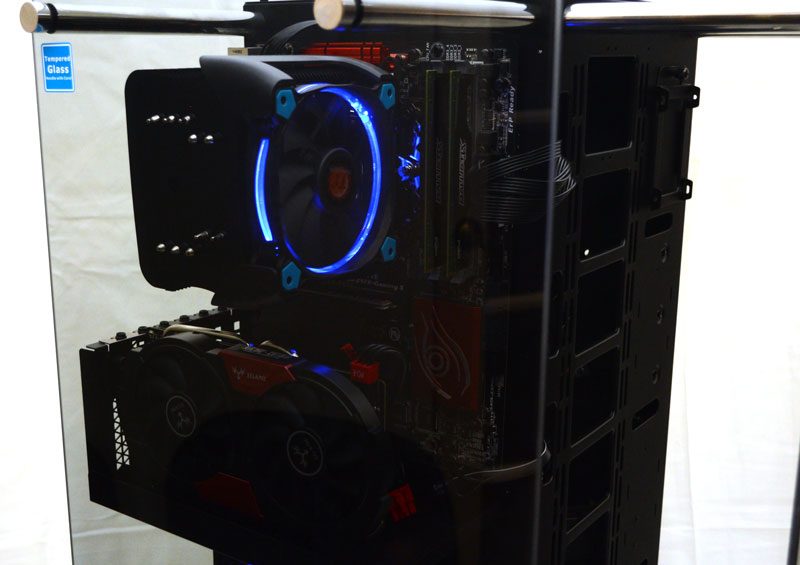
No issues with airflow for our CPU cooler, that’s for sure.
Of course, the PSU has plenty of breathing room also.
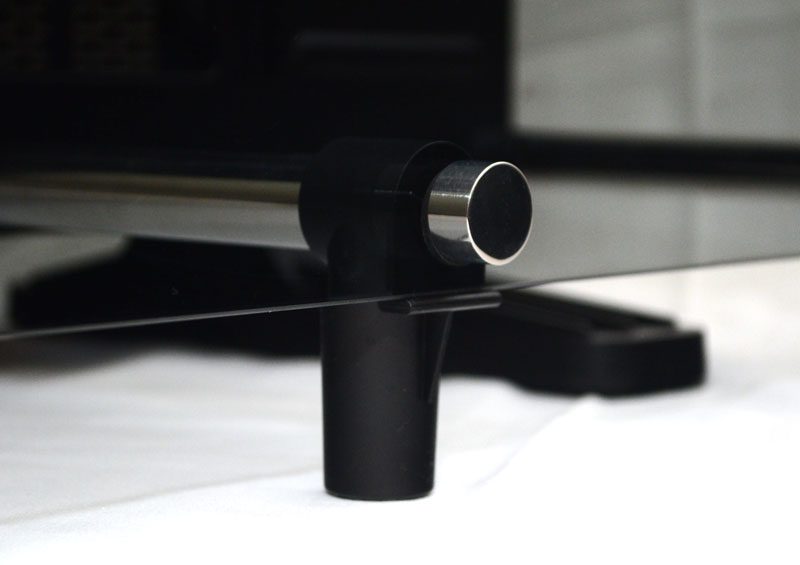
The durable feet provide plenty of stability for the P90. However, it’s still a touch heavy towards the front.
Thankfully, these little plastic riser feet on the front poles provide just enough support, so you can’t knock over the chassis by accident.
What do you think, is there a space in your home or office for the P90 TG?