Aerocool Dream Box Chassis Kit Review
Peter Donnell / 8 years ago
Building Your Own Dreambox
There’s no doubt about it, this was not an easy thing to build. Even the basic rectangle instructions from the video we have on the first page is going to be a time-consuming process. I jumped in trying to make my own chassis and after four hours, I took it apart, put it all back in the box and admitted that there was no way it was going to work. So, day two and I went for it again, this time with some more experience in what I was doing and came up with what you see below. What is it? It’s unique is what it is! And given the “build whatever you want” nature of the Dream Box, I did just that, for better and for worse!
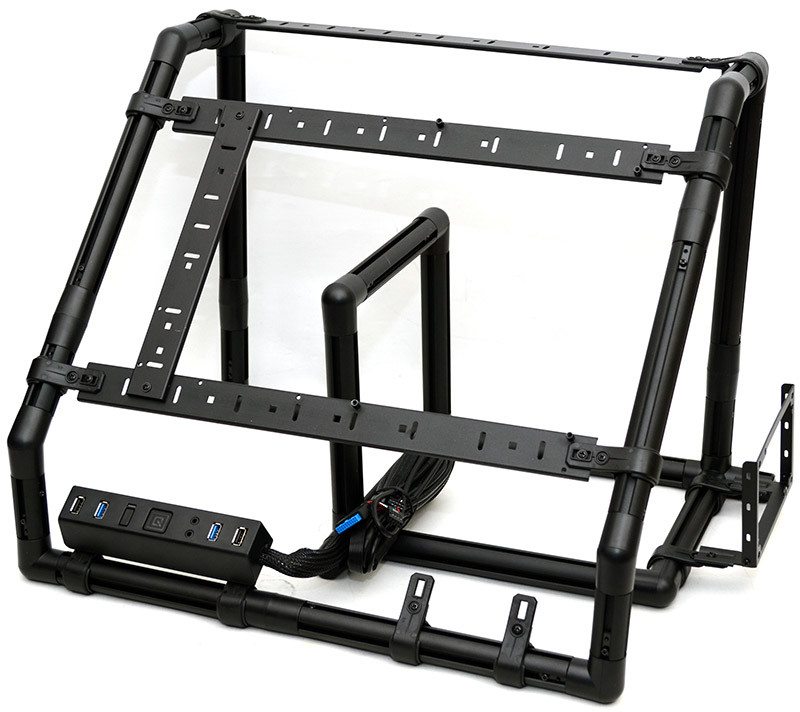
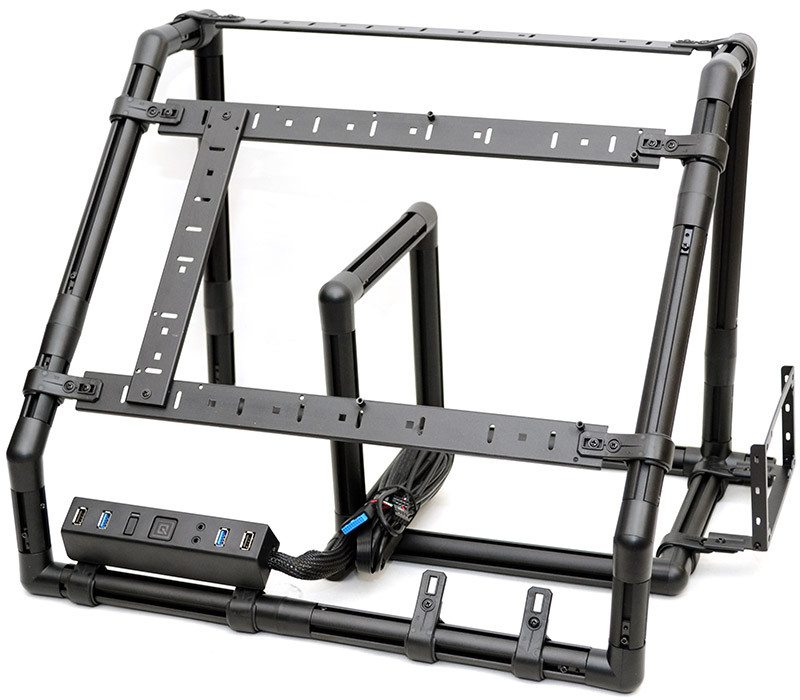
The idea I wanted was a more accessible test bench for CPU cooler testing, at least in theory. The motherboard is angled at 45-degree towards the front, giving you pretty uncompromising access to the motherboard, while having room behind it for mounting kits.
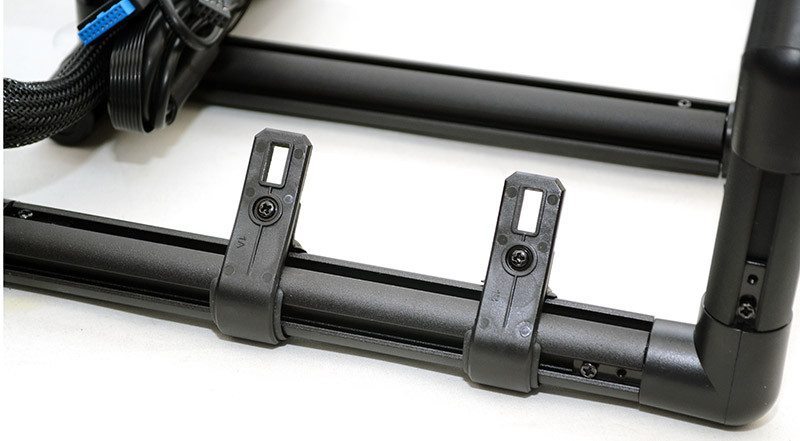
I used some C brackets here to create and SSD mount, which will also be angled at 45-degree to match the motherboard orientation.
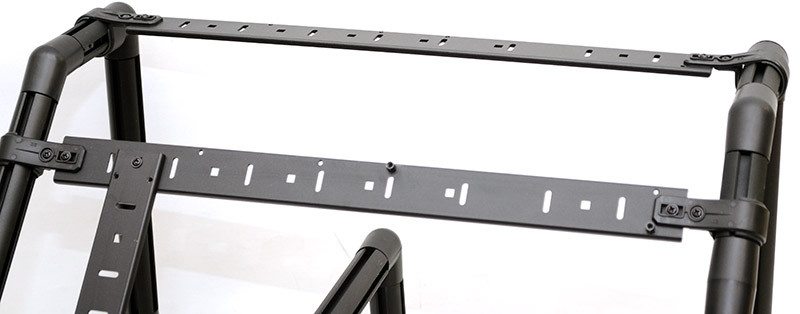
The two long bars at the top have been fitted with motherboard standoffs; this particular configuration will be suited for a Micro-ATX build, but you can set it up for any motherboard size you desire.
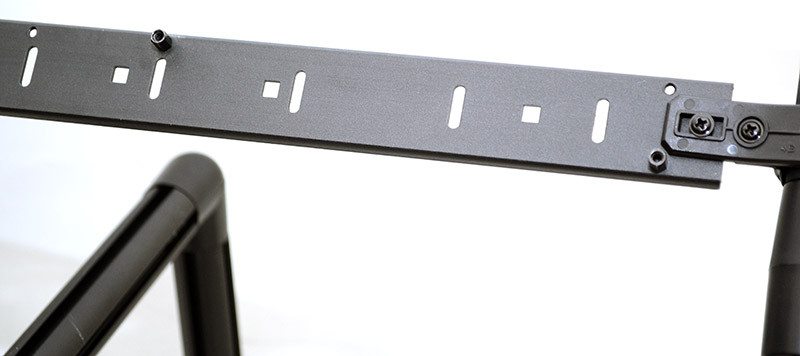
I added this bar for extra mounting solutions. There’s nothing directly required here, I just wanted to see how many other parts I could bolt on and see if they became useful later on. I could see this being a good place to mount some water cooling hardware, making it practical for testing custom loop equipment.
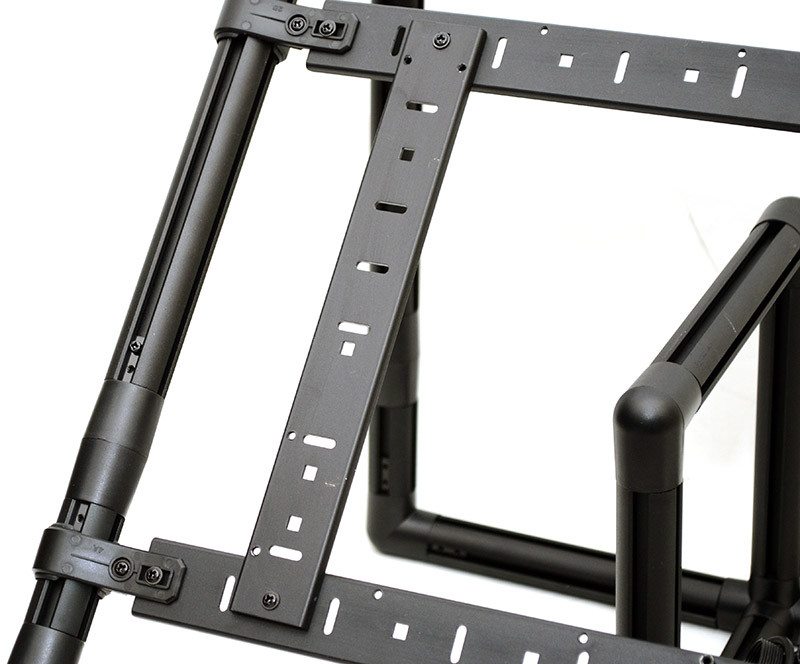
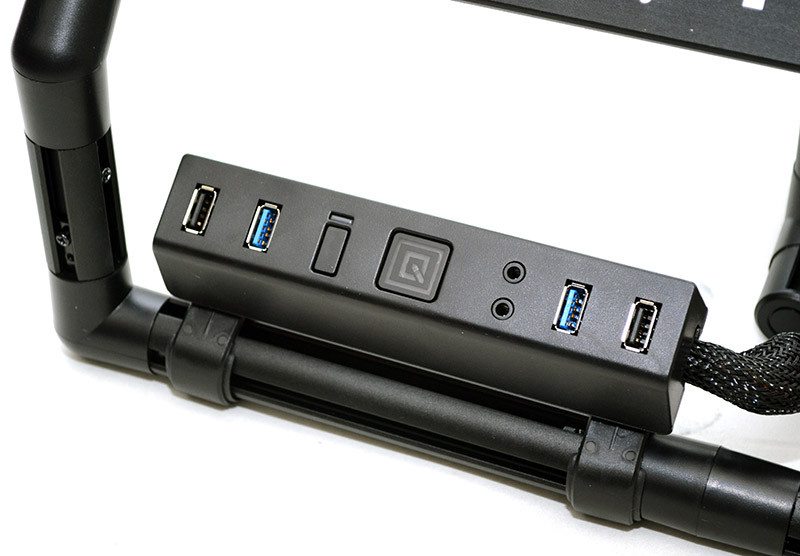
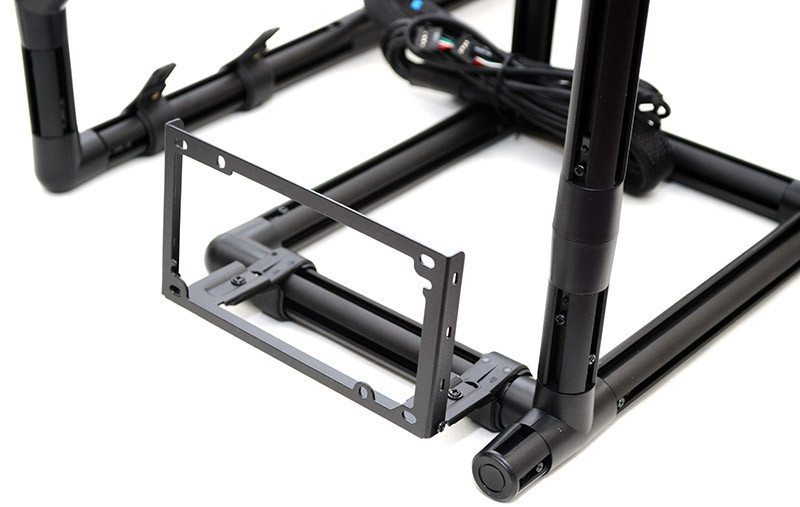
The I/O panel is mounted using C brackets and is also angled at 45-degree to match the other components orientation. I could put this on any bar of the framework, but having it down here makes it accessible and looks pretty cool too.
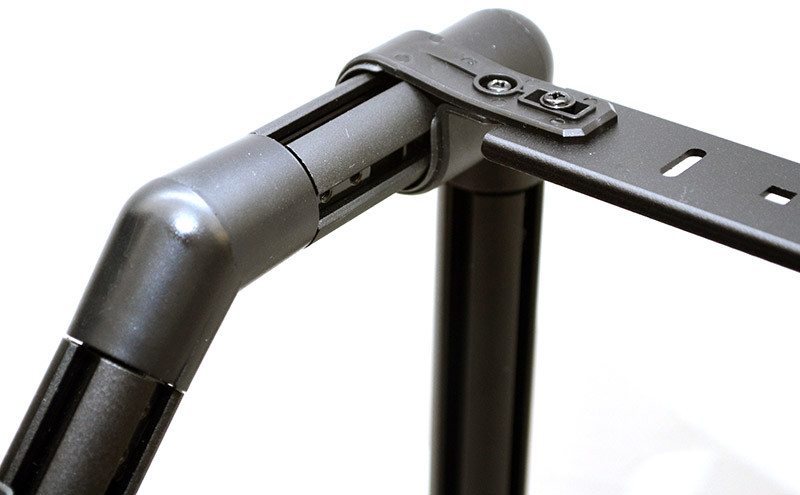
Fitting the C brackets and the bars is a little tricky, but thanks to some rubber grips on the interior of the rings, they’re incredibly secure.
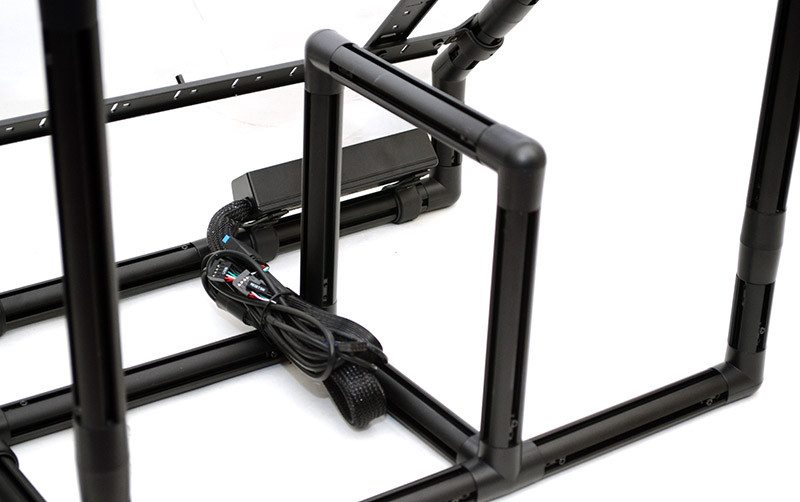
Another bracket across the top, which I could again use for mounting hardware, but I actually thought it would serve well as a place to strap any of excess cables from the back of the motherboard too, helping keep things neat and tidy.
Overall, the “chassis” built it quite large, you only have to take a look at the PSU bracket to get an idea of the scale. However, it only used about half of the included components in the box, and I could have made it much bigger, not that I need to of course.
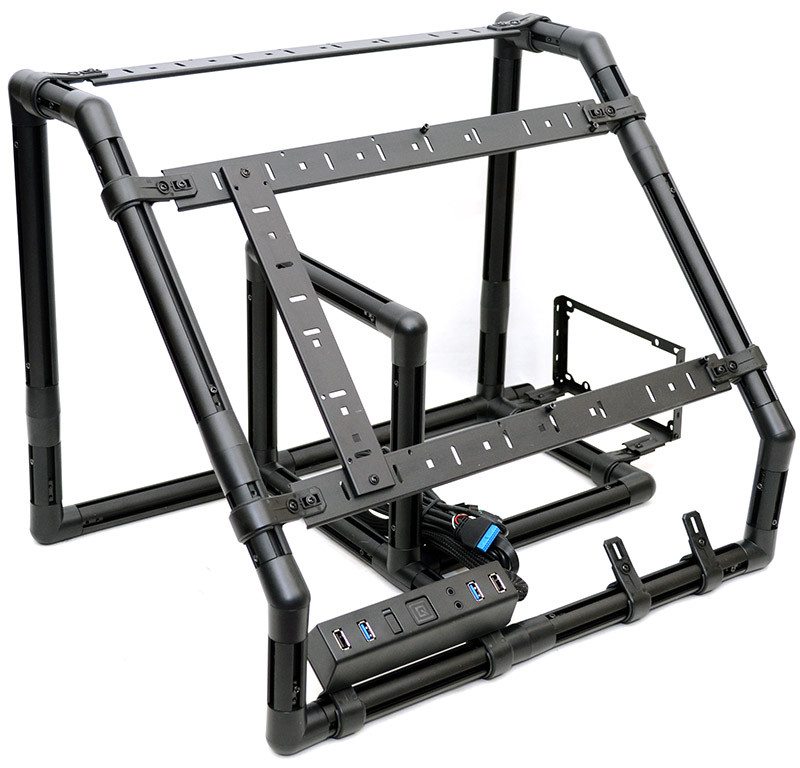
There’s a large open section here, which you could always expand into should you need more cooling mounts, hard drive bays or anything else for that matter.

The PSU bracket is mounted at the back. I think this may be the wrong way around and will be changed in the build; there’s a good amount of trial and error with this chassis.
I created a raised section here to allow something to deal with excess cables. It’s behind the motherboard, but also facing the PSU, so should work well for cable management.