
Setup – Initialization and Storage Options
Initialization
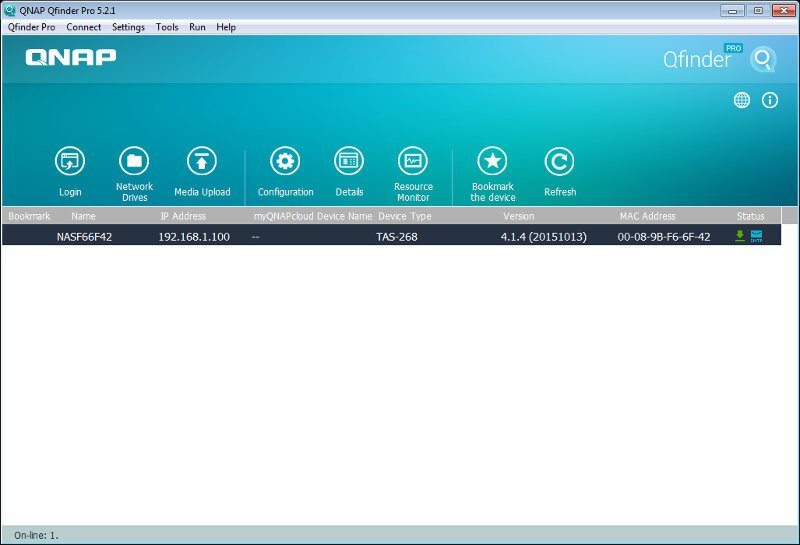
There are multiple ways to initialize your QNAP NAS, but my preferred method is to use the Qfinder application. It is not just an easy way to do it, it also offers a lot more functionality and easy access to configurations.
The application will automatically scan your network for QNAP NAS’ and show them in a convenient list. Double click your newly setup TAS-268 and it will launch the setup in your default browser.
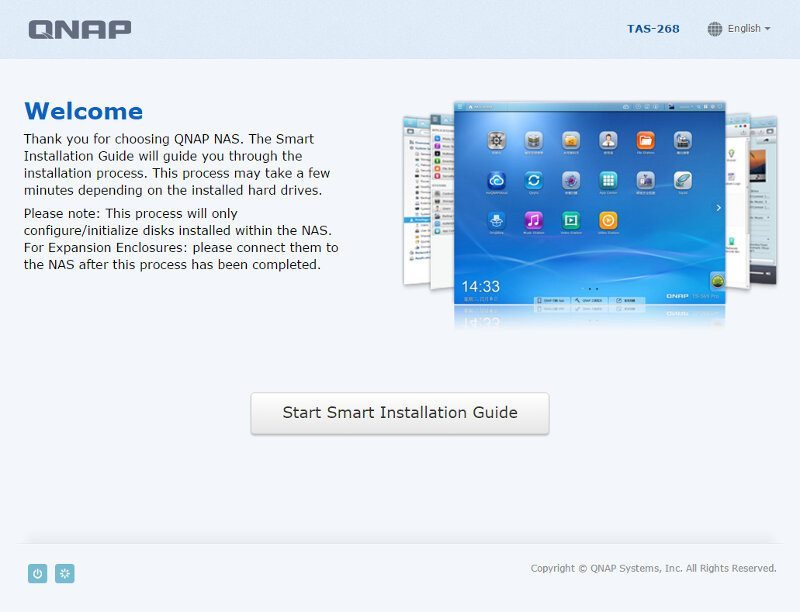
The Smart Installation Guide doesn’t require much input from your side, but we do have to provide a few information in order to get everything up and running.
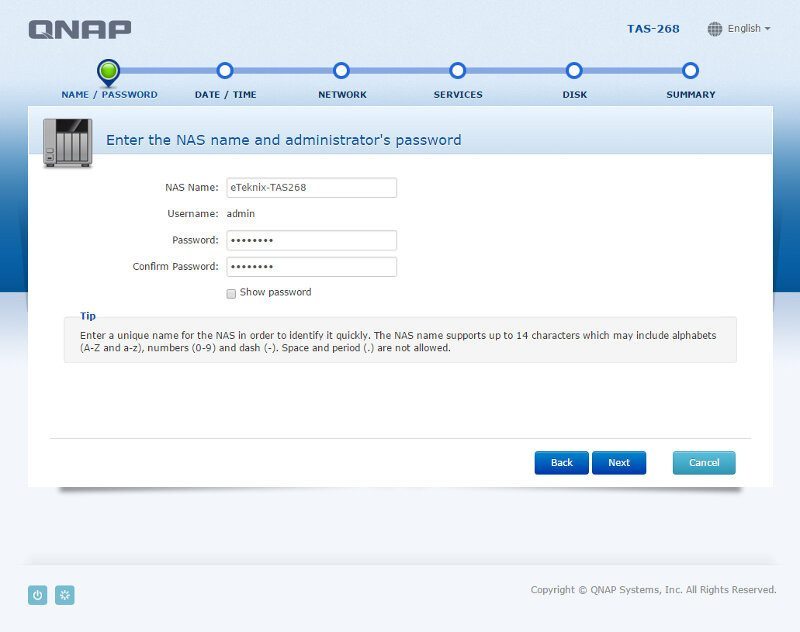
The first two things we need to tell the new NAS is what name it shall have and what our administrator password should be. Keep in mind that you shouldn’t use your admin user for everyday usages and as such should pick a password that you can remember even though you don’t use it so often.
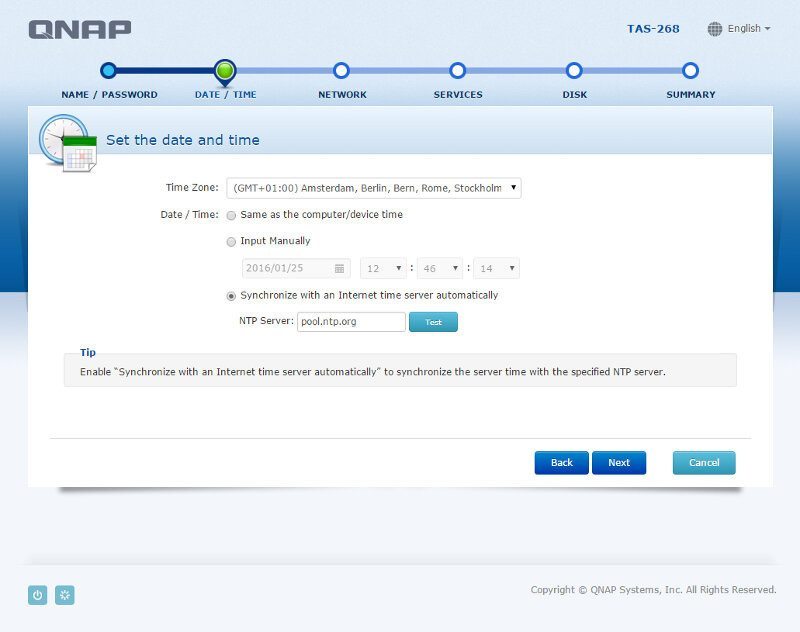
Next we can set the time, date, and timezone. We can either let the NAS get the time from our current system, input it manually, or synchronize it with an internet time server. The last one is the preferred method and what I’m going to use.
The method of network connection should also be set and what you pick here comes down to your network setup. You can either let the NAS get it’s IP automatically via DHCP or you can set it manually as static information.

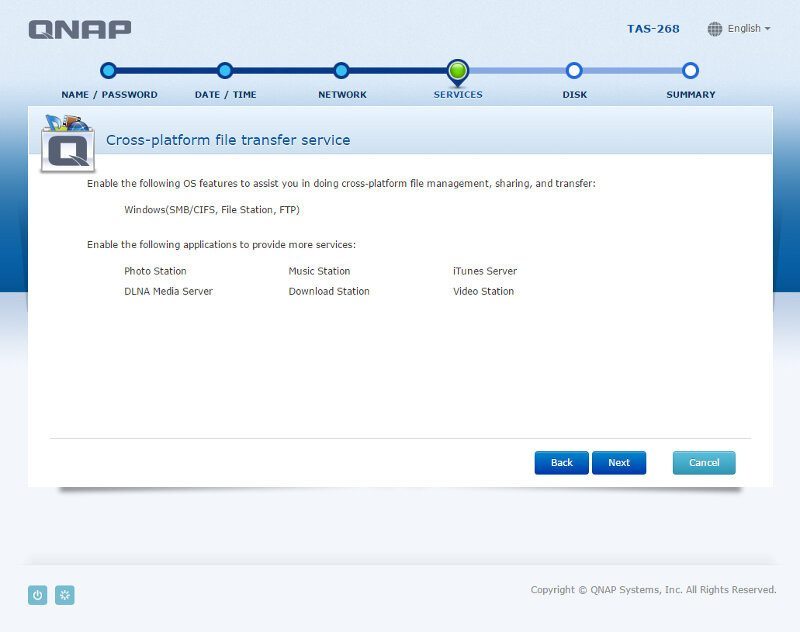
File services and Station apps are also things that we’ll want to setup right away, it saves us from doing it later. For me the most important file services are for Windows and FTP, so those are the ones for me.
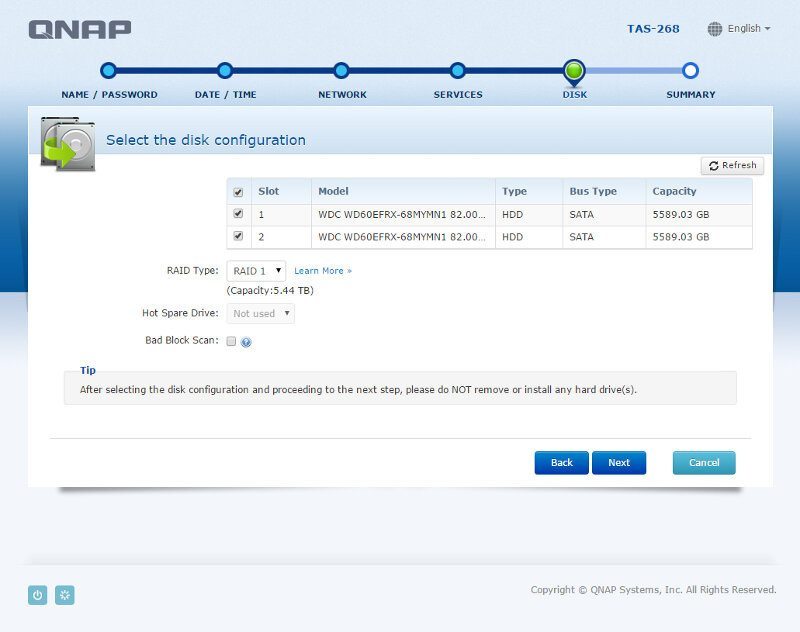
The final step is to decide on our drive setup. We have two drives at our disposal which leave us with RAID 0, RAID 1, JBOD, or single drive setups available. What you pick here comes down to your needs, each of them has their own advantages.
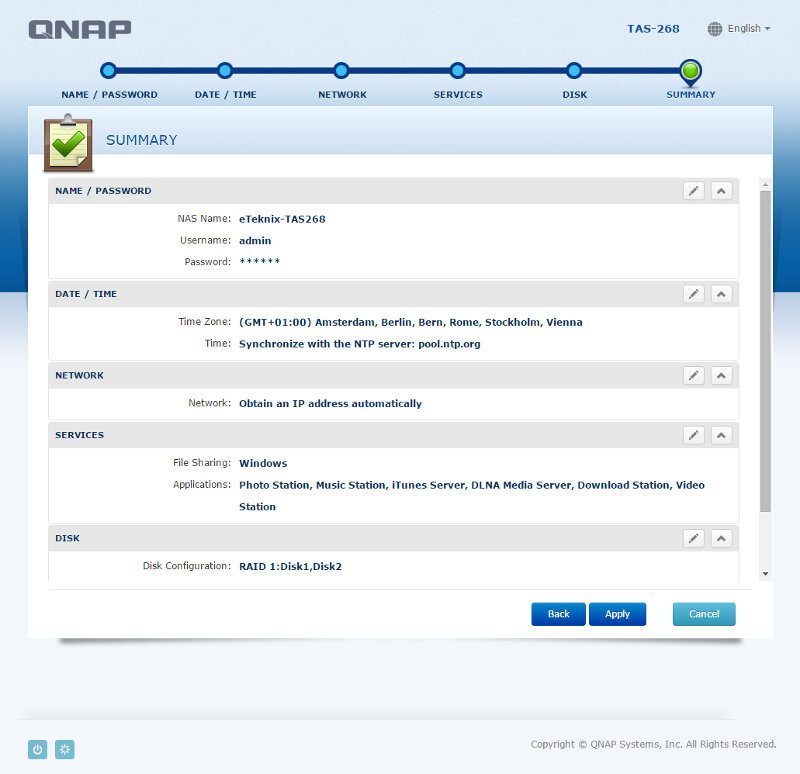
Finally, the setup guide will let you take a final look at your setting and also go back and edit single parts should you have made an error. All that’s left now is to hit the Apply button.
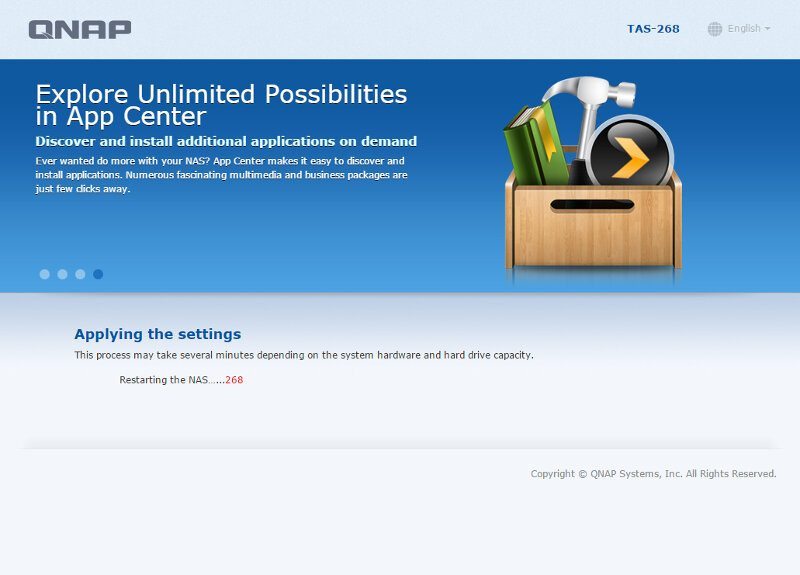
The NAS will now apply all the settings we have made and initialize the unit.
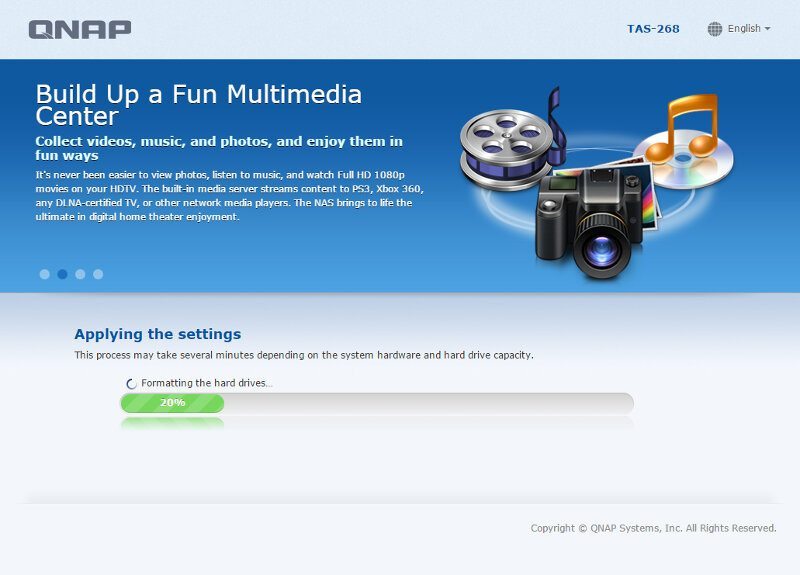
Once it’s done it will reboot one more time before the NAS is ready for our full usage and entertainment.
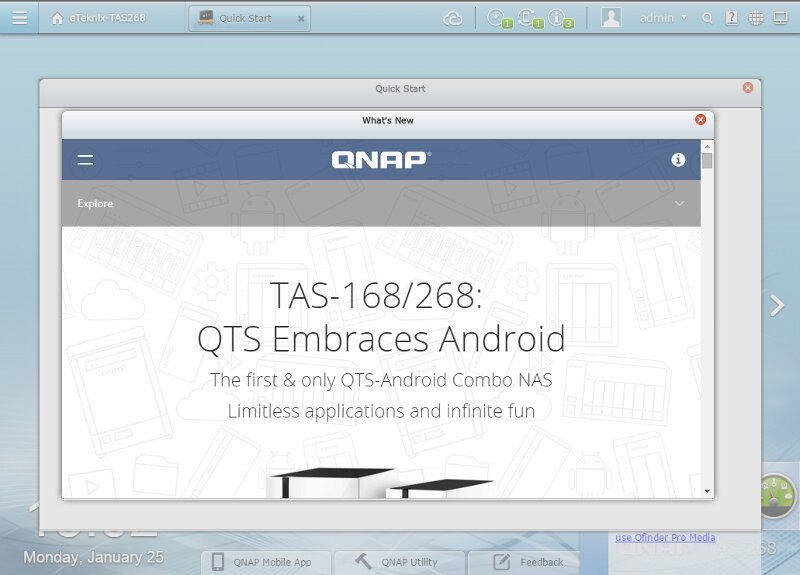
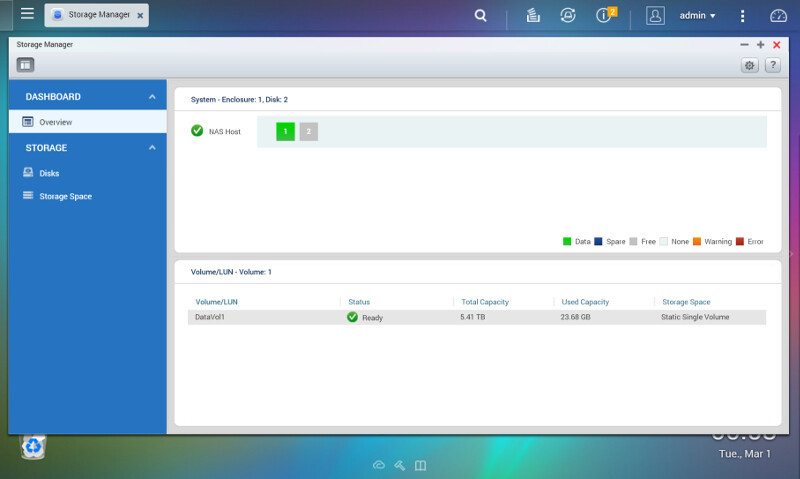
Once the NAS has rebooted, we get into the QTS system where we’re greeted with a little extra information on the new Android combo NAS units.
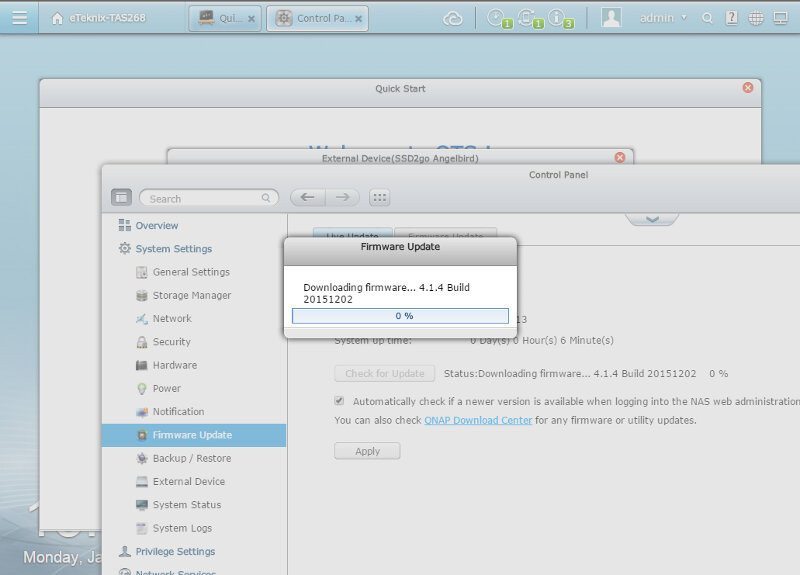
If the NAS has an internet connection, it will also check if there should be a newer firmware available. QNAP is quick to release fixes and often adds new features and functionality to their devices, so there is a good chance that you’ll be prompted with such a notification. It is always the best to keep your NAS updated to latest firmware, both for security reasons but also to make sure you get the most out of your awesome NAS.
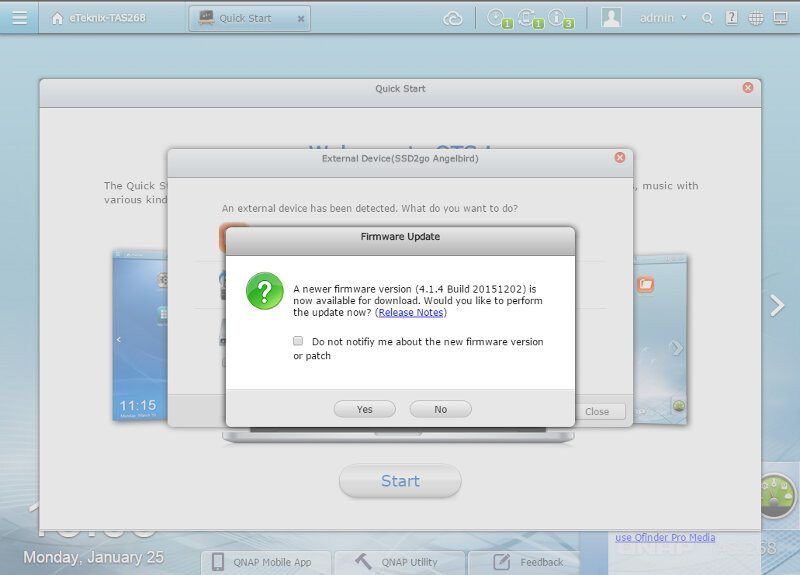
The firmware update will take a little time, but you should rather do it right away than push it until later. You won’t get around it as it’s something you’ll want to do.
Storage Options
Should you have changed your mind on your storage setup, then now would be the best time to change it – before we make a lot of changes and copy all our files onto the drives just to destroy them again.
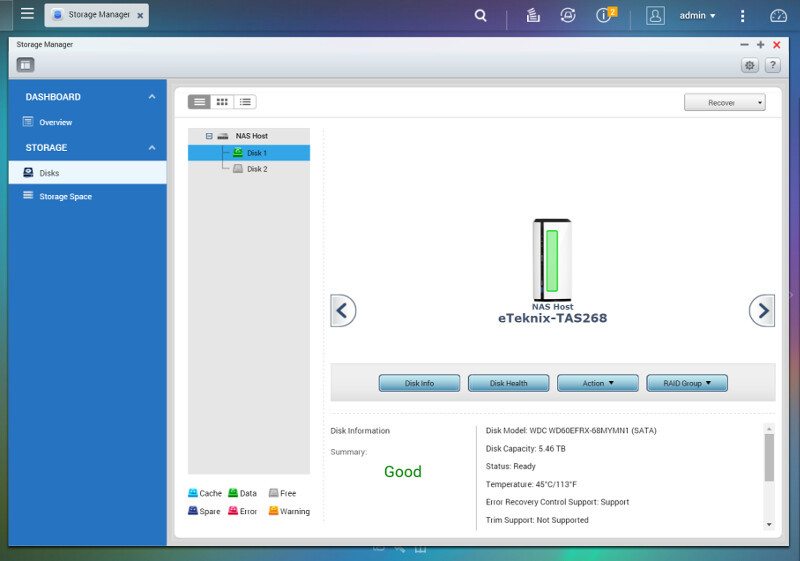
The storage manager isn’t just there to create and delete volumes, it also gives access to drive information and tests.
Clicking a drive will open up the drive details. There’s both a sumary page that instantly will tell you a drive’s condition, but there’s also the more advanced disk information available as well as SMART data. This is also the place where you can run SMART tests on your drives.

There are a few settings hidden here too that enable you to set a temperature alarm for each drive as well as schedule SMART tests on a daily, weekly, or monthly basis.

The Disks view gives a convininent look on the NAS where it also highlights where the selected drive is physically located within the unit. This helps a lot when you troubleshoot, add, remove, or replace drives. You also got quick access to disk information, health, and actions right here.
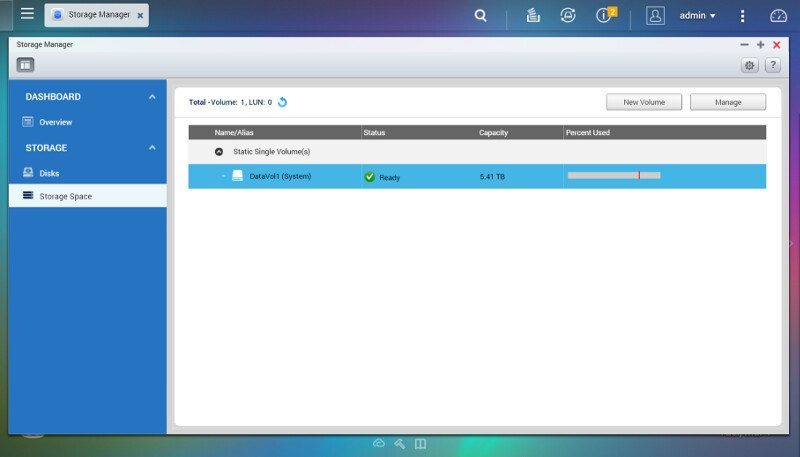
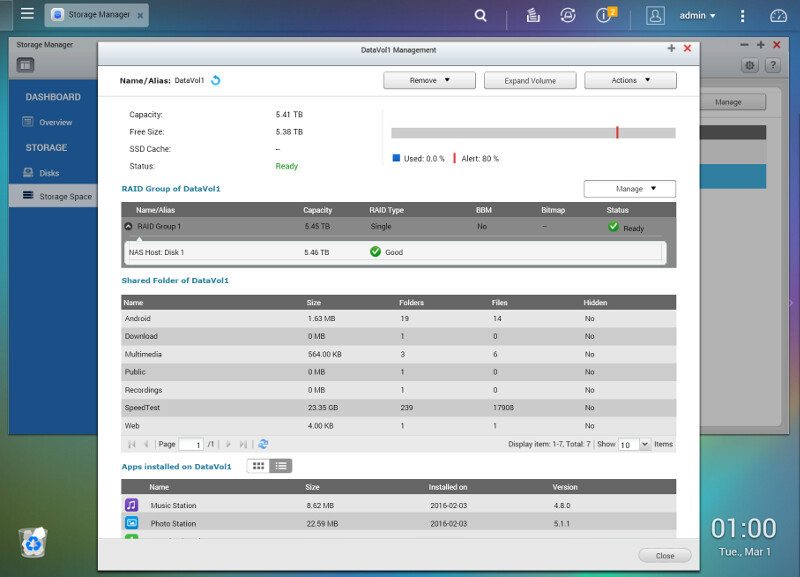
The final page in the Storage Manager for the TAS-268 provides more detailed information on our current drive and volume setup. This is also the place we want to go right now to destroy our current drive array and create a new.
From within the manage function, we can destroy the array, but we also get a lot of useful information here such as what volumes are on it, what shared folders that are located within the volume, and what apps are installed on it. Everything is well organized, easy to find, and quick to see. QNAP have really done a great job with their newest QTS version.
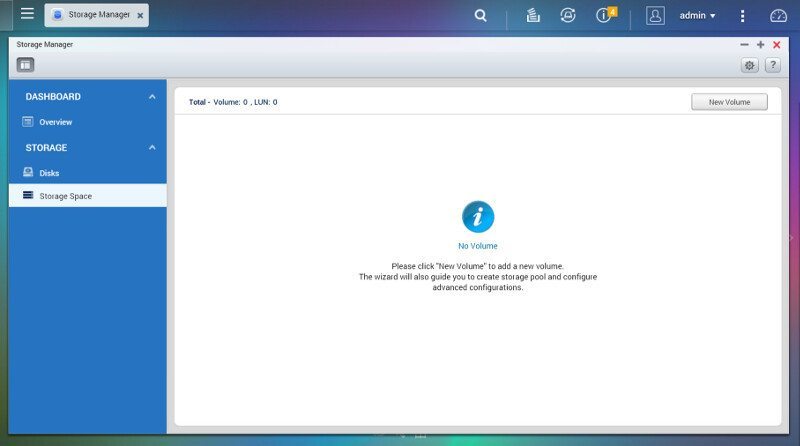
I wanted to delete the volume, and I’ve done that which leaves me with an empty volume list. It is time to create a new one and that doesn’t require much effort.
First we select which drives we would like to use for our new drive volume and what RAID mode we would like. The available RAID types depend on how many drives we select.
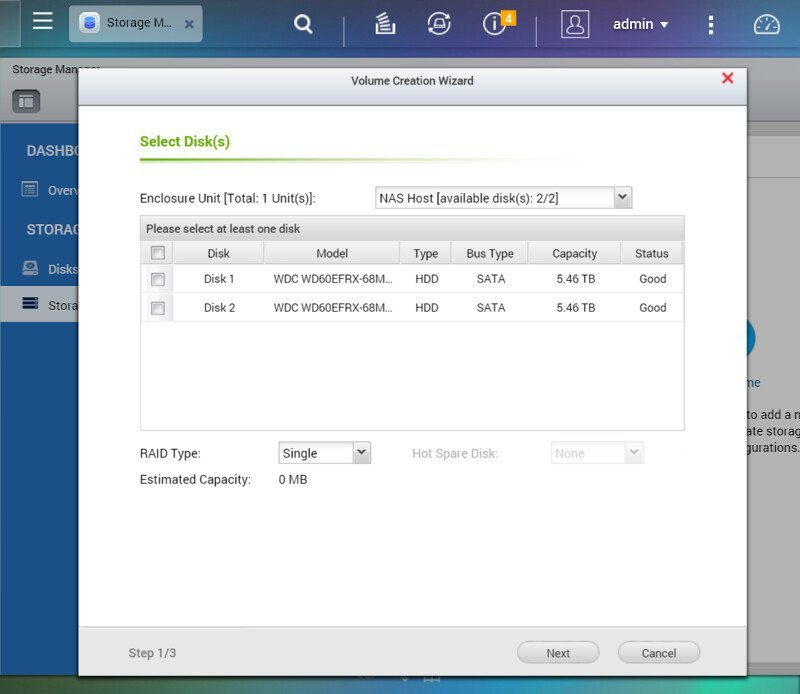
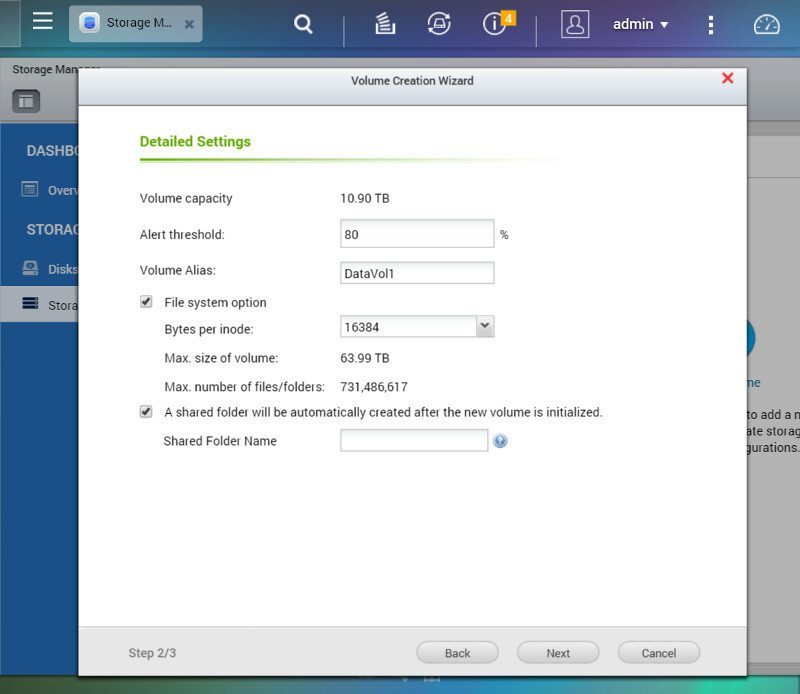
I selected JBOD in this instance which gives me a 10.9TB volume capacity with my WD RED 6TB hard disk drives. You got a few file system options that you can change if you wish to do so and you can also create a new shared folder right away.
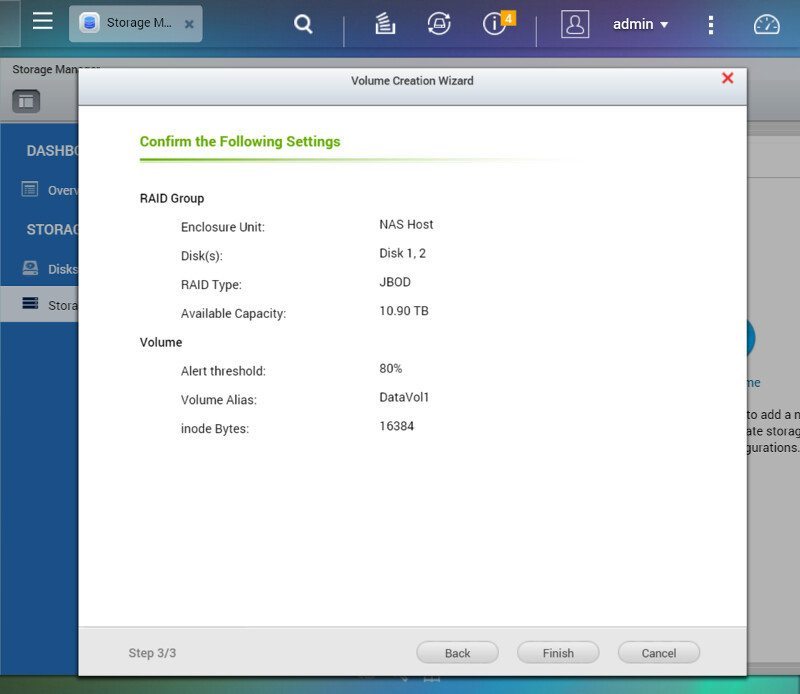
And that’s all. Confirm your settings and hit the Finish button to apply your new settings and create a new volume. Next up – user, shares, services, and app configuration.


VERRRRY USFUL post. THANKS!