
A closer look
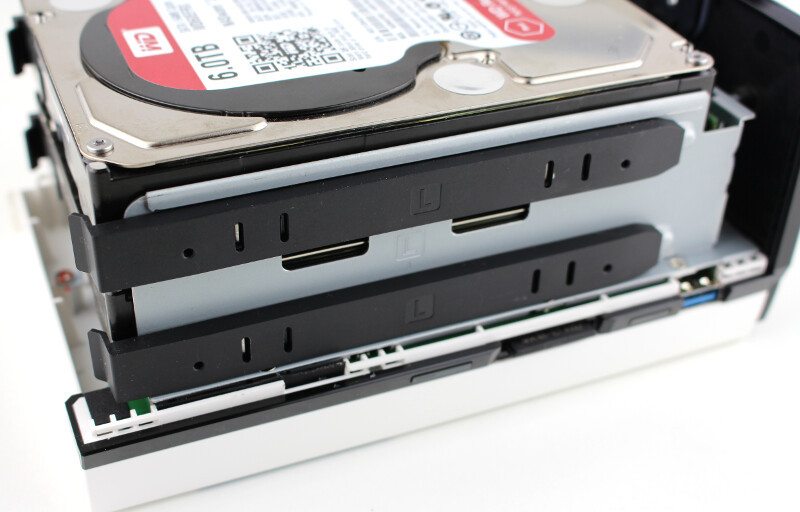
Opening the TAS-268 NAS for drive installation is as easy as turning your hand, because that is all that is needed. There is a single screw at the bottom of the NAS and once that has been removed, you can simply slide the chassis apart.
Simply slide the two hard drives into place onto the SATA connectors and press the mounting brackets into the drive. Close it up again and you’re ready to use your brand new NAS.
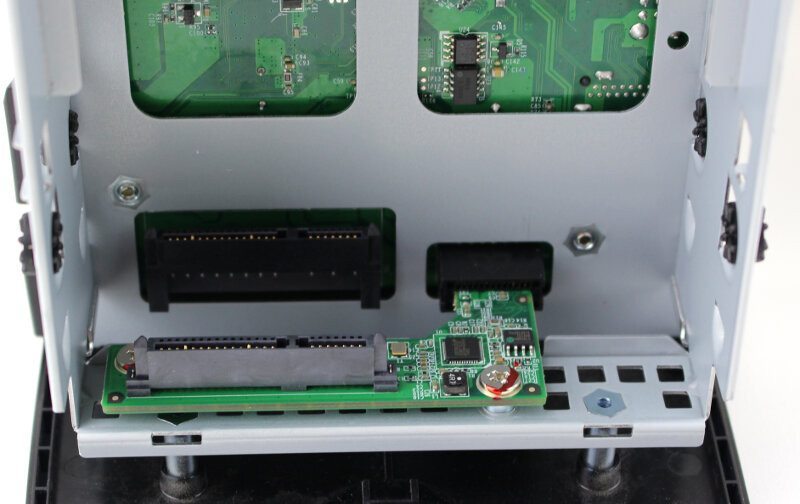
However, for me it is time to take the NAS further apart and have a closer look how it’s built, what is built with, and how it is put together. At least that’s what I’d normally do. This NAS has been so well assembled that I failed the task to remove enough of the screws in order to take it further apart. This sucks for me, but it speaks for the built quality of the NAS.
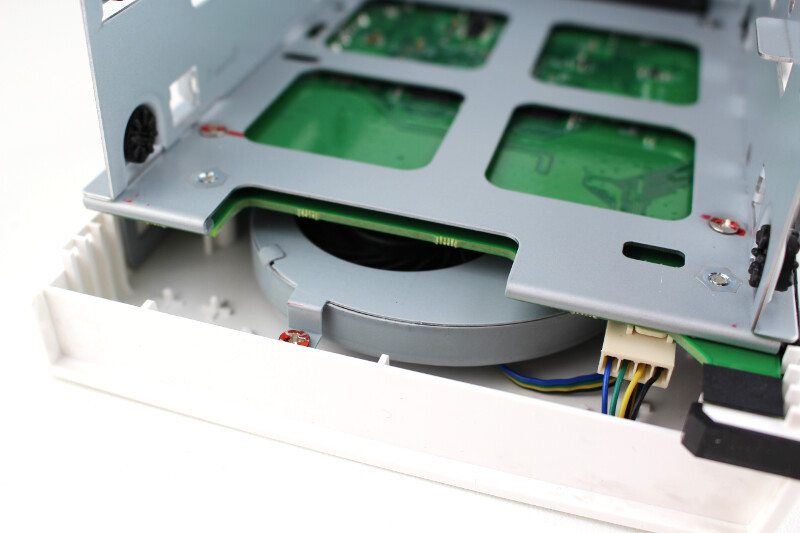
We can still get a glimpse of the blower-styled cooler that generates the right kind of airflow in the chassis to keep everything running cool and smooth.
So time to install my hard disk drives and get started with the actual testing.


VERRRRY USFUL post. THANKS!